For about two and a half years I would wake up every Monday and Tuesday morning and leave for a very dear friend's home to tutor her two very dear sons. It was one of several small jobs I held at the time, but was truly only a "job" by definition.

In truth, going to her house was like visiting a spa - it was a two to three hour retreat where I was able to read some of the most charming children's literature to very eager listeners. We did math and grammar, and such necessary subjects as well, but in her home - where the room was cozied by a lit candle and Vivaldi's serenades.

As we begun our work, I would hear the whistle of the kettle from downstairs and in no time there would be a steaming brew set before me on a tray, that would feature chocolate and fresh berries, homemade cookies, or, my very favorite - homemade bread.
I know you may be tempted to be annoyed by the heavenly description of this unrealistic work situation, and I am well aware of how spoiled I was. My work is often more chaotic these days but the memories of those cozy mornings were often the brightest parts of my week.
Now that my dear friend is no longer a twenty-minute drive away, I am left to my own resources when the cravings for a simple, hearty bread come.
Let's talk about bread-baking for a minute, shall we?
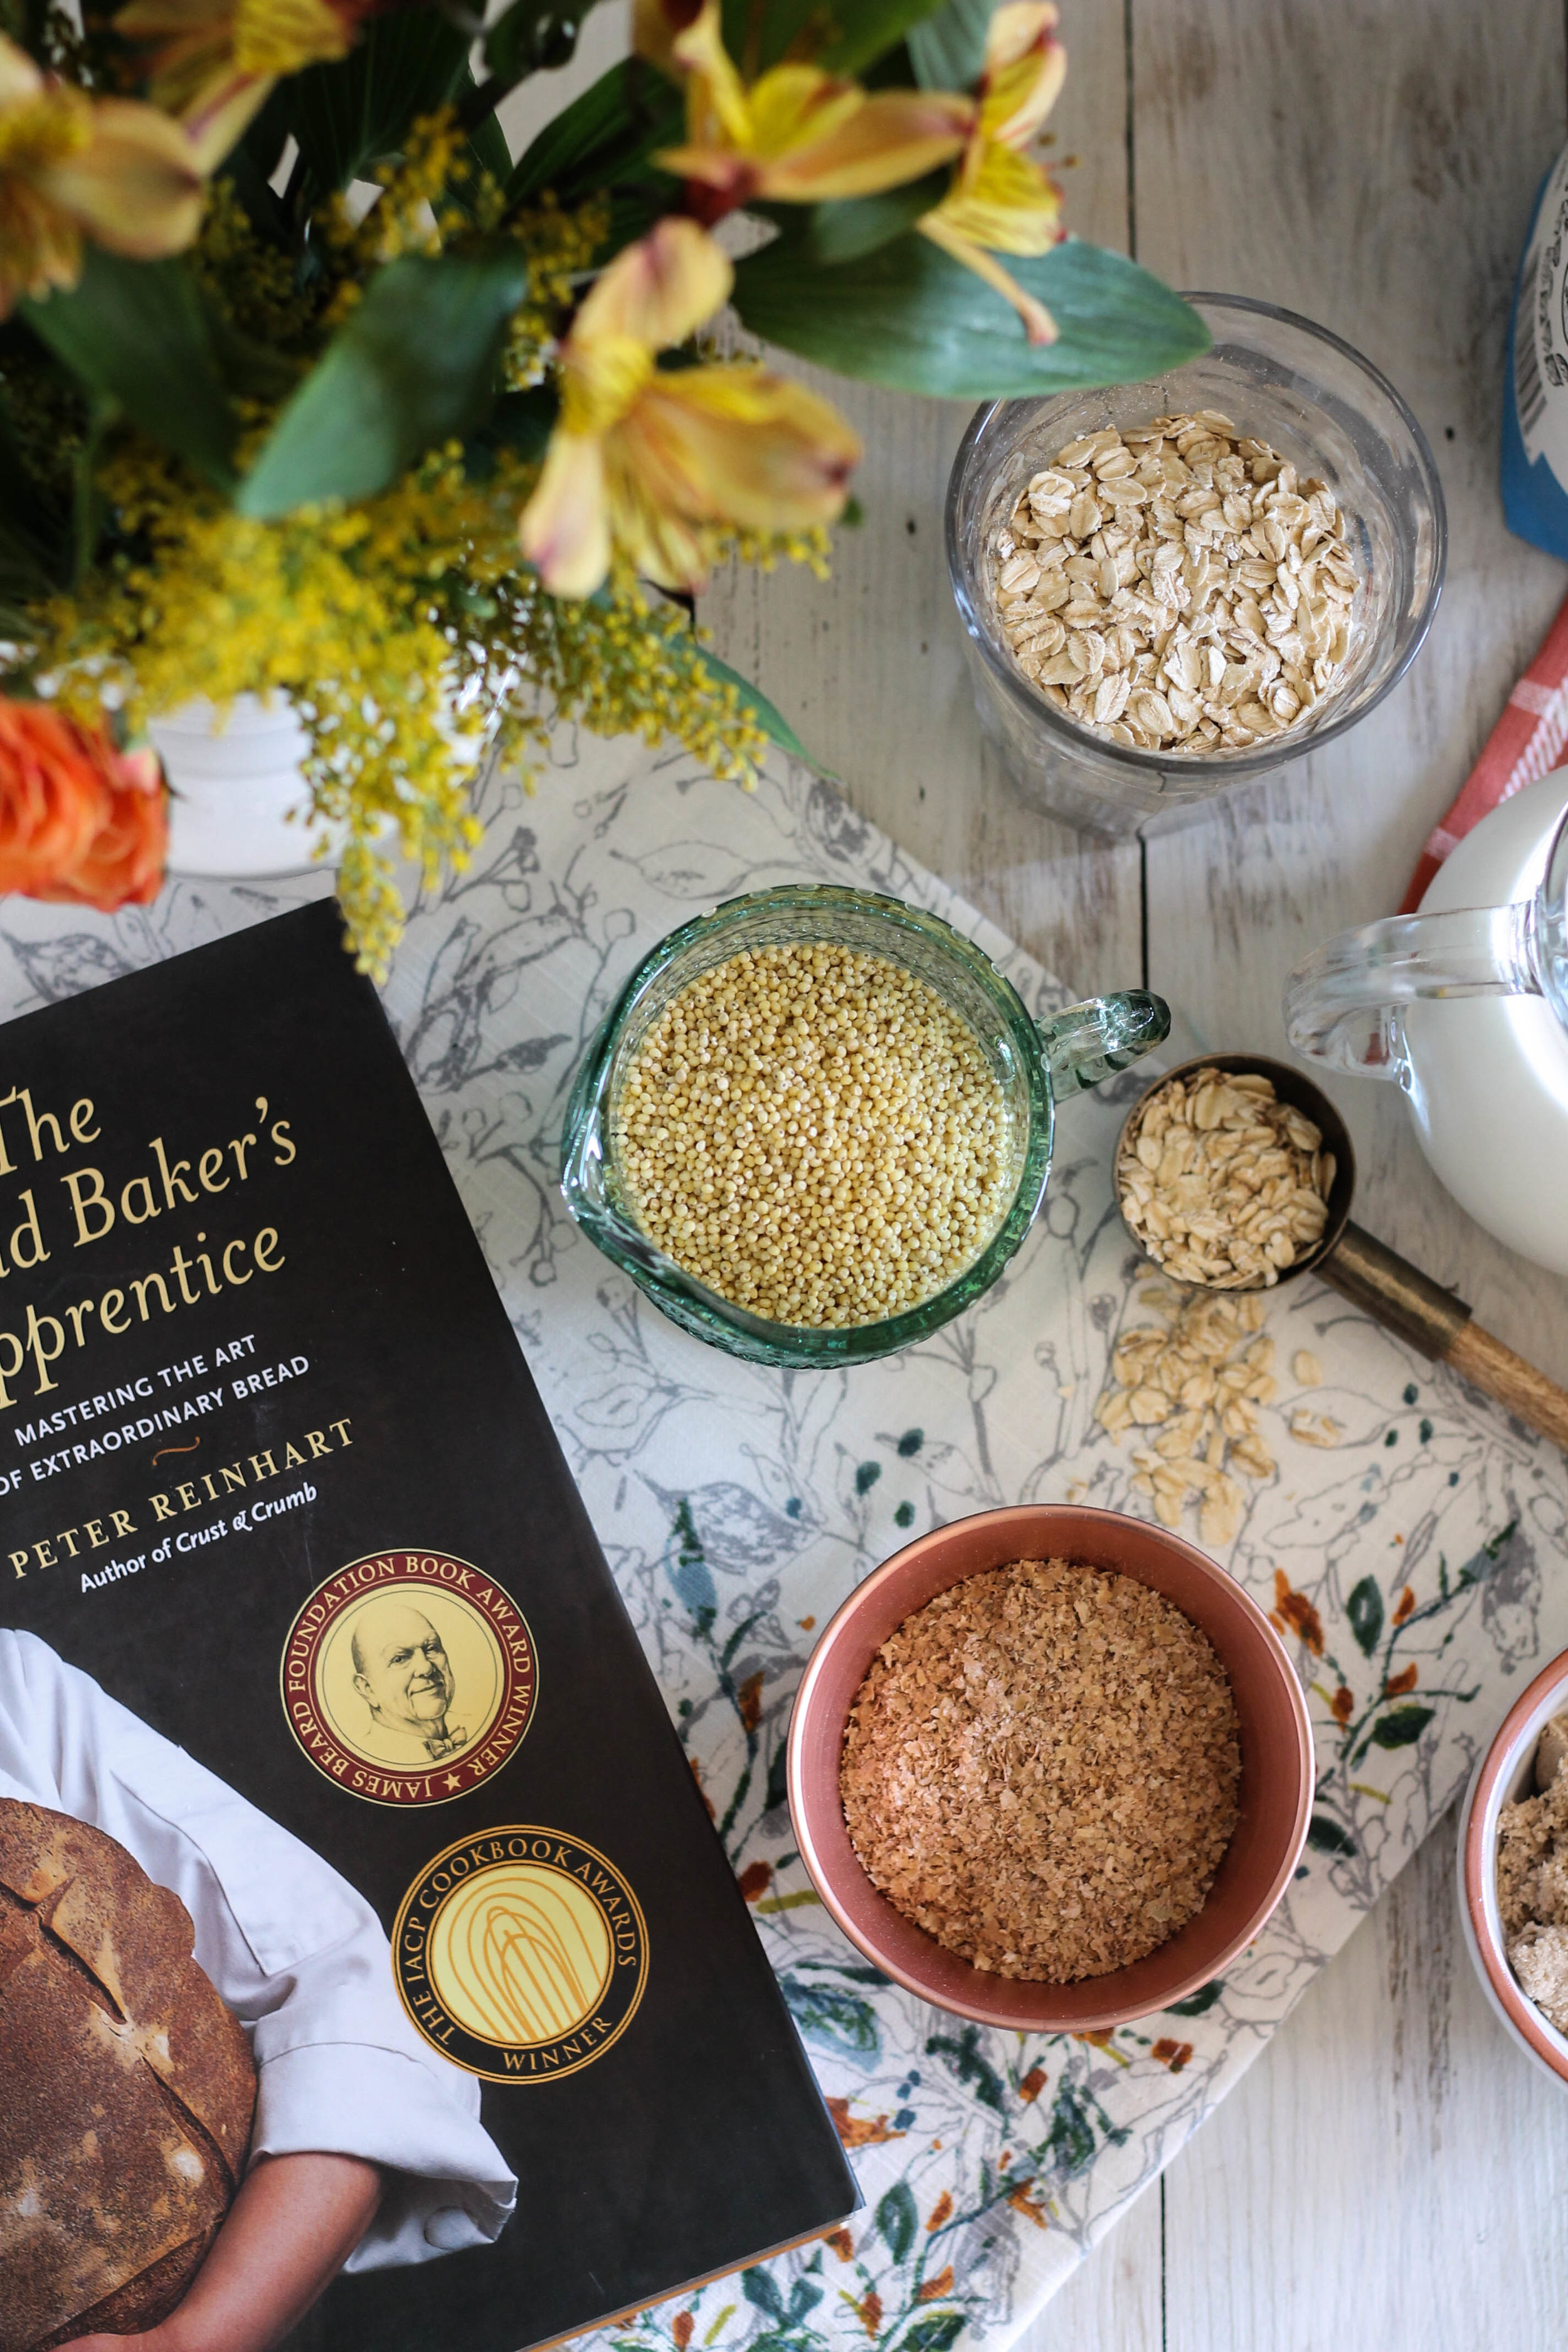
Over the summer, I began reading through another one of Peter Reinhart's works of culinary genius and learned a bit more about bread-baking.
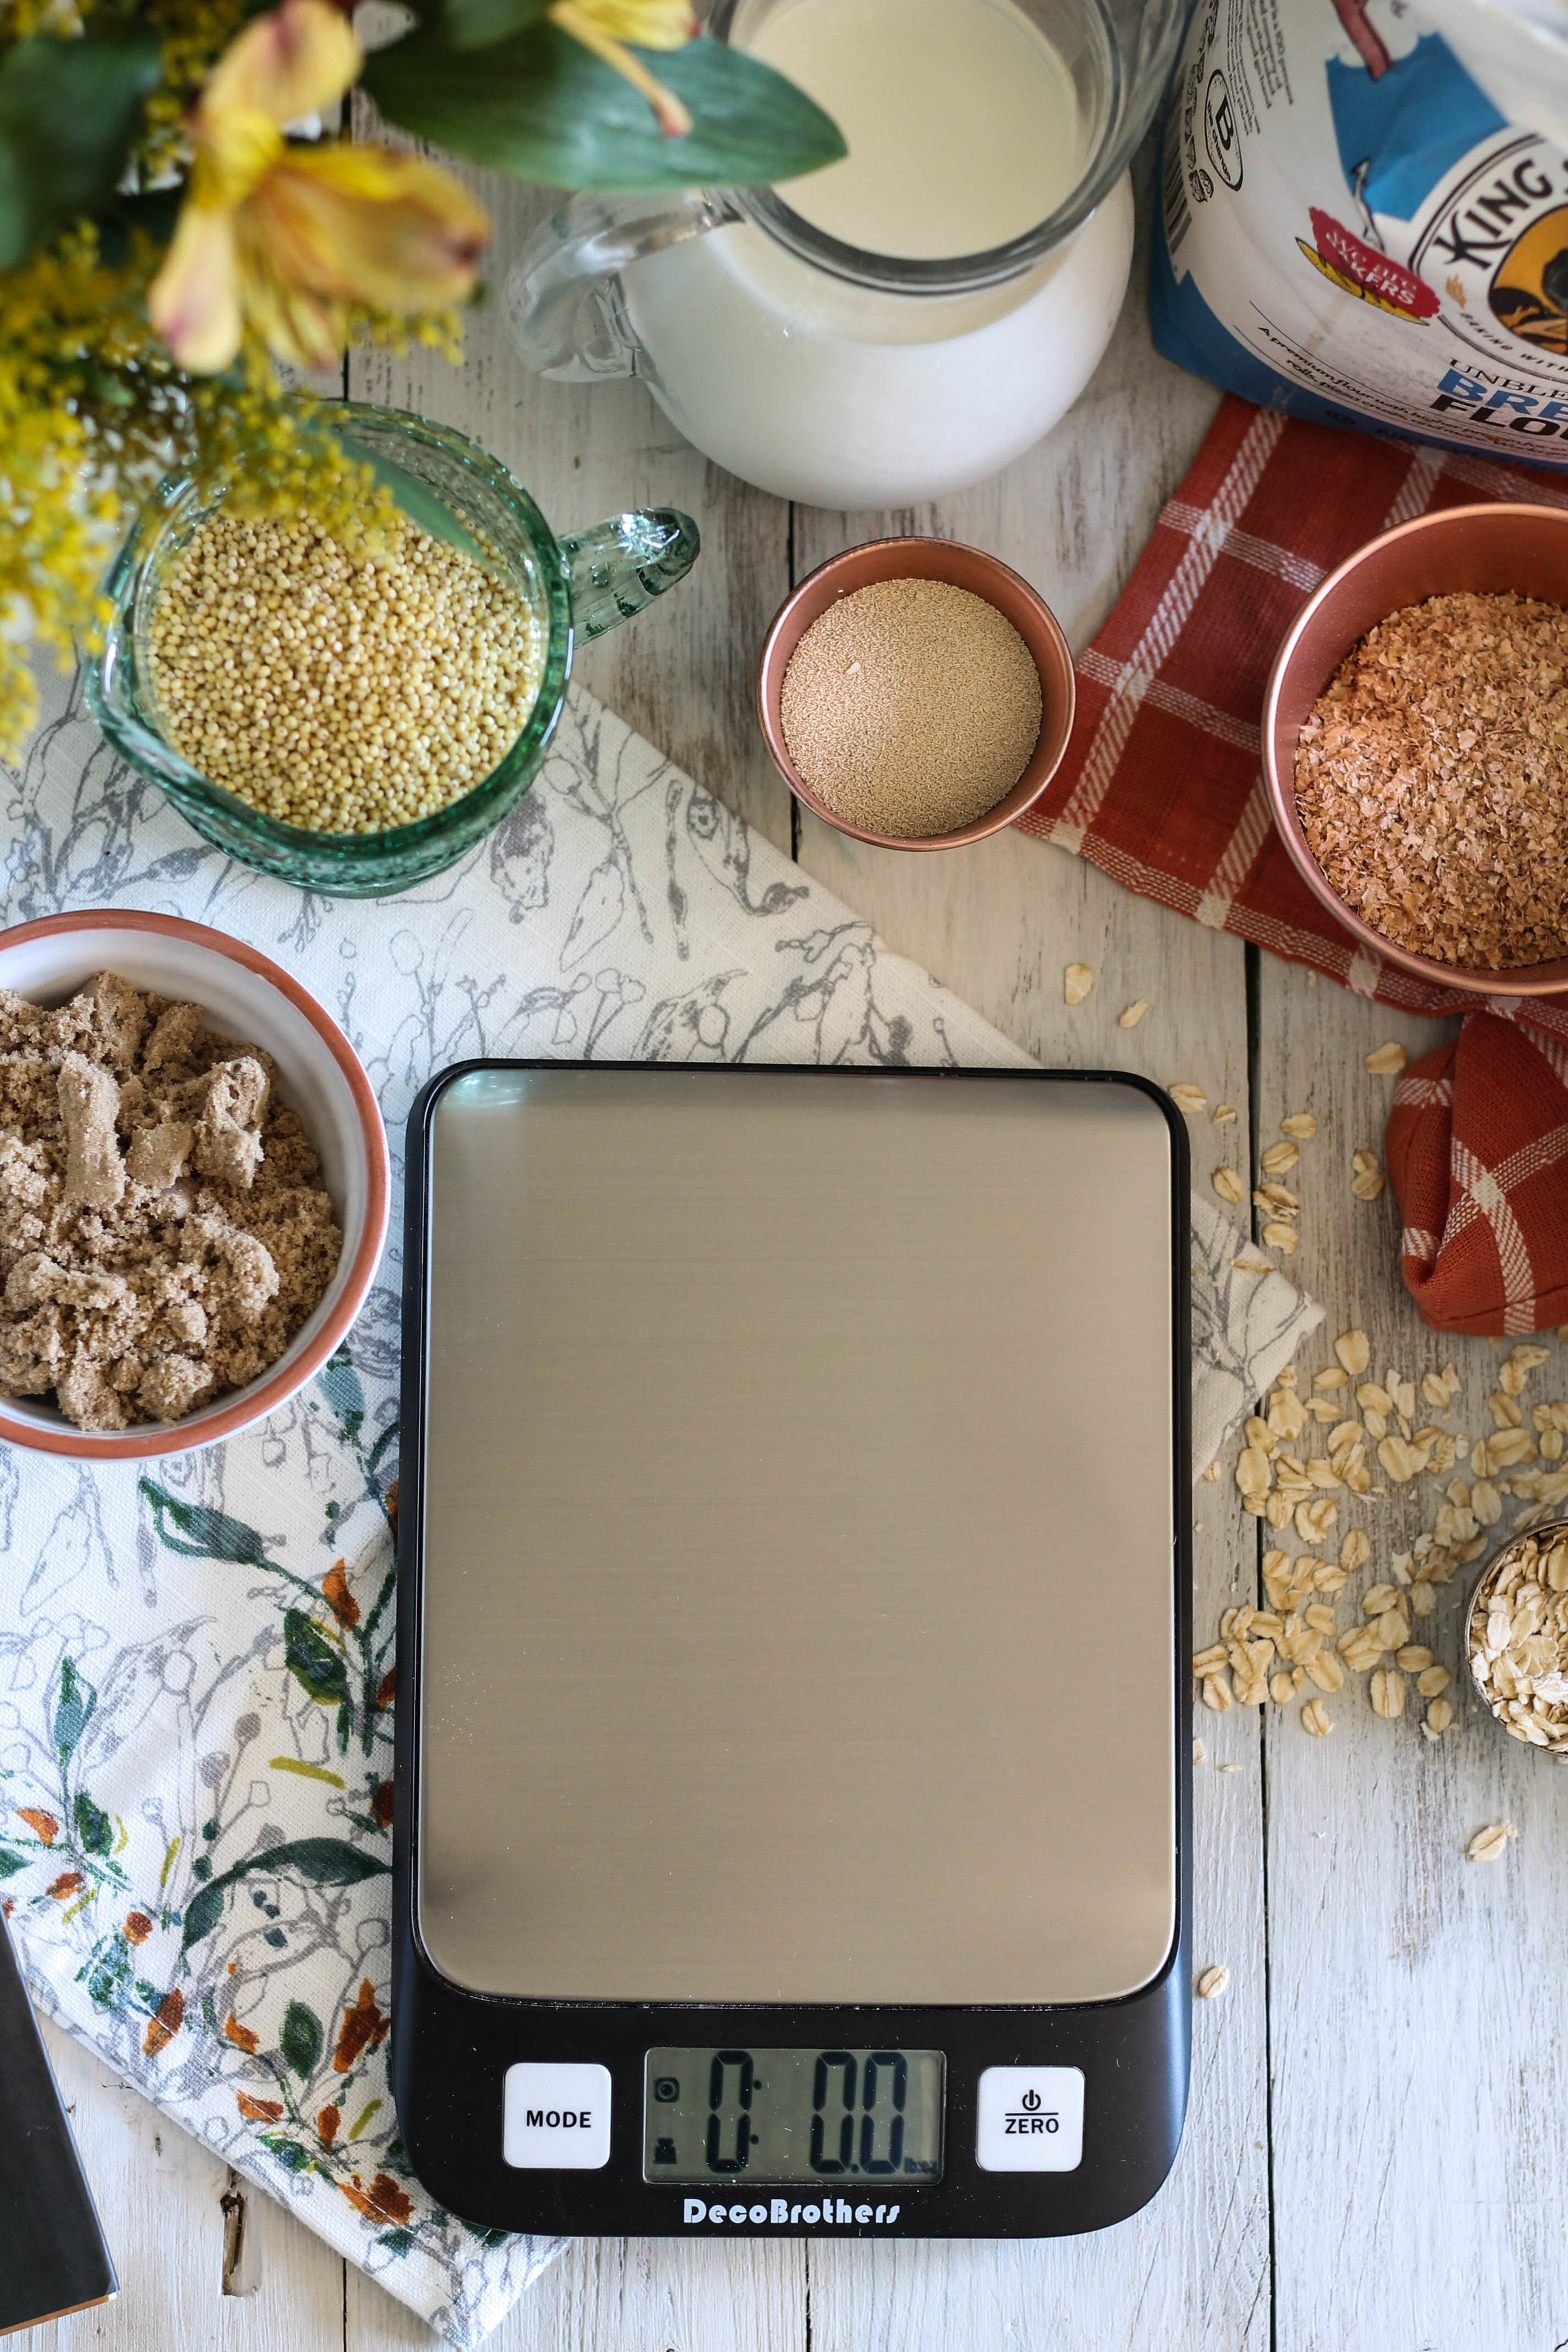
I brought few bits of bread-baking knowledge to the table before picking up this book, the greatest of these being that before attempting any bread recipe, you must buy yourself a kitchen scale. In my mind, a scale is just as vital to bread as the yeast. And believe me, once you own a scale, you will find that it comes in handy far more than you would imagine.

Peter taught me a couple of other tricks to bread success. An instant read thermometer and instant yeast. I bought both, and I have loved both. Here is why.
If you have ever invested hours of your day to make a loaf of bread only to slice into it and realize that your beautiful labor of love is raw in the center, you know the heart-sinking feeling I am talking about. Instant-read thermometers can eliminate such soul-crushing disasters by ensuring consistently perfect loaves every darn time.
Doesn't that make your baker's heart happy? Mine too.
Instant yeast is also our friend because it gets the job of rising done with less yeast required, has a longer shelf life than your typical active dry varieties, and can be added right into the flour without having to hydrate it first. In short, it just simplifies things.

When I first set out to make my own multigrain bread, I did not yet realize that it was necessary to examine my intentions for this loaf's future before I began mixing, rising, and kneading.
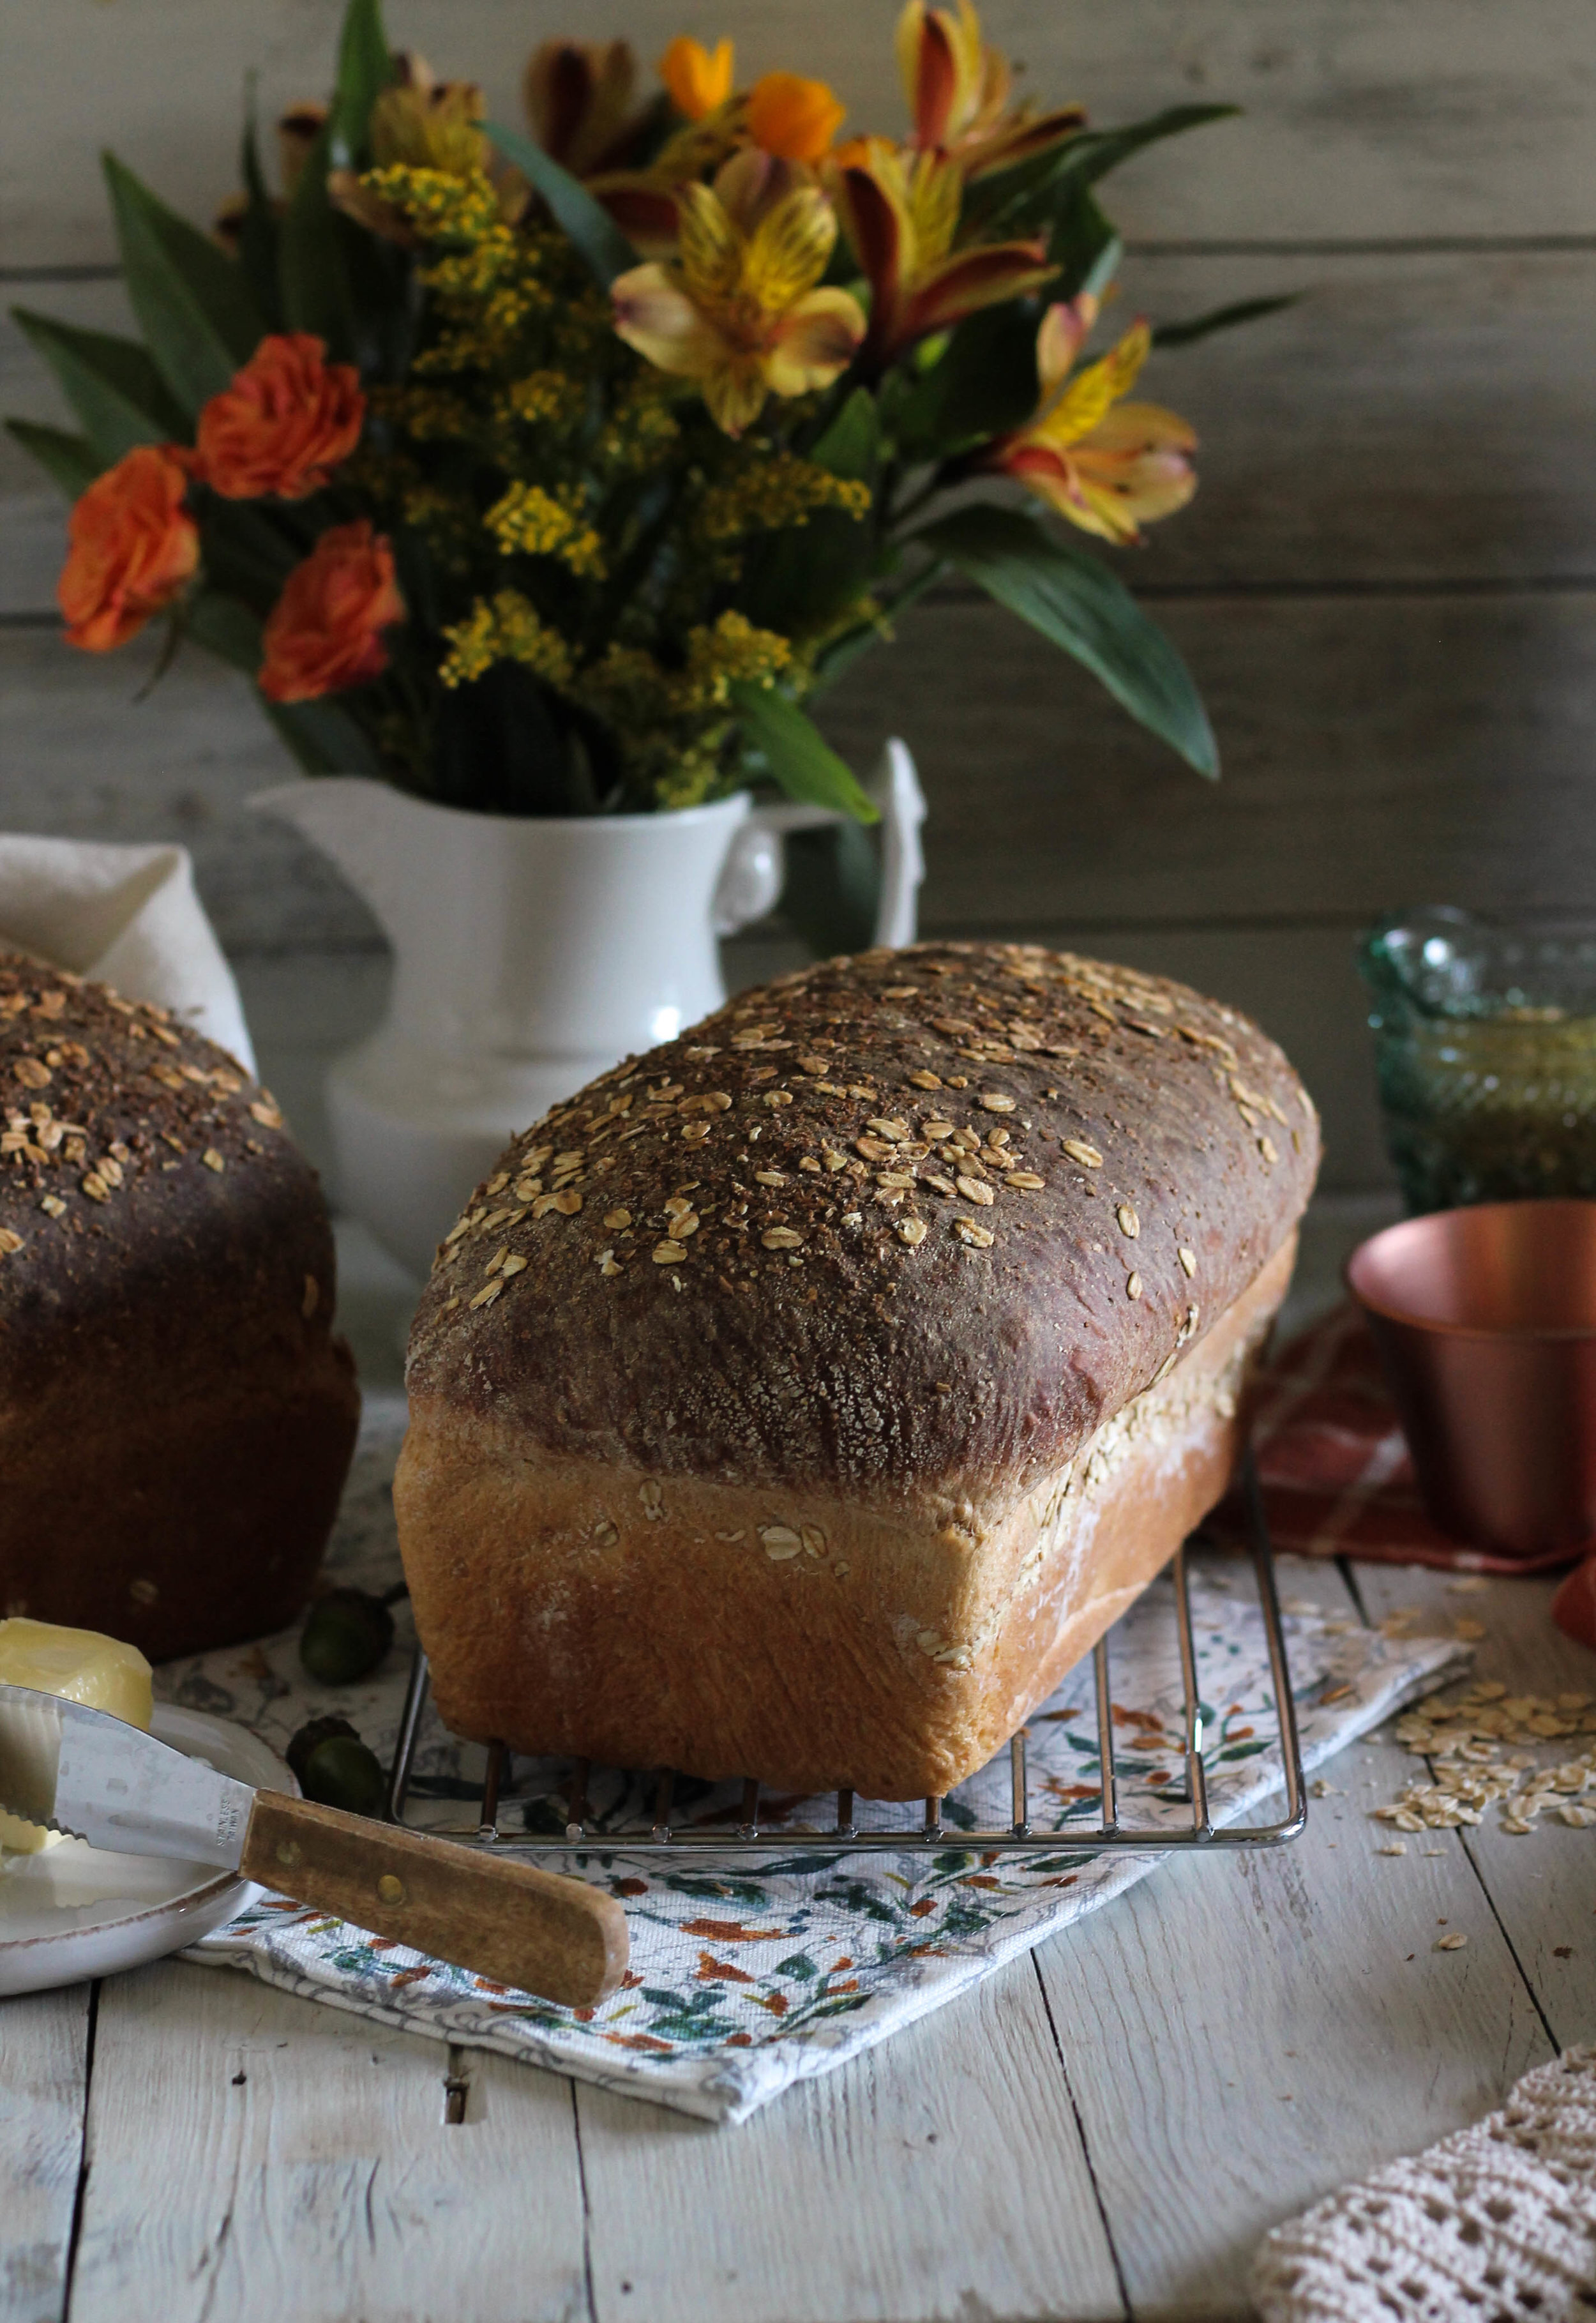
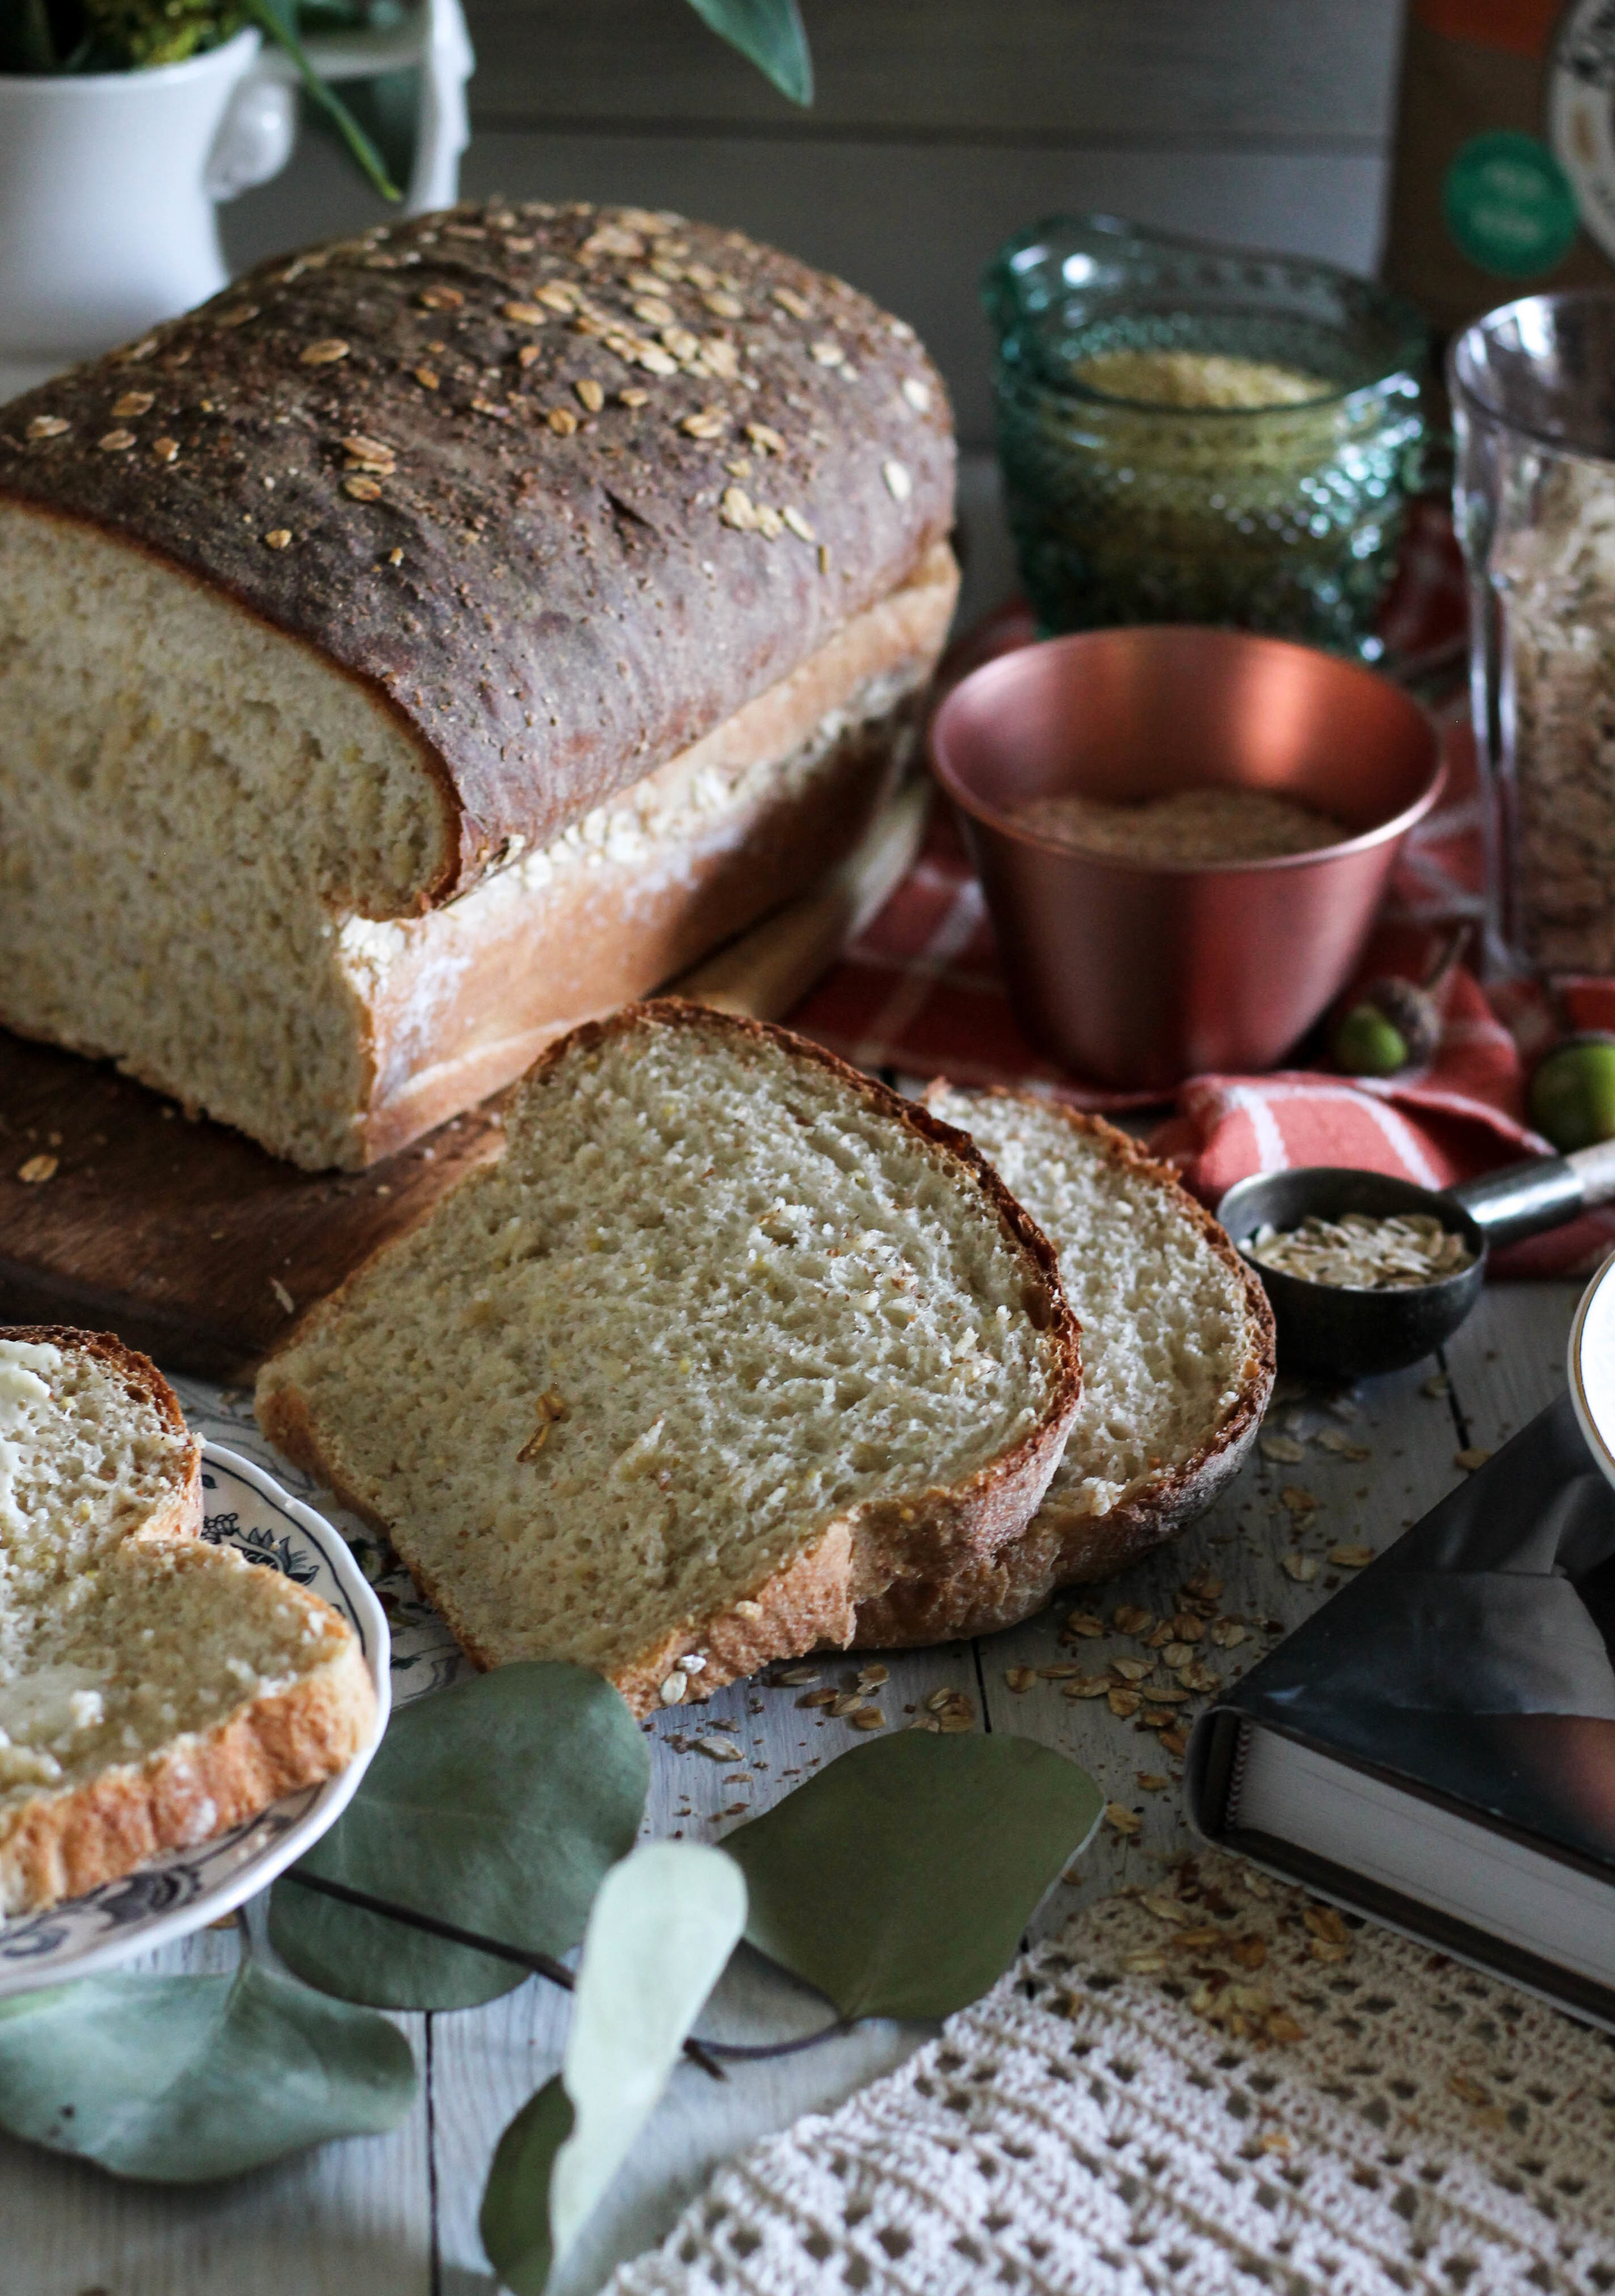
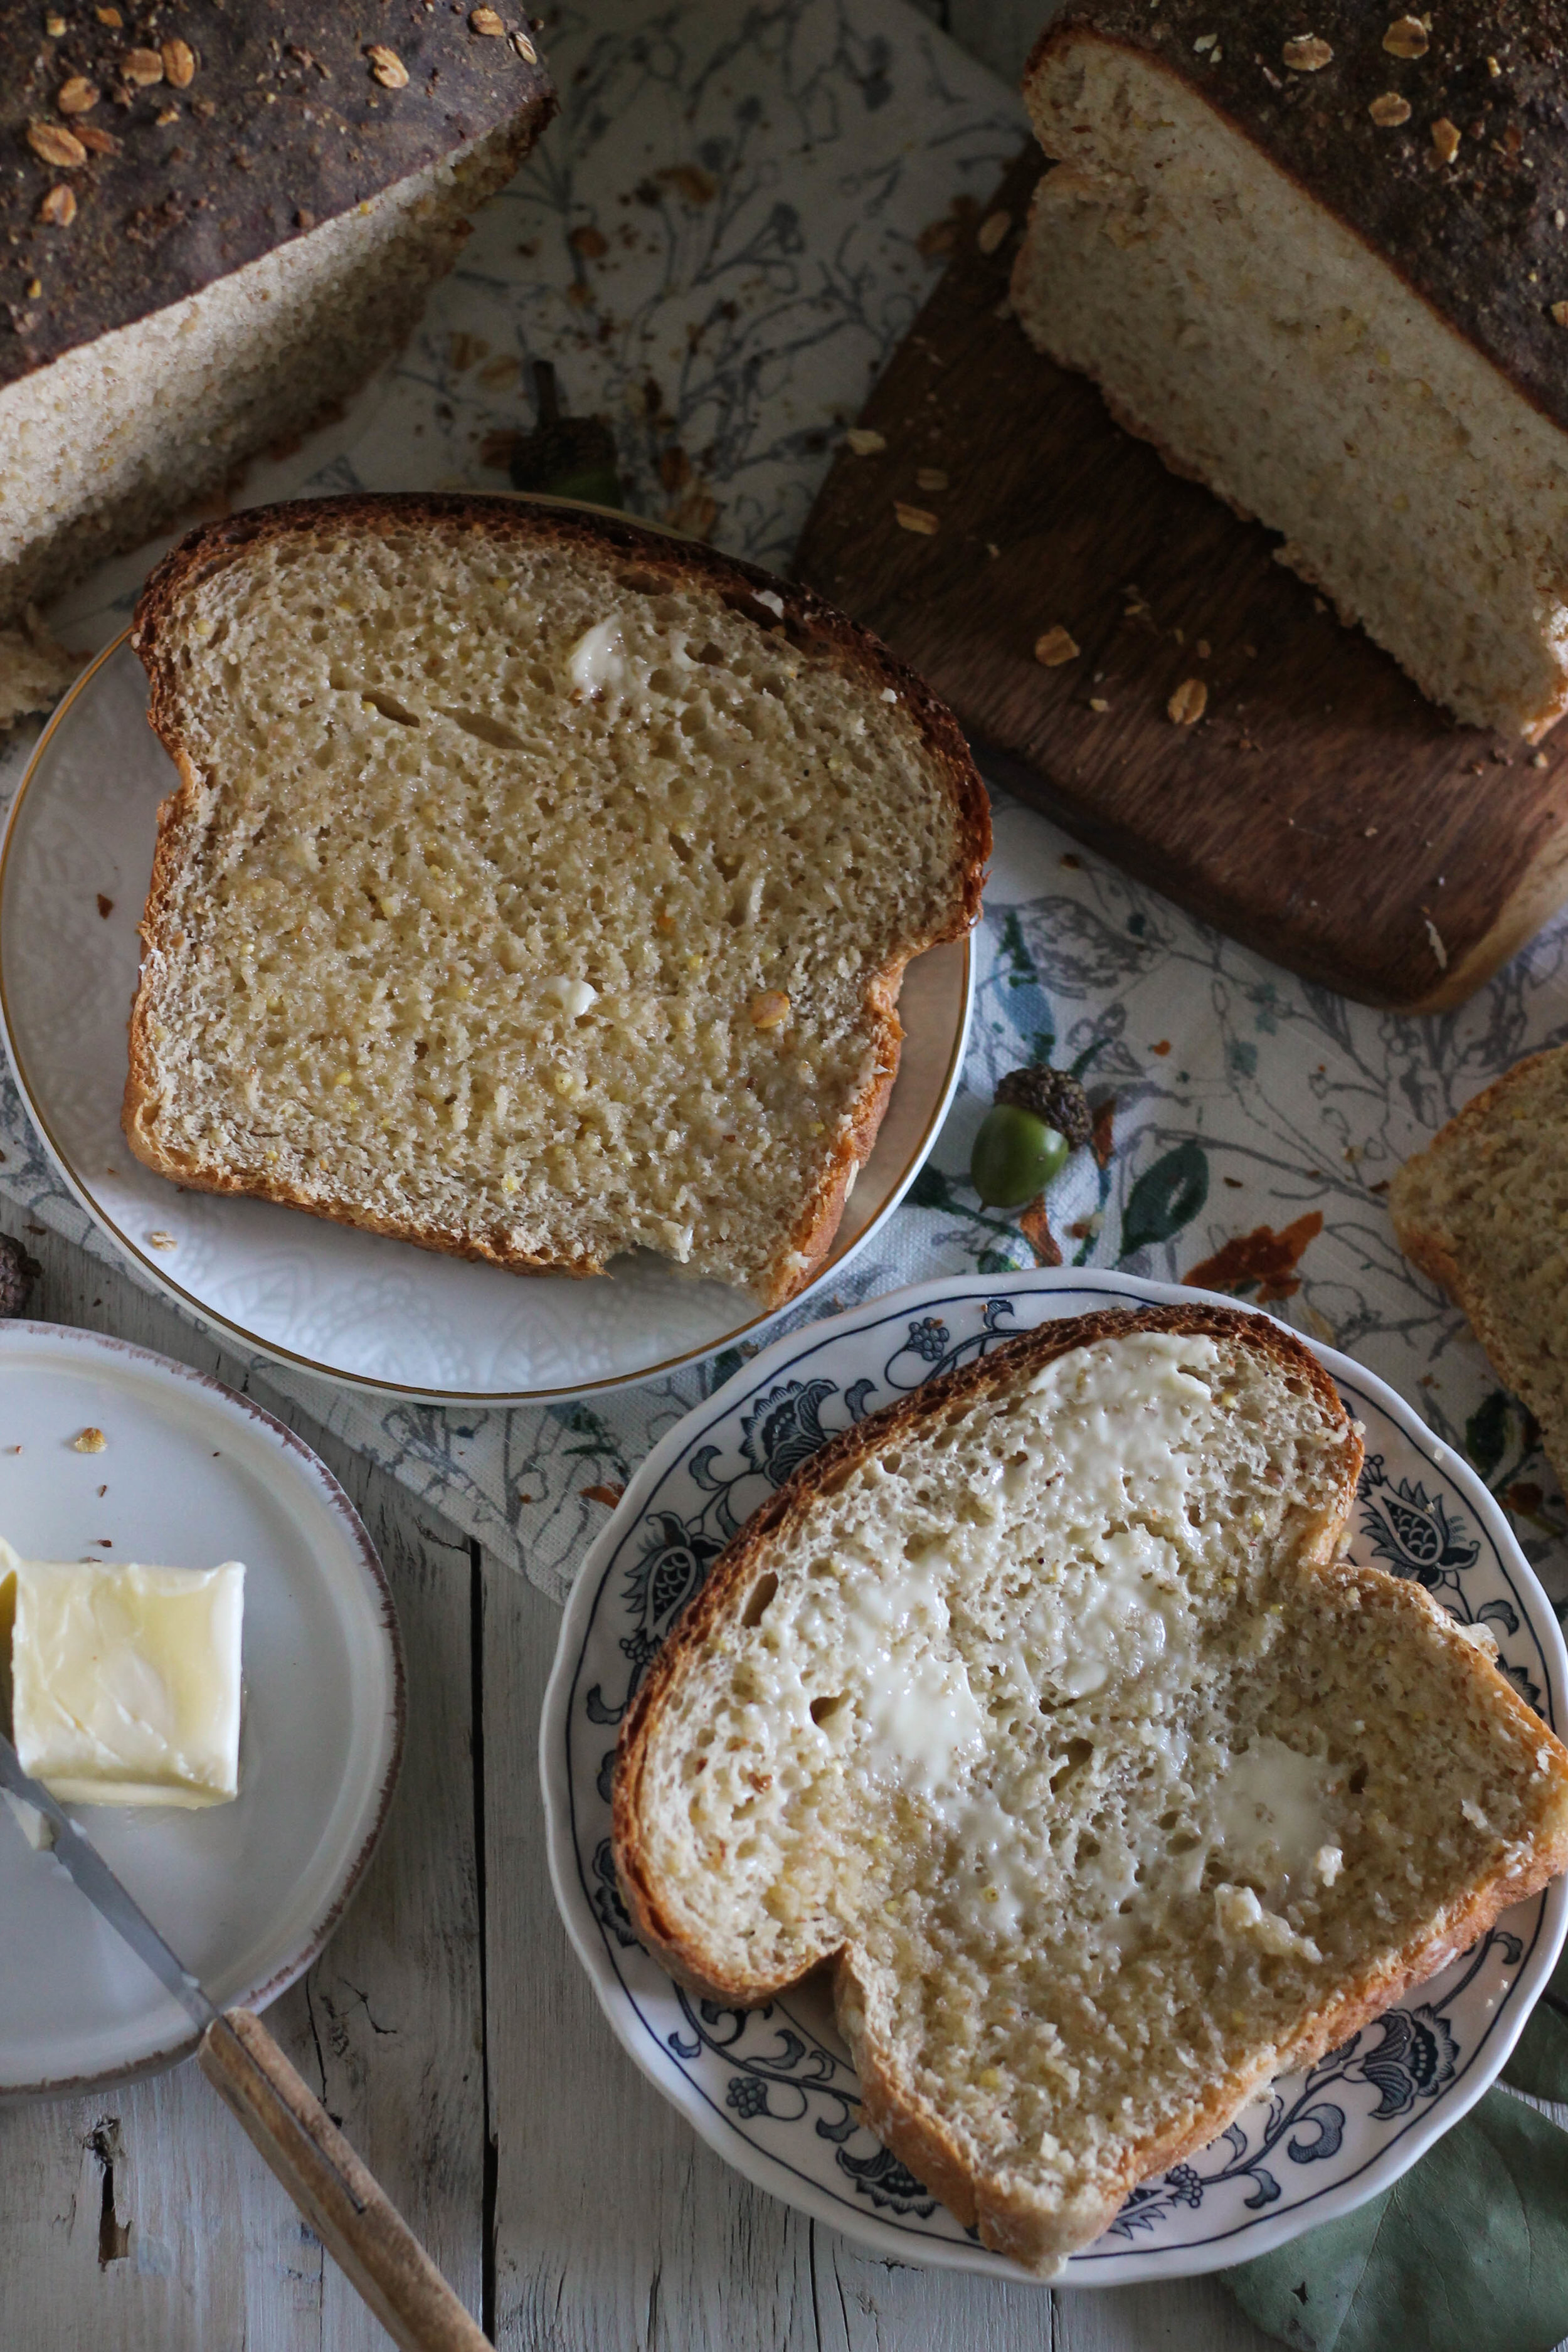
As I discovered, there is not simply one form of multigrain bread. Oh no, there are the soft, tender loaves that you devour, slice after slice, warm from the oven, with many oversized pats of sweet, yellow butter.
There are also hefty, sturdy, loaves of grain-studded heartiness that stand up to any pile of ham, cheese, and mayonnaise that your men folk might pile onto them.

Both are great, both have their purposes, and both come from quite the same ingredients. The secret is in the ratios.

Yep, that's right, we are going to get technical for a moment. This is my favorite part of baking so do not be surprised at the slightly evil-scientist sparkle in my eyes.

The difference lies entirely in the flours. Oh, you thought flour didn't matter? It's all the same thing? As I have learned through many many loaves of experience, flours have specific purposes, and it would behoove us all to pay more attention to those little labels before we begin baking. And here is why.

Bread flour. Bread flour has a high gluten-content, which not only means that it makes my sister really sick, it also means that recipes with bread flour will result in a very chewy loaf - the kind of loaf that is best held on one's palm as the butter drips down to your elbow.
Whole wheat flour, on the other hand, has a much lower gluten content and will create a much denser, firmer bread. The kind that will hold up to any array of sandwich accouterments.

When it is all said and done, both of these breads are equally delicious, and each has its own unique charms and qualities.
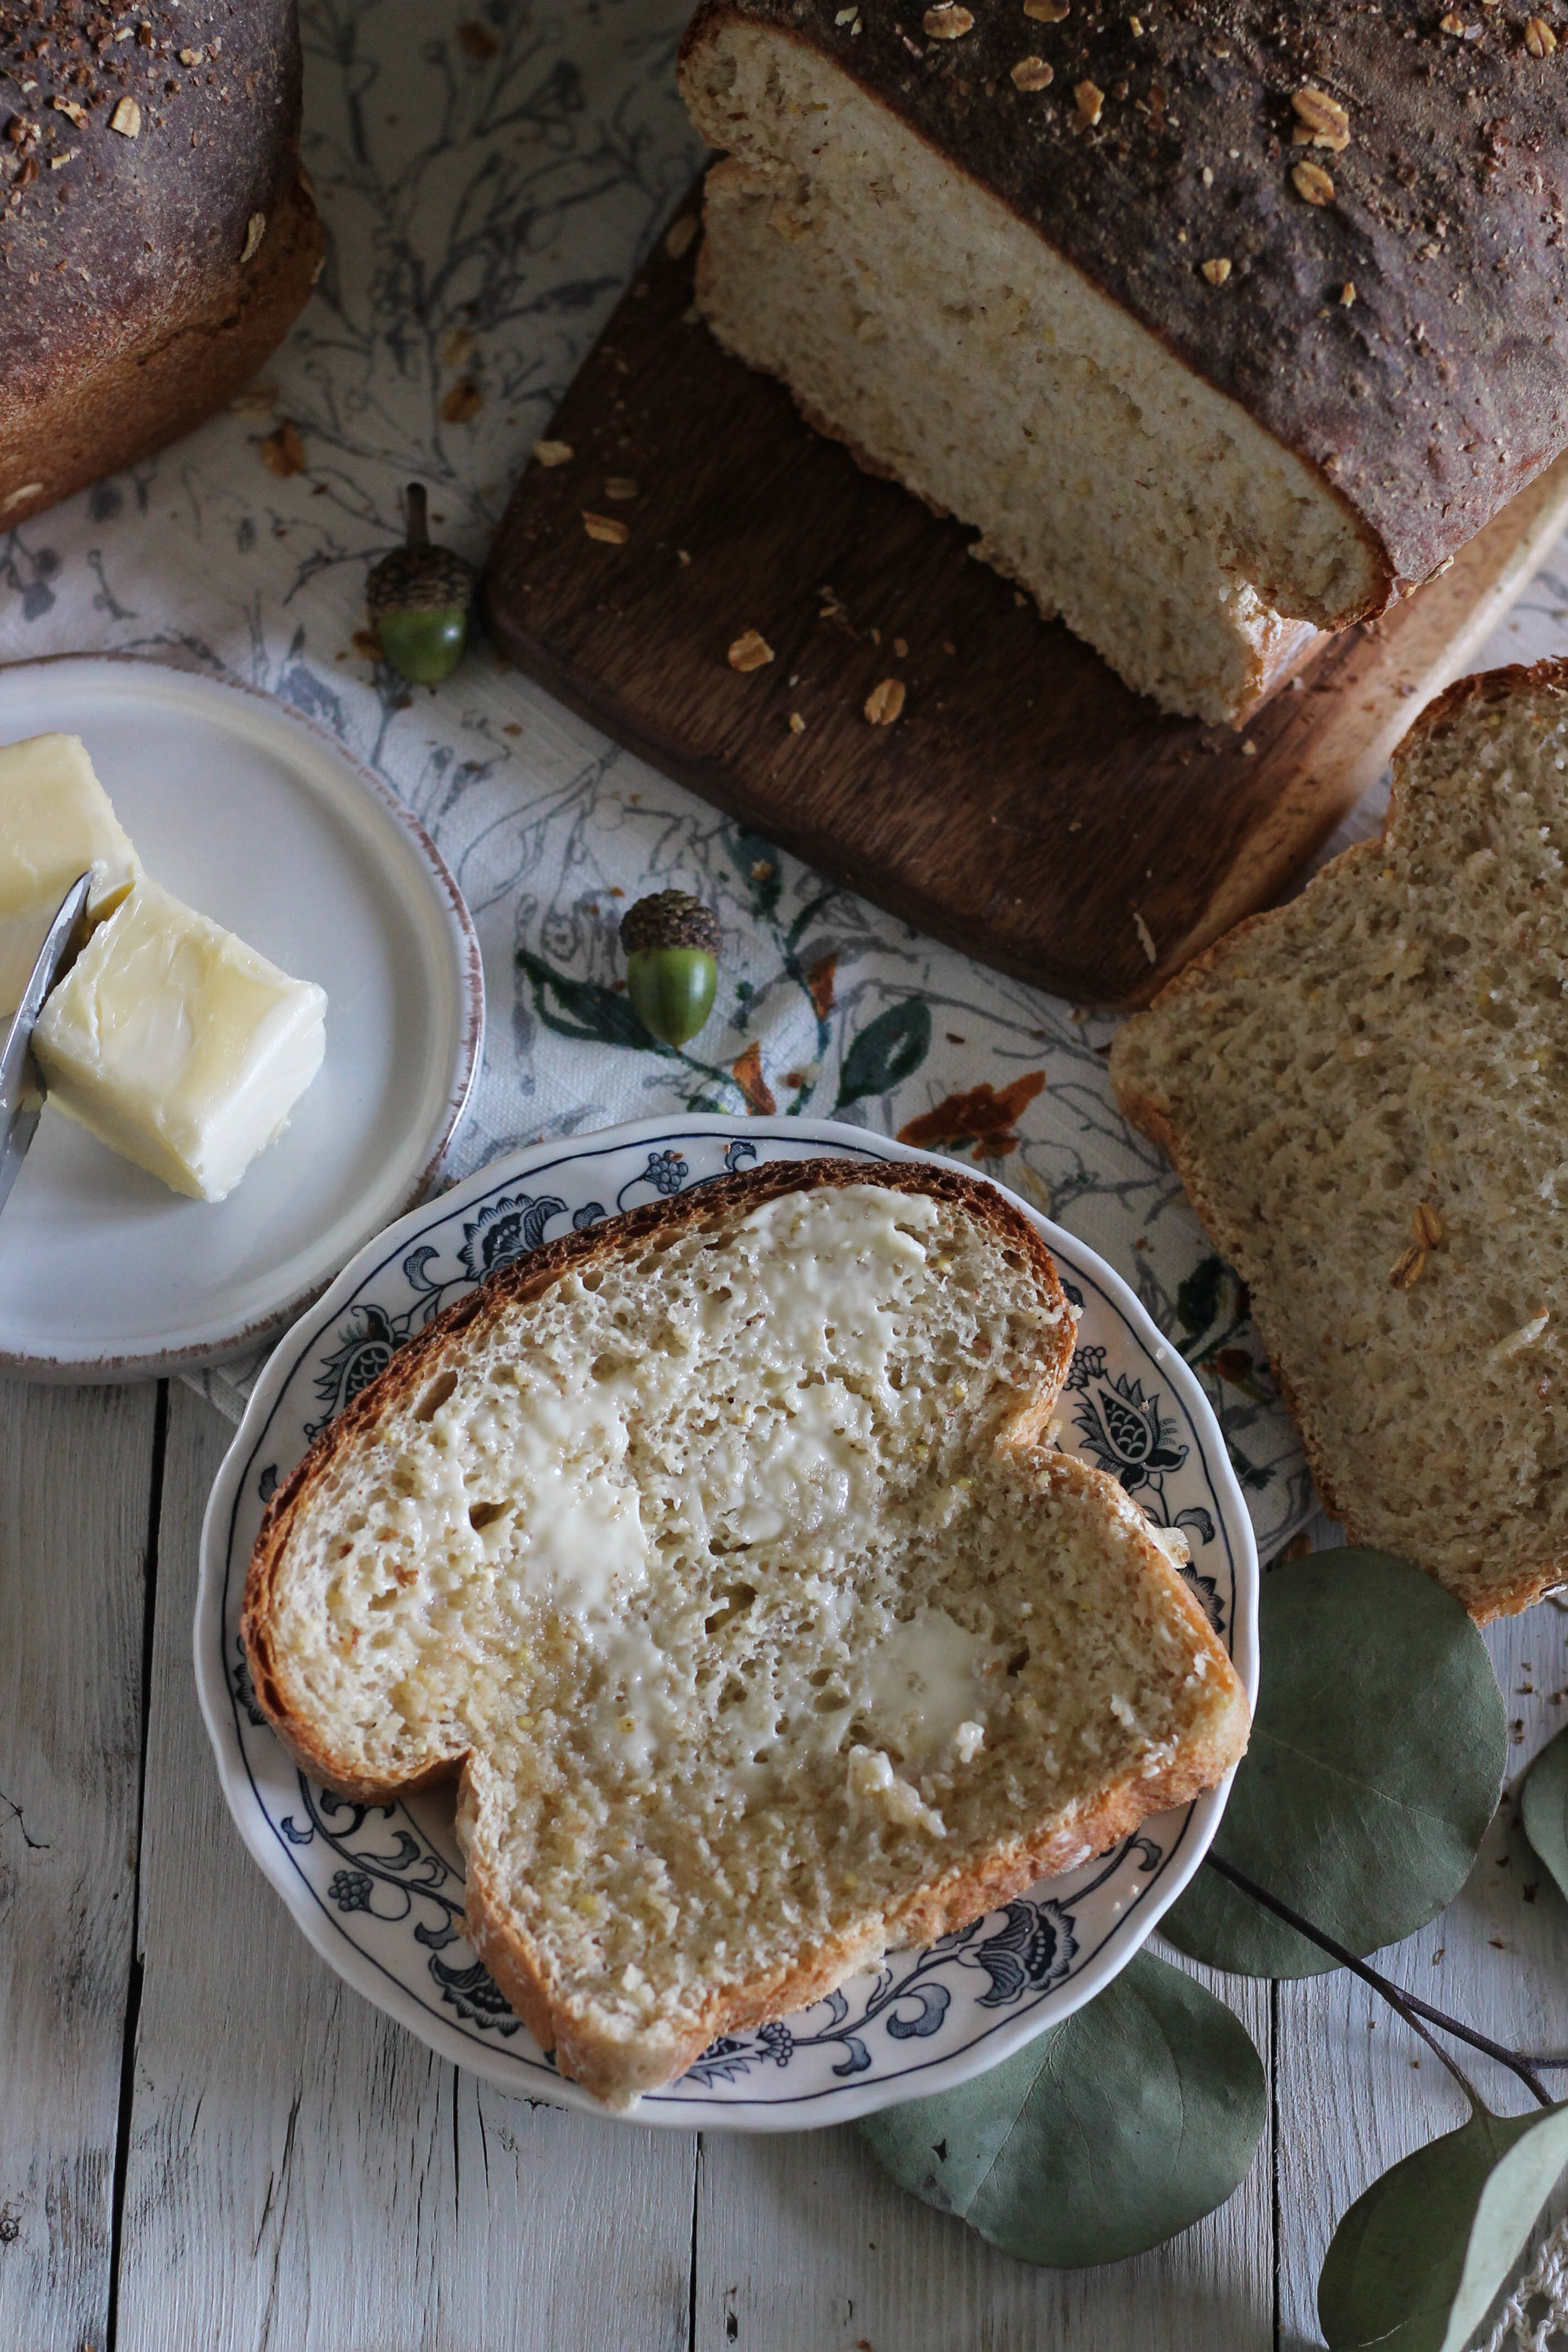
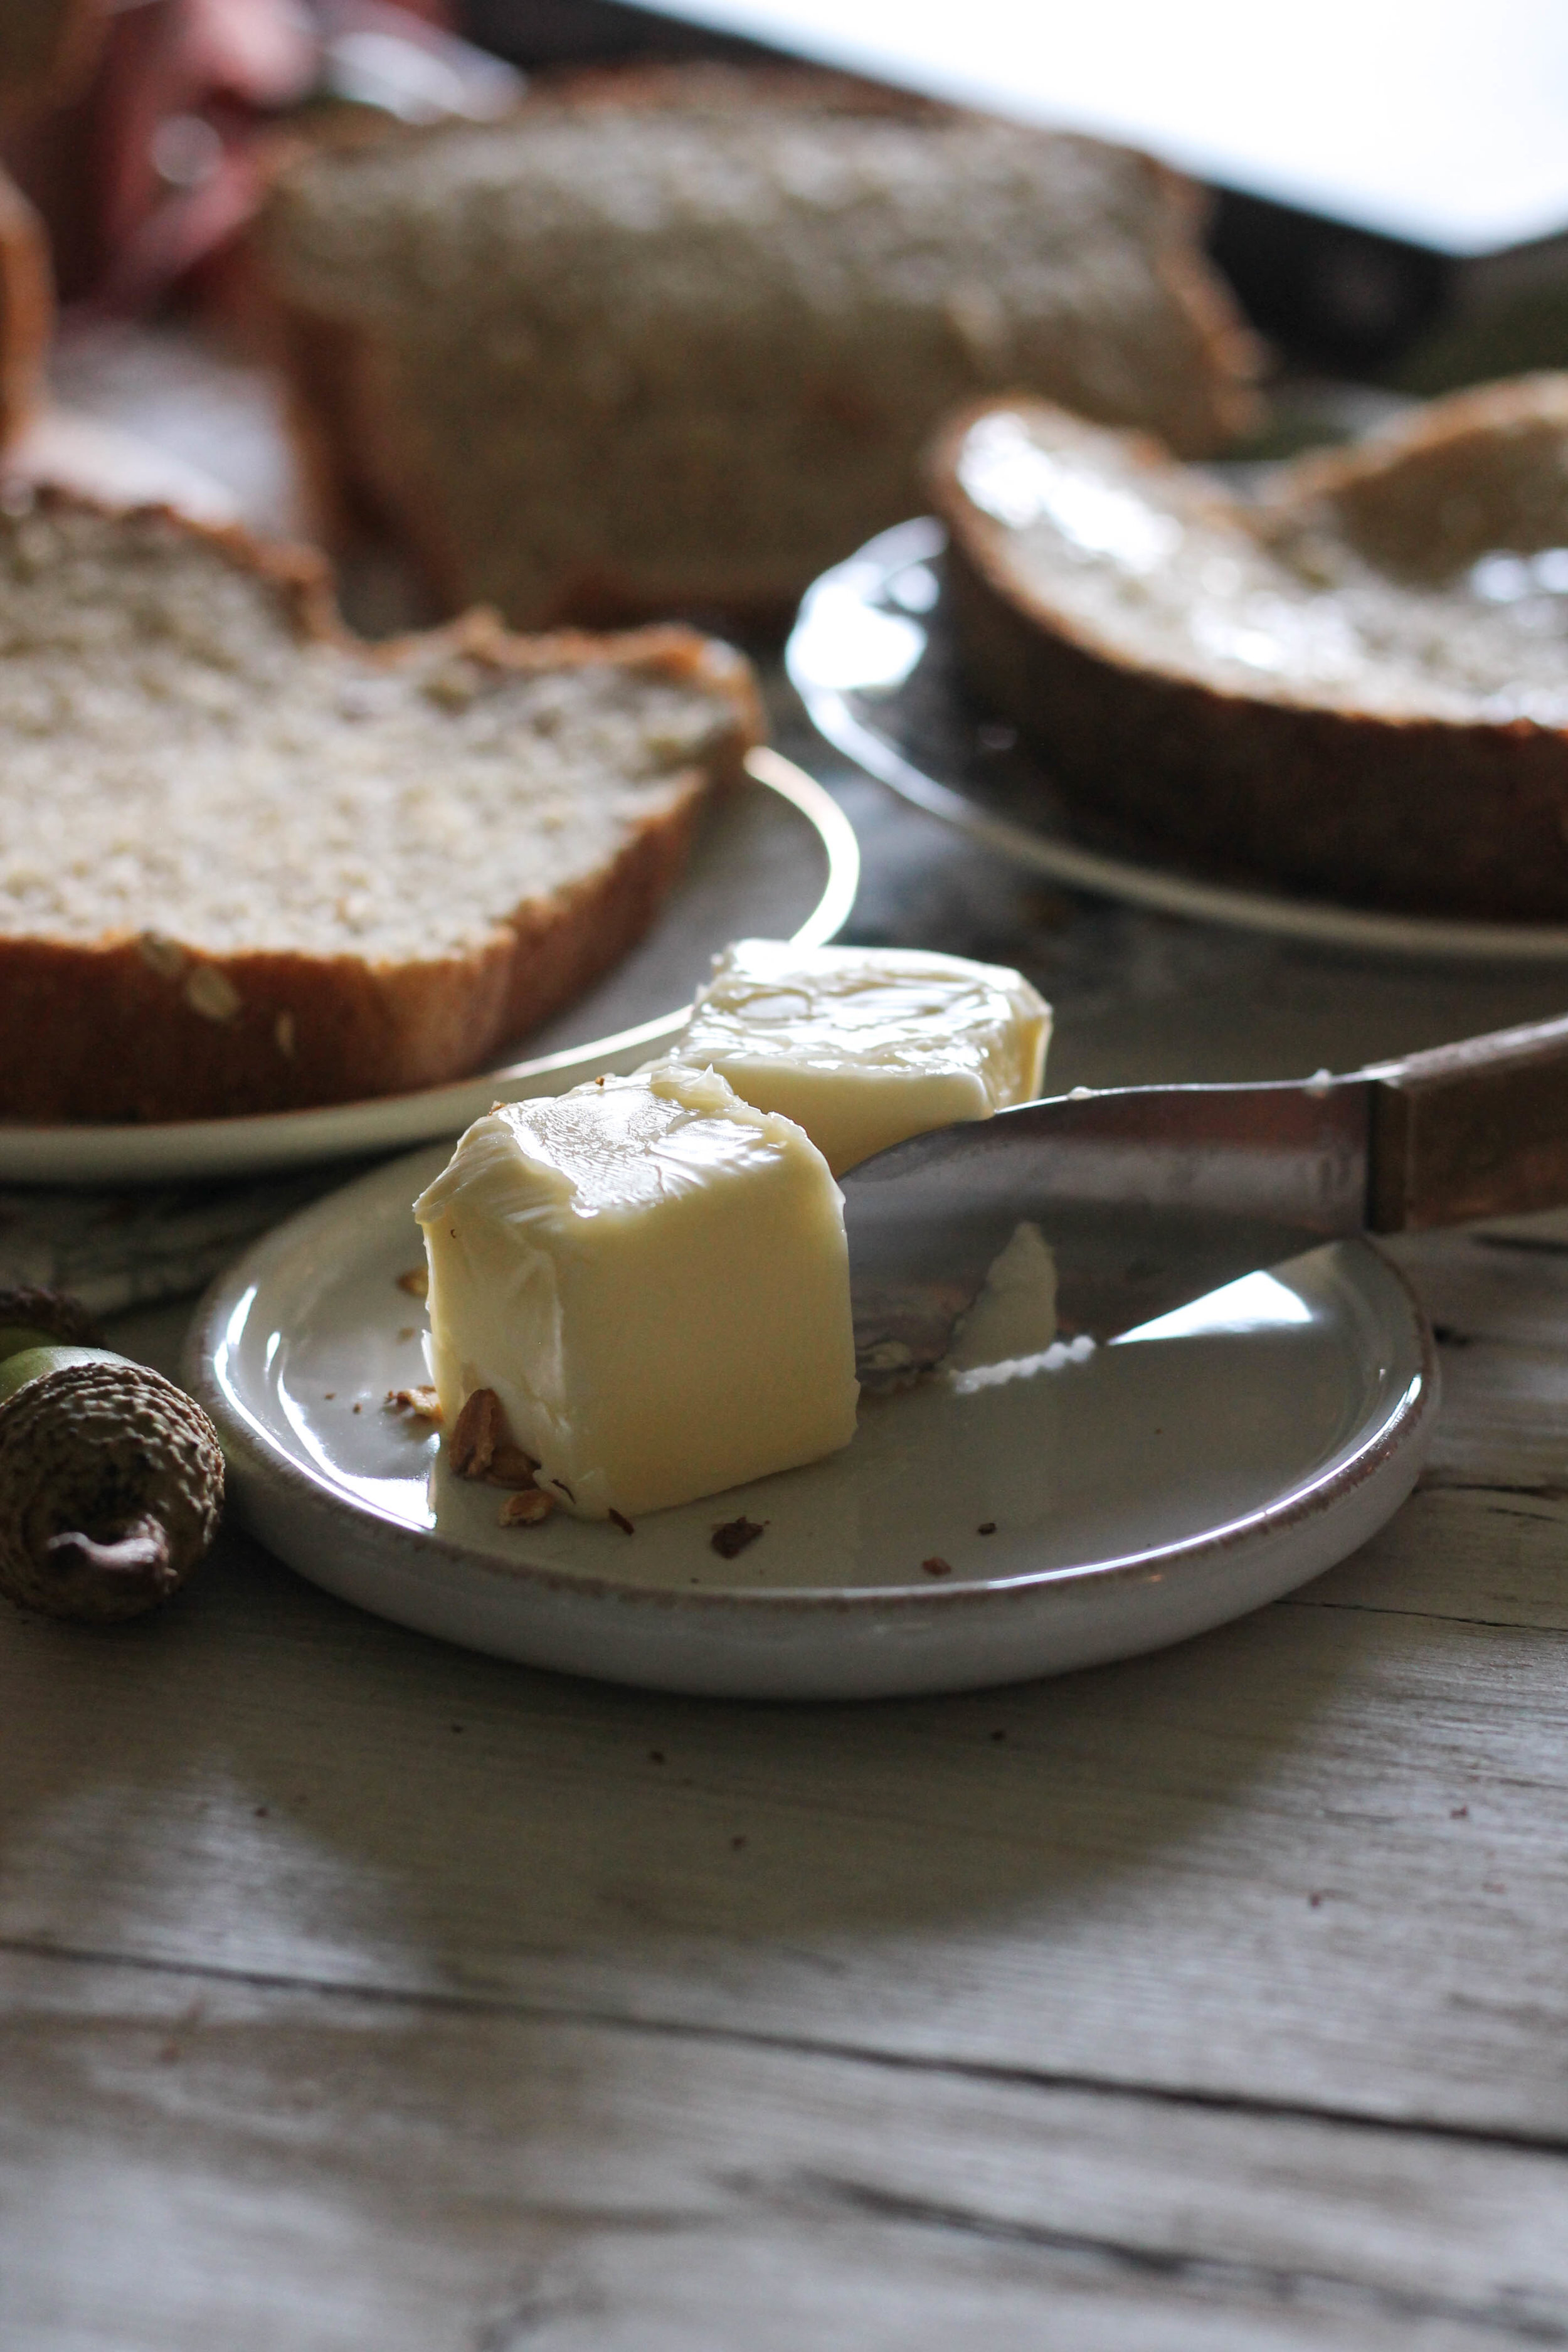
There is nothing better on this earth than a kitchen fragrant with the smell of yeasty bread and a slice of warm, buttered bread in hand.

Sincerely,
Pedantic Foodie
Multigrain Bread [Soft & Chewy]
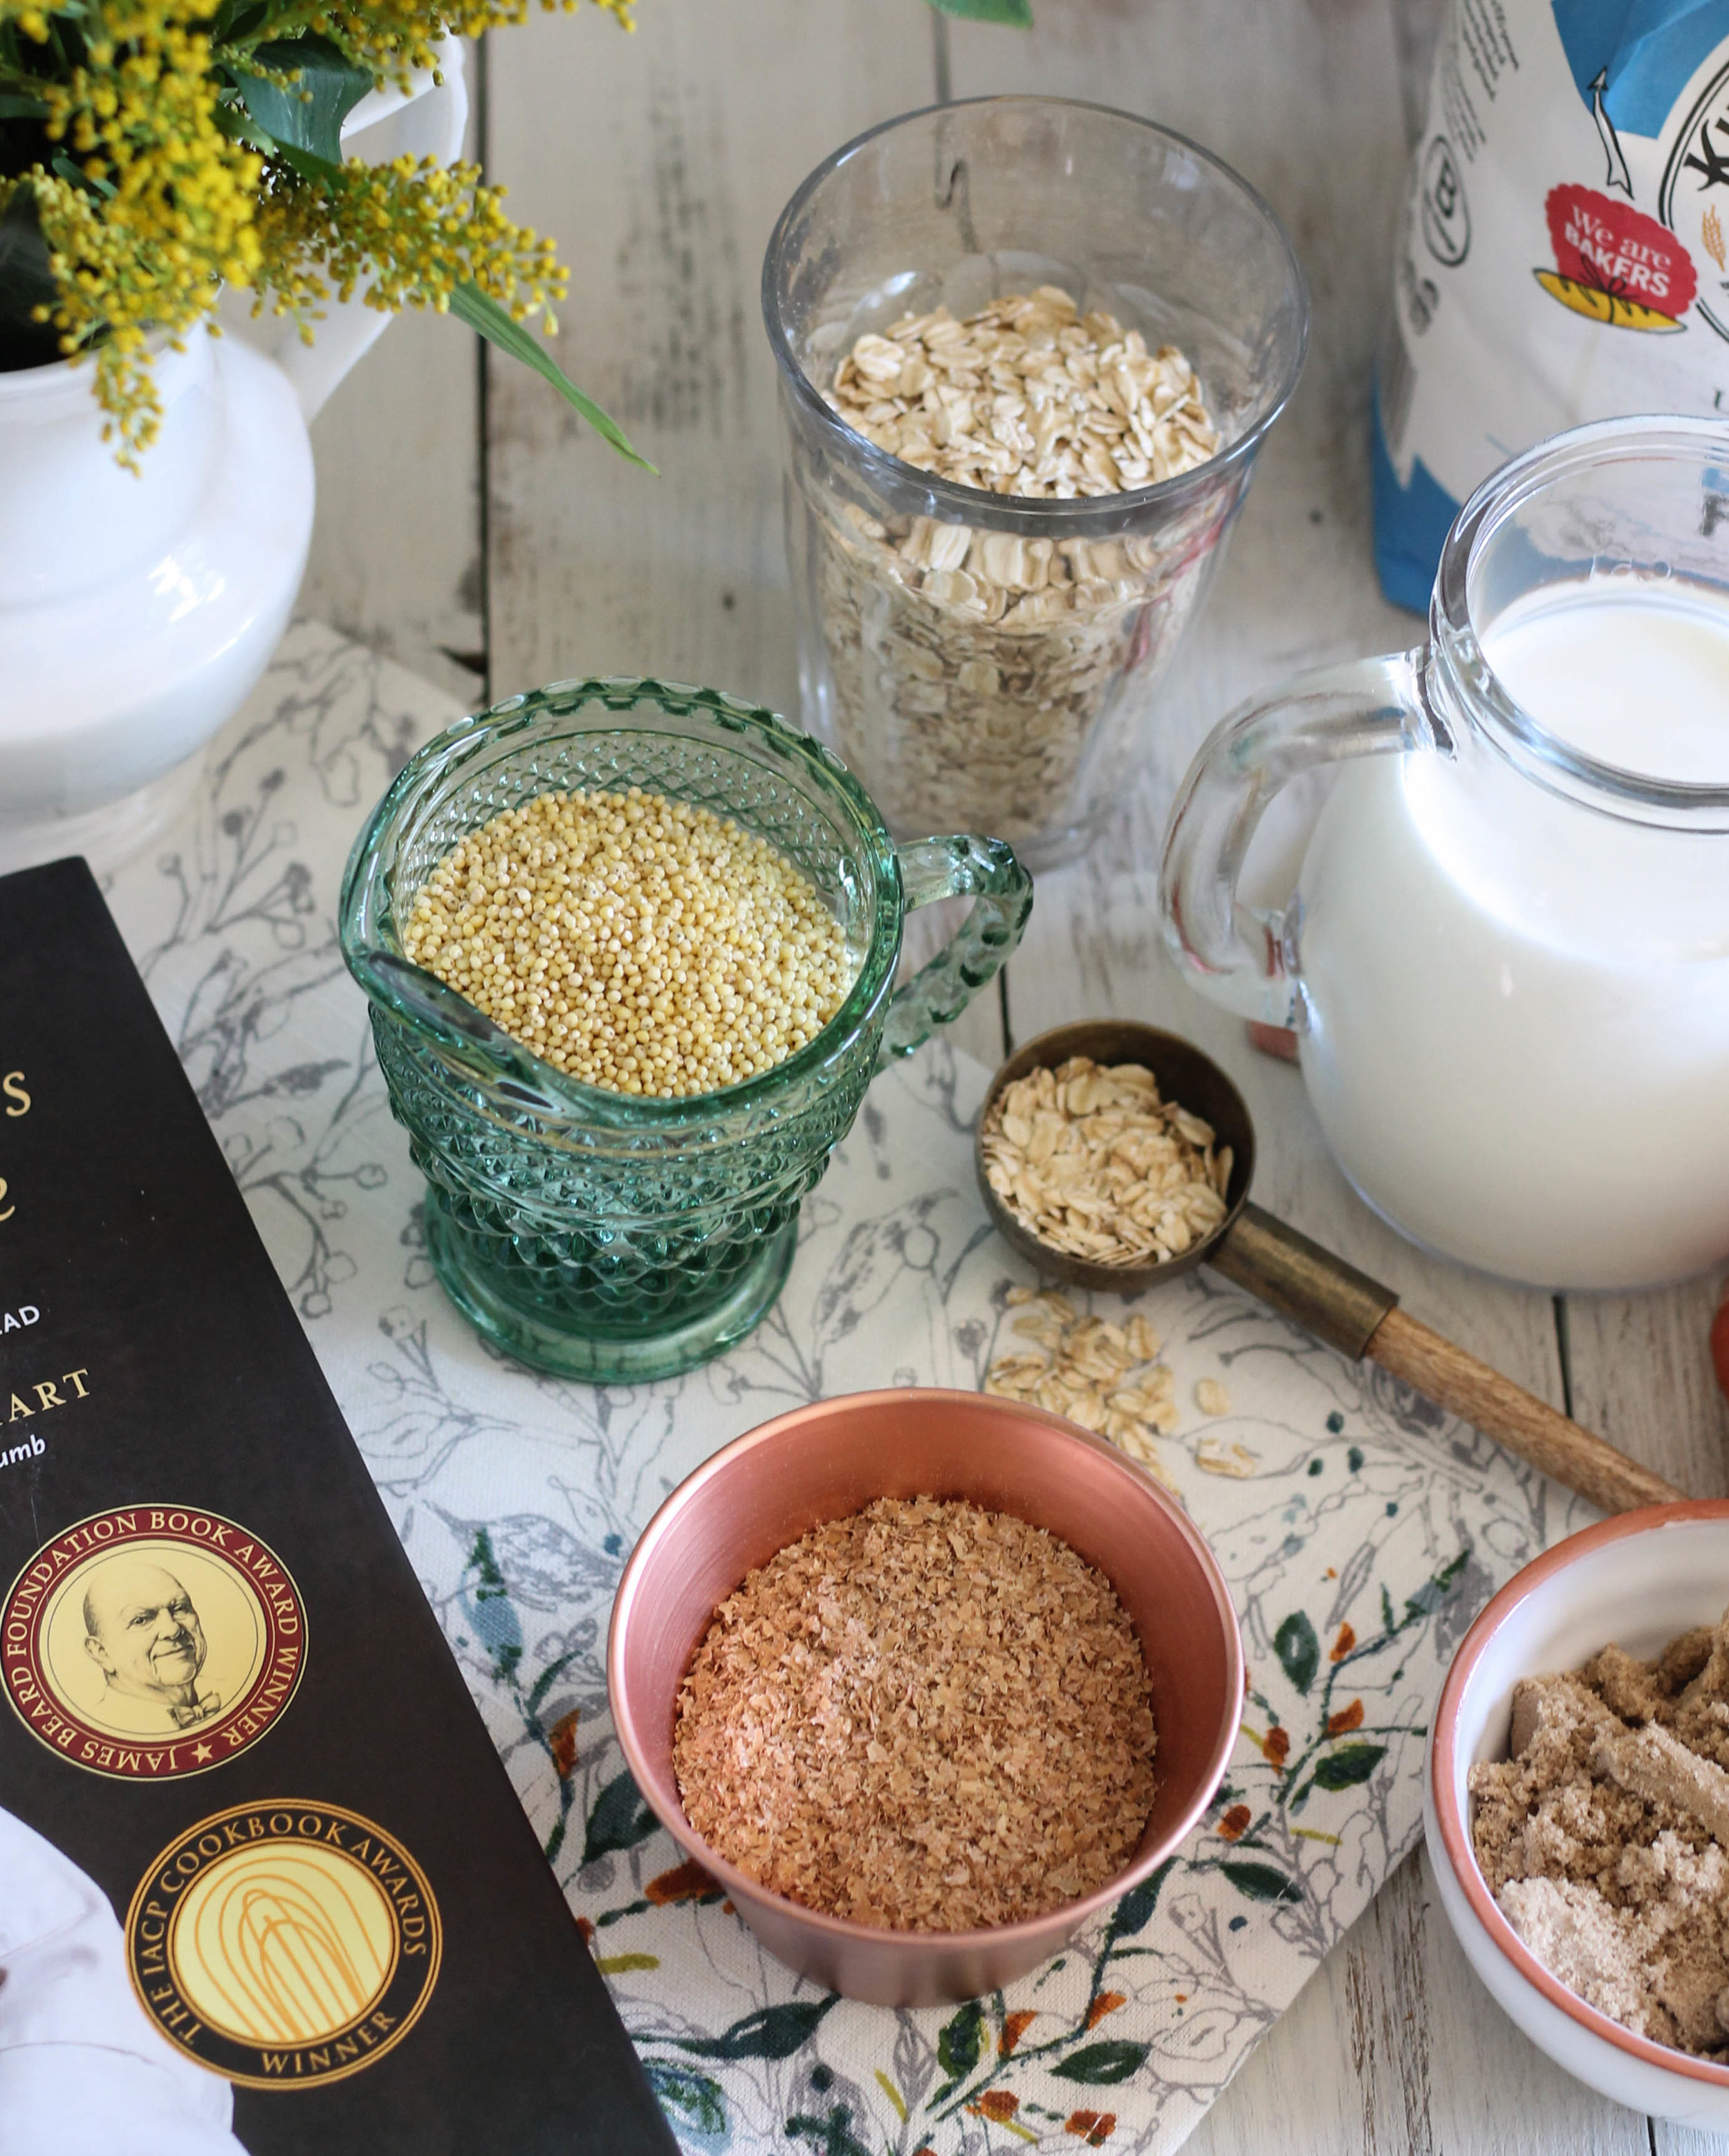
recipe adapted from The Bread Baker's Apprentice
Baker’s Note: This bread begins with a soaker. This might seem a little daunting - like you are entering an entirely new level of baking - but it is simple! I promise! During the testing process I had approached this recipe with trepidation, but my fears were put to rest after the first trial. It is just a simple step that adds great depth to your bread and make you feel pretty accomplished too.
for the soaker
- 3 tablespoons millet
- 3 tablespoons rolled oats
- 2 tablespoons wheat bran
- 1/4 cup filtered water
The day before you plan on baking your bread, prepare the soaker. Combine millet, rolled oats, wheat bran in a small bowl and cover with water. Stir just to combine and cover with plastic wrap. Leave the bowl at room temperature and allow to sit overnight.
for the dough
- 13.5 ounces bread flour (you may need to increase this amount up to 5 ounces more, in order to bring the dough together) + extra for rolling and shaping
- 3 tablespoons brown sugar
- 1 1/2 teaspoons salt
- 1 tablespoon instant yeast
- 1 1/2 tablespoons honey
- 1/2 cup buttermilk
- 3/4 cup filtered water, room temperature
- nonstick spray
- 2 teaspoons rolled oats
- 1 teaspoon wheat bran
In the bowl of your stand mixer, combine flour, sugar, salt, and yeast. Add in your prepared soaker, along with the honey, buttermilk, and water.
Fit your mixer with the paddle attachment and mix on low speed until the ingredients form a ball. If the dough is not coming together, add up to 5 ounces of extra bread flour.
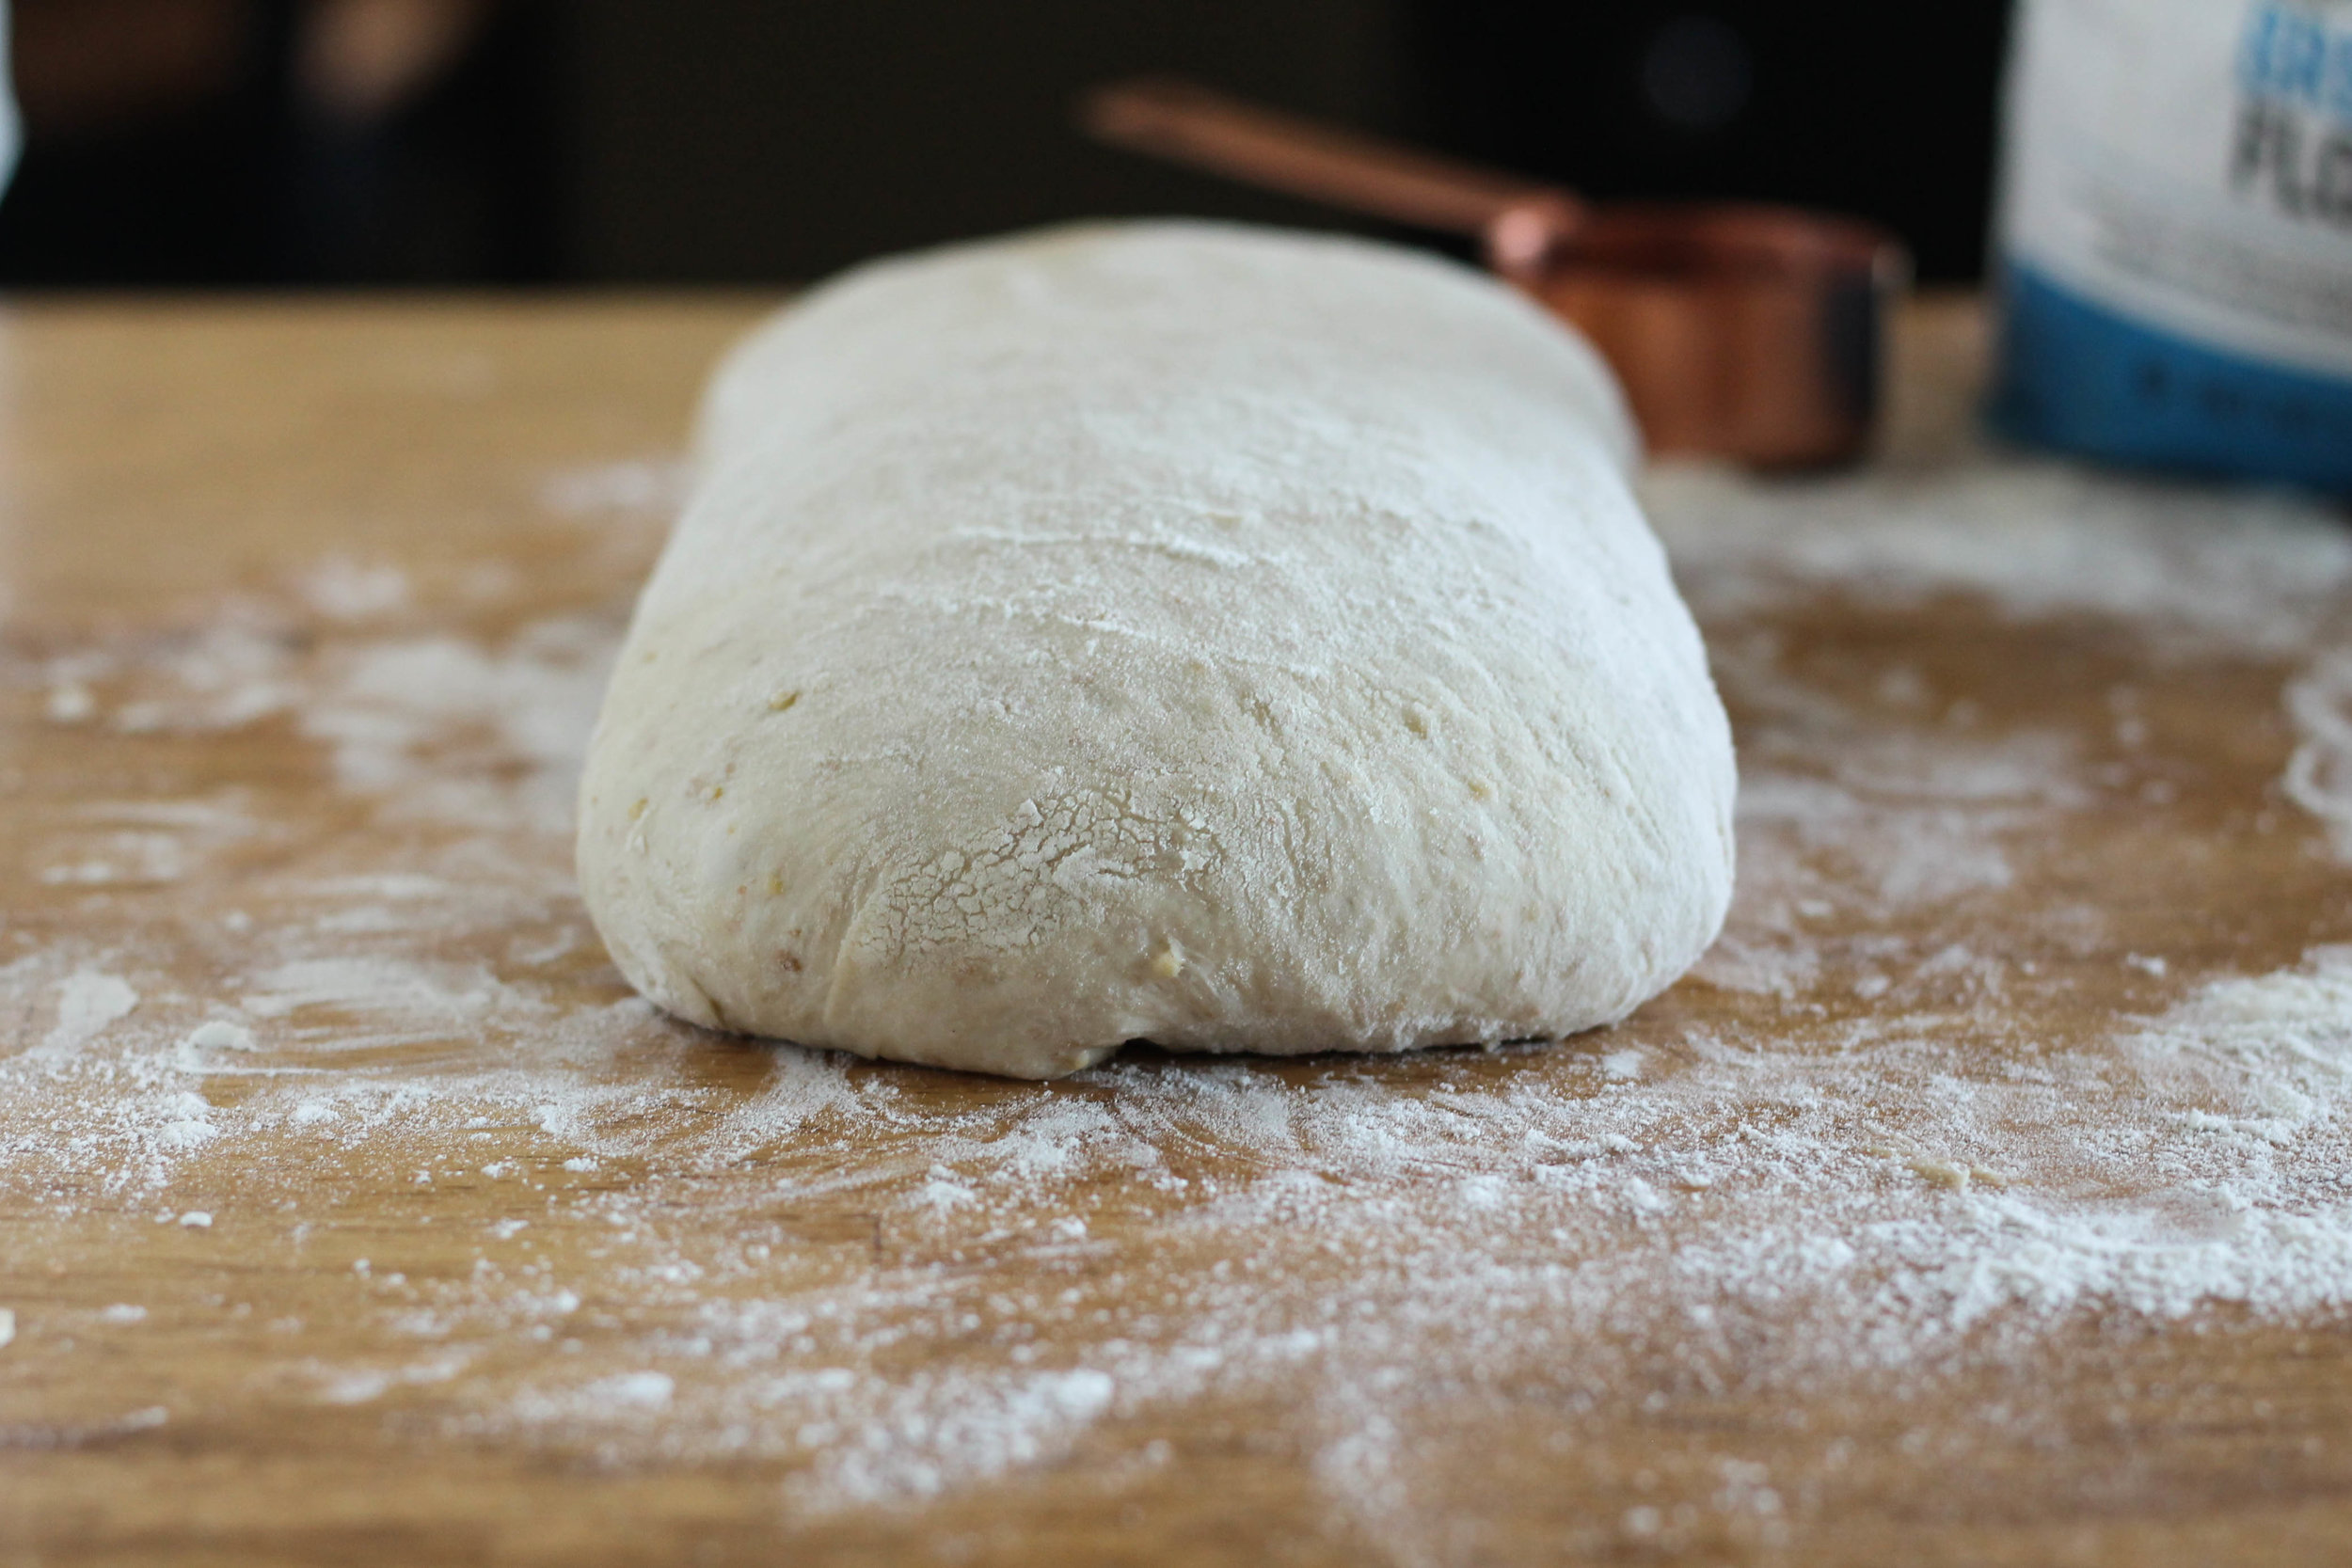
Transfer the dough to a well-floured countertop and read for about 12 minutes, sprinkling with flour as needed. The dough should be pliable, but not sticky. Alternately, you can knead the dough in your stand mixer with the dough hook. Knead for 10 minutes in the mixer and then finish by kneading for an additional 2 minutes by hand.
At the end of the kneading process the dough should pass the windowpane test and should read at 77 to 81 degrees F.
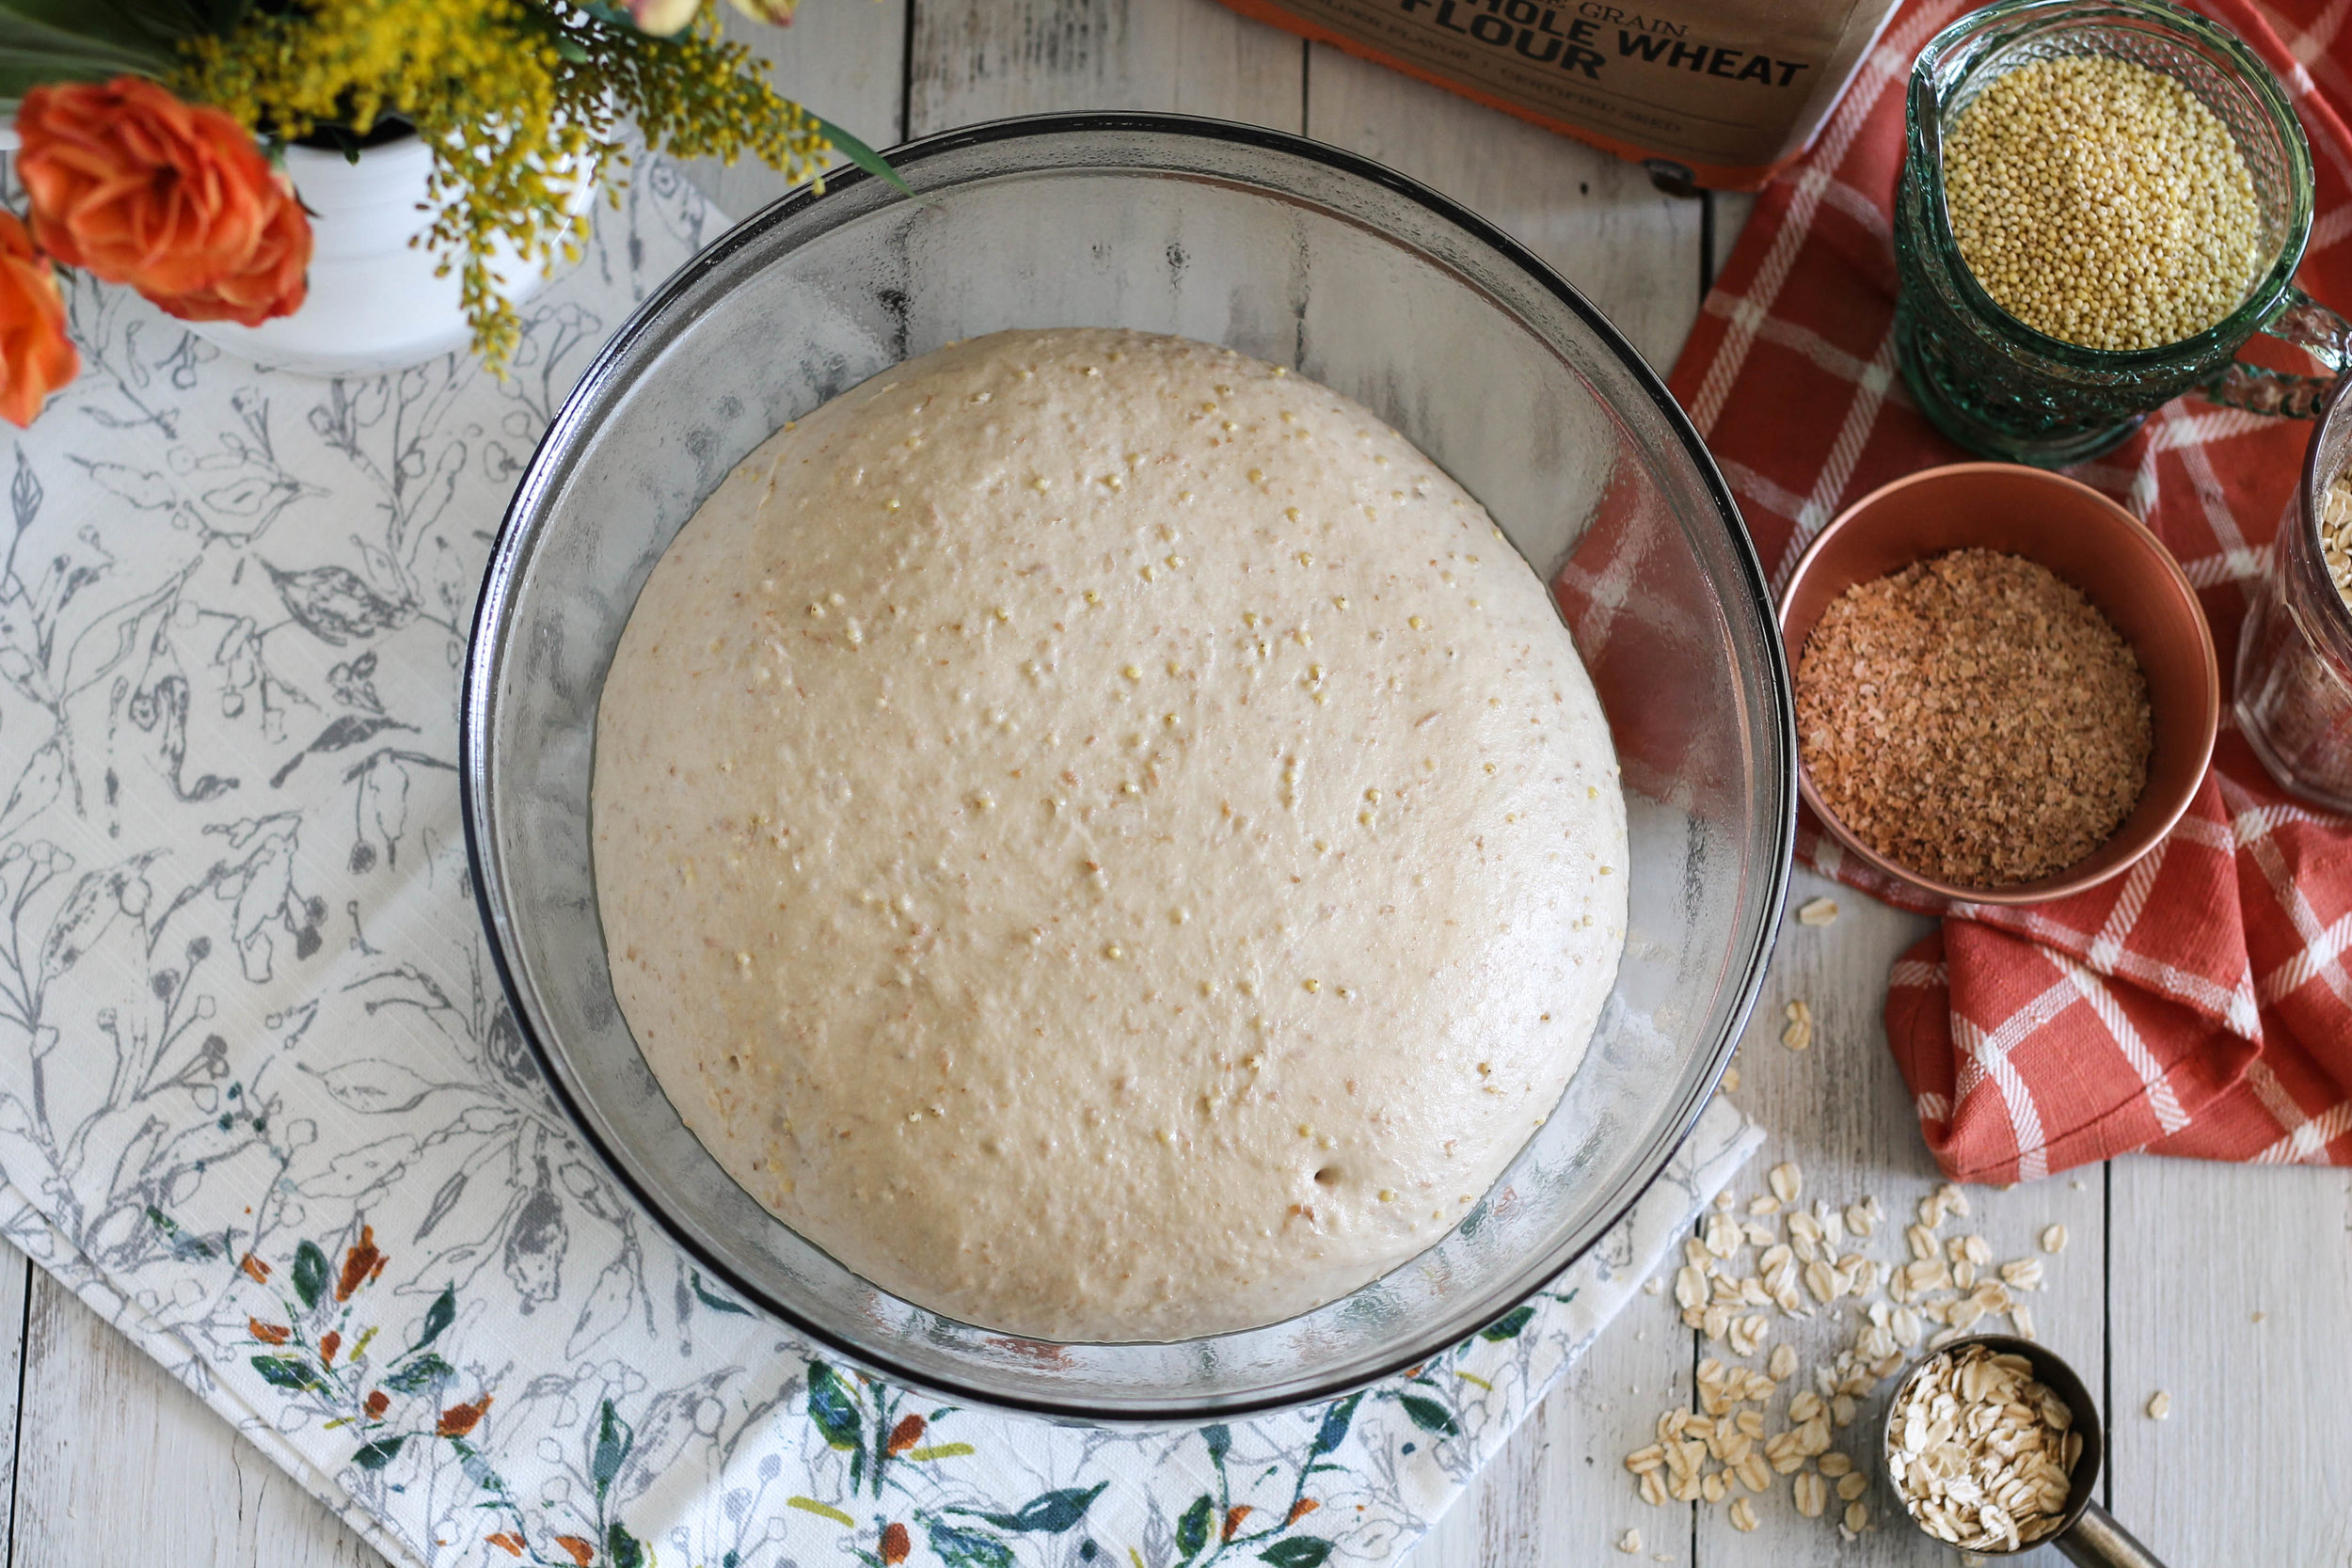
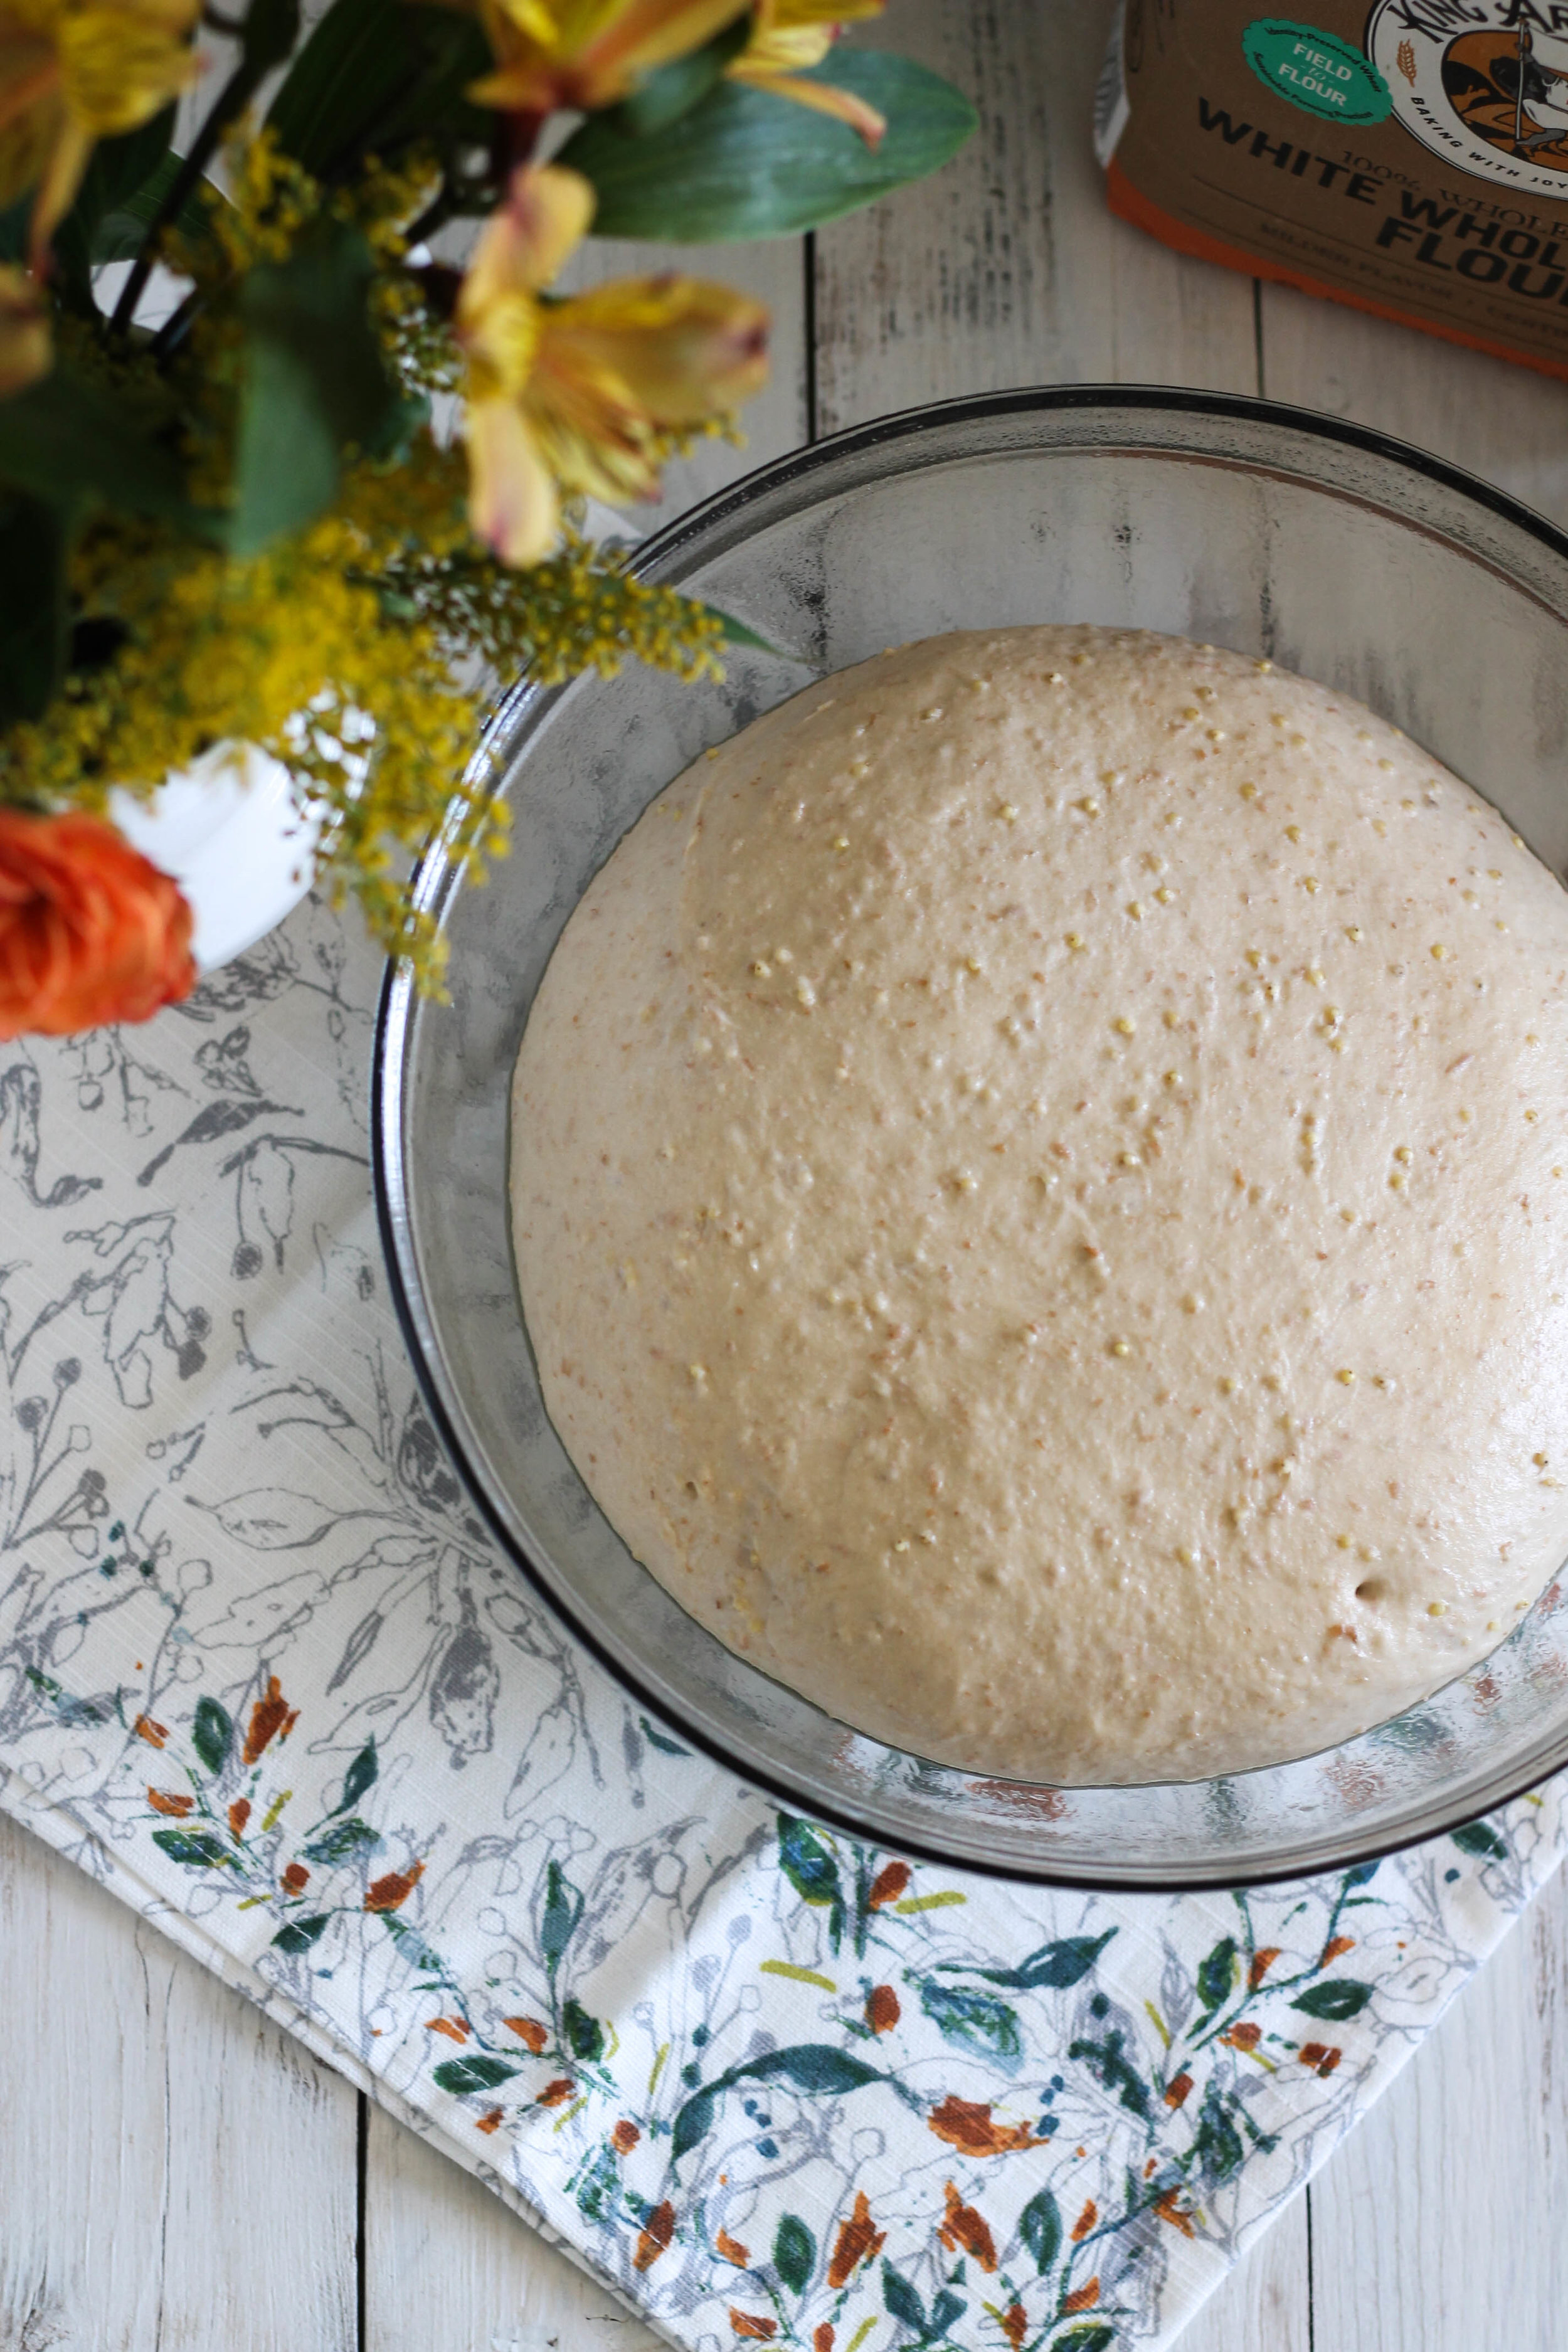
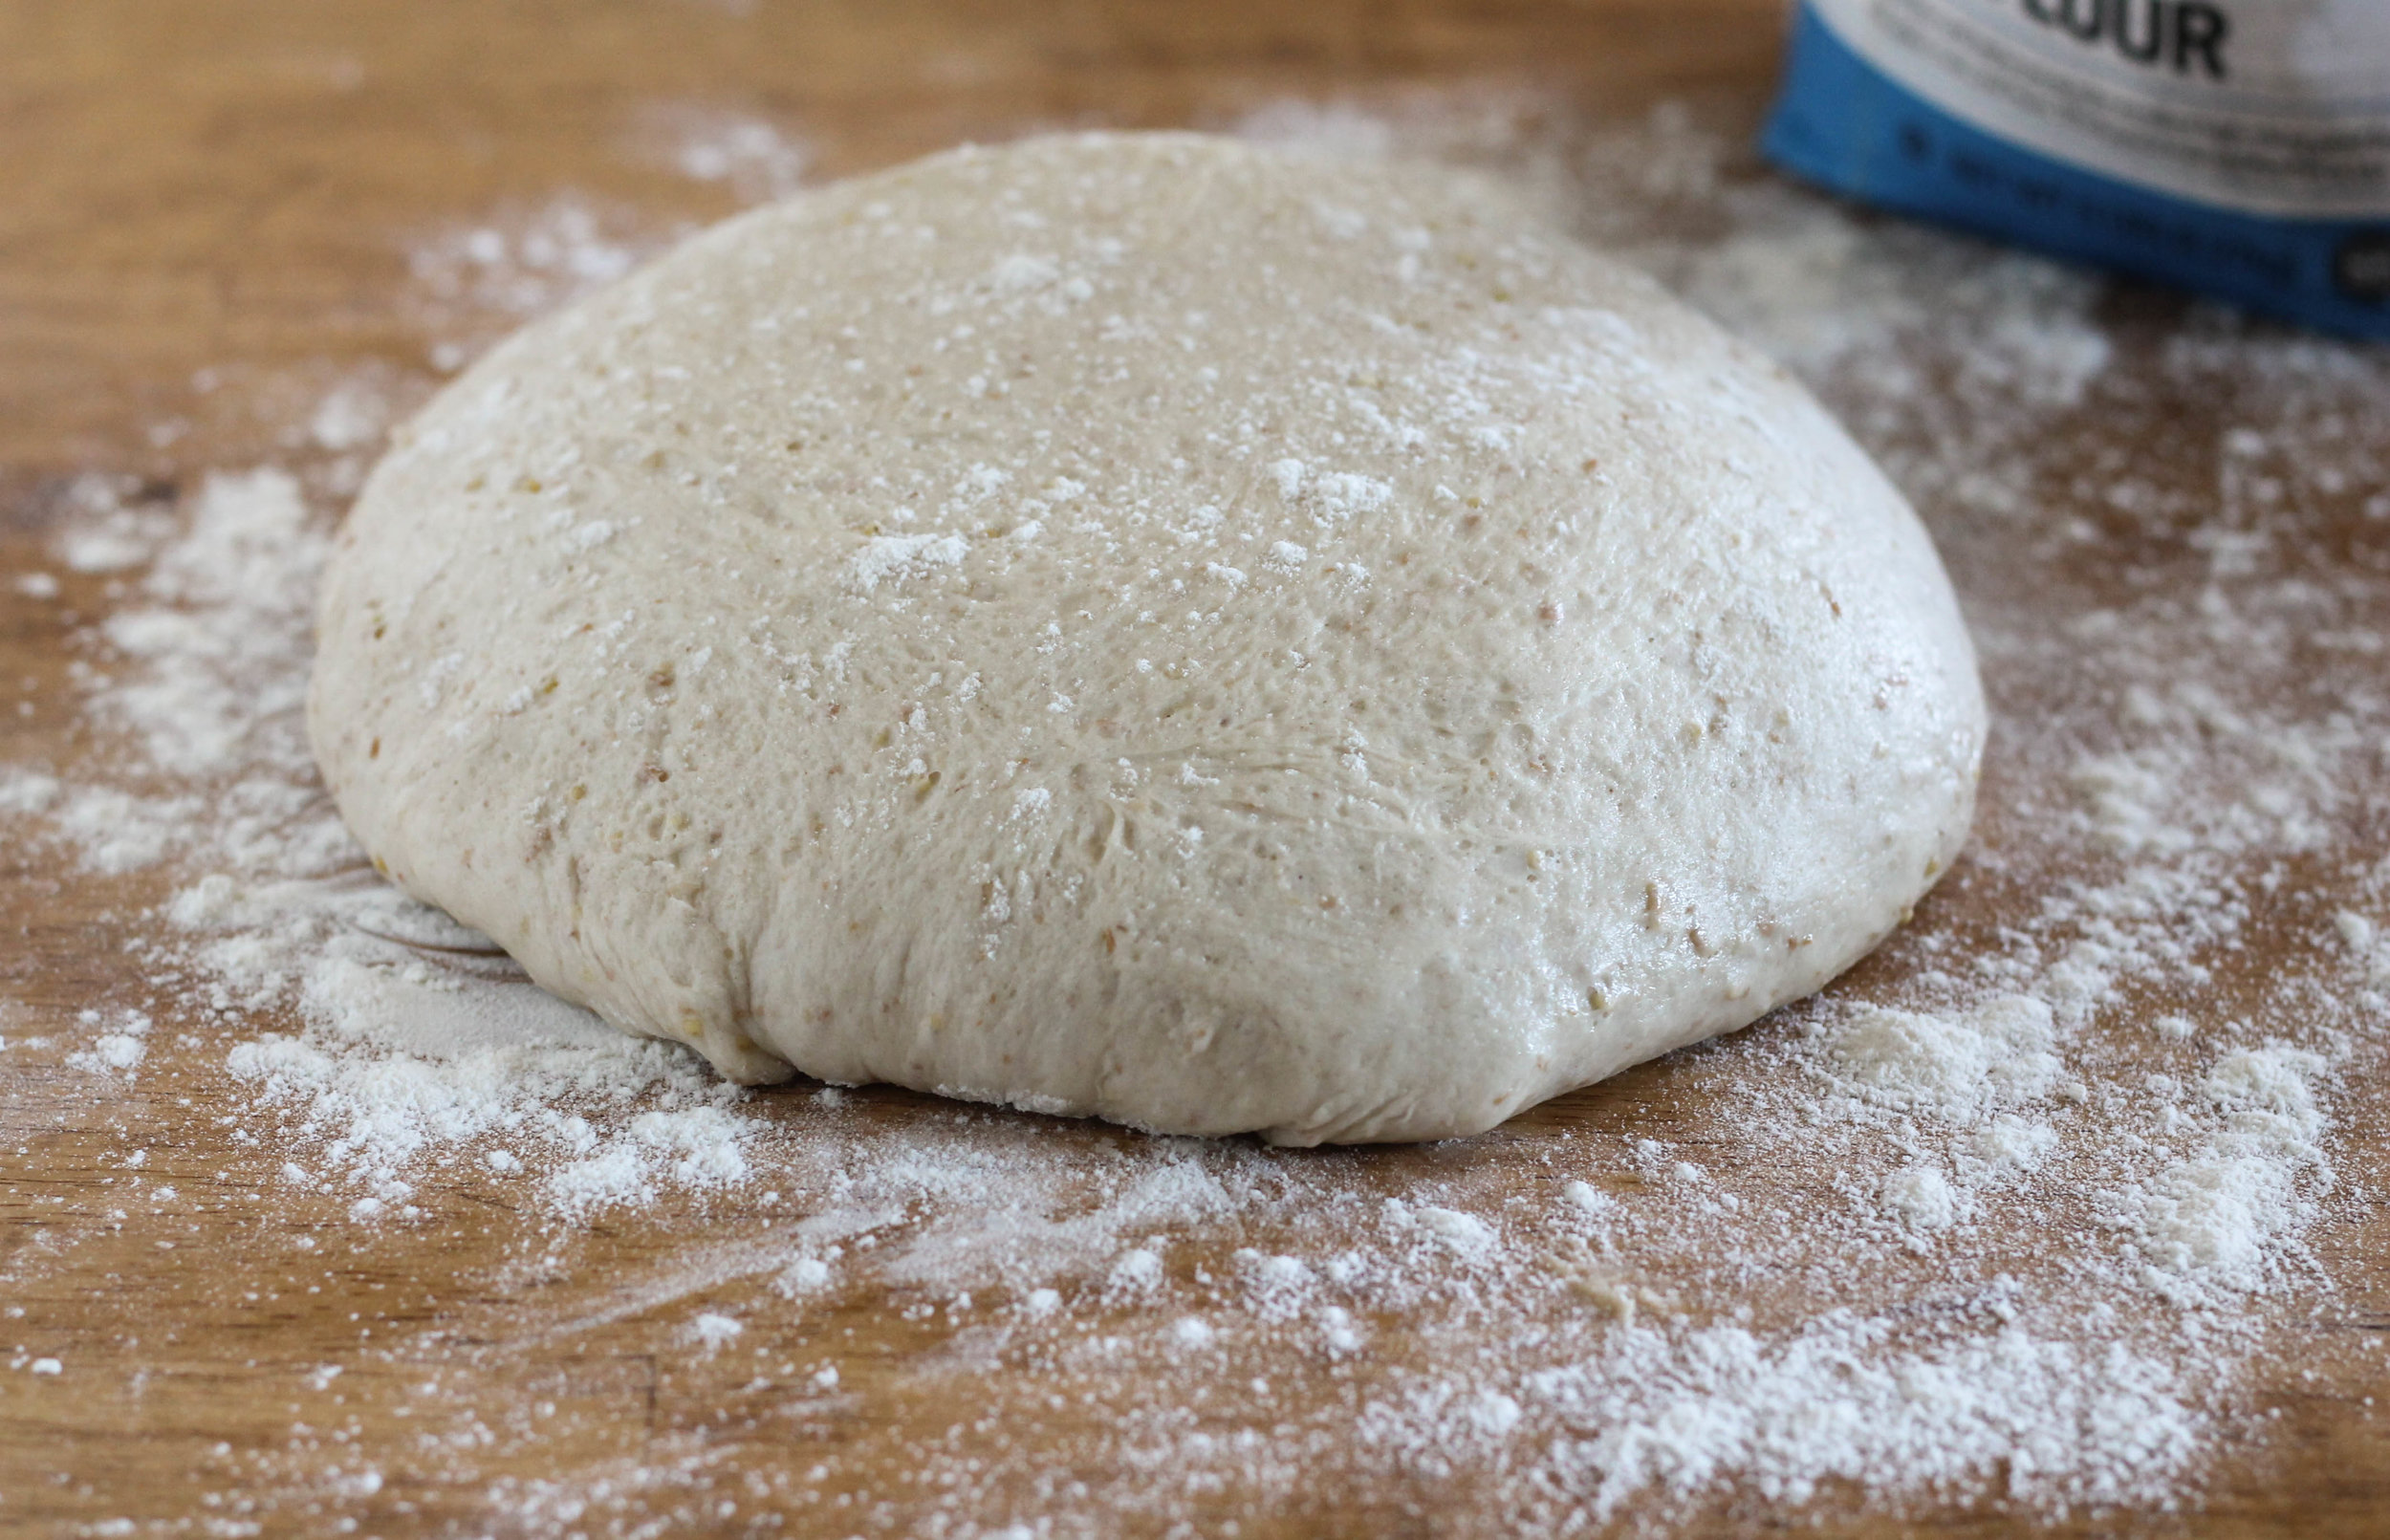
Coat a large bowl with nonstick spray and place the dough in the bowl; turn to coat. Cover with plastic wrap and allow to rise at room temperature for 90 minutes; until the dough has doubled in size.
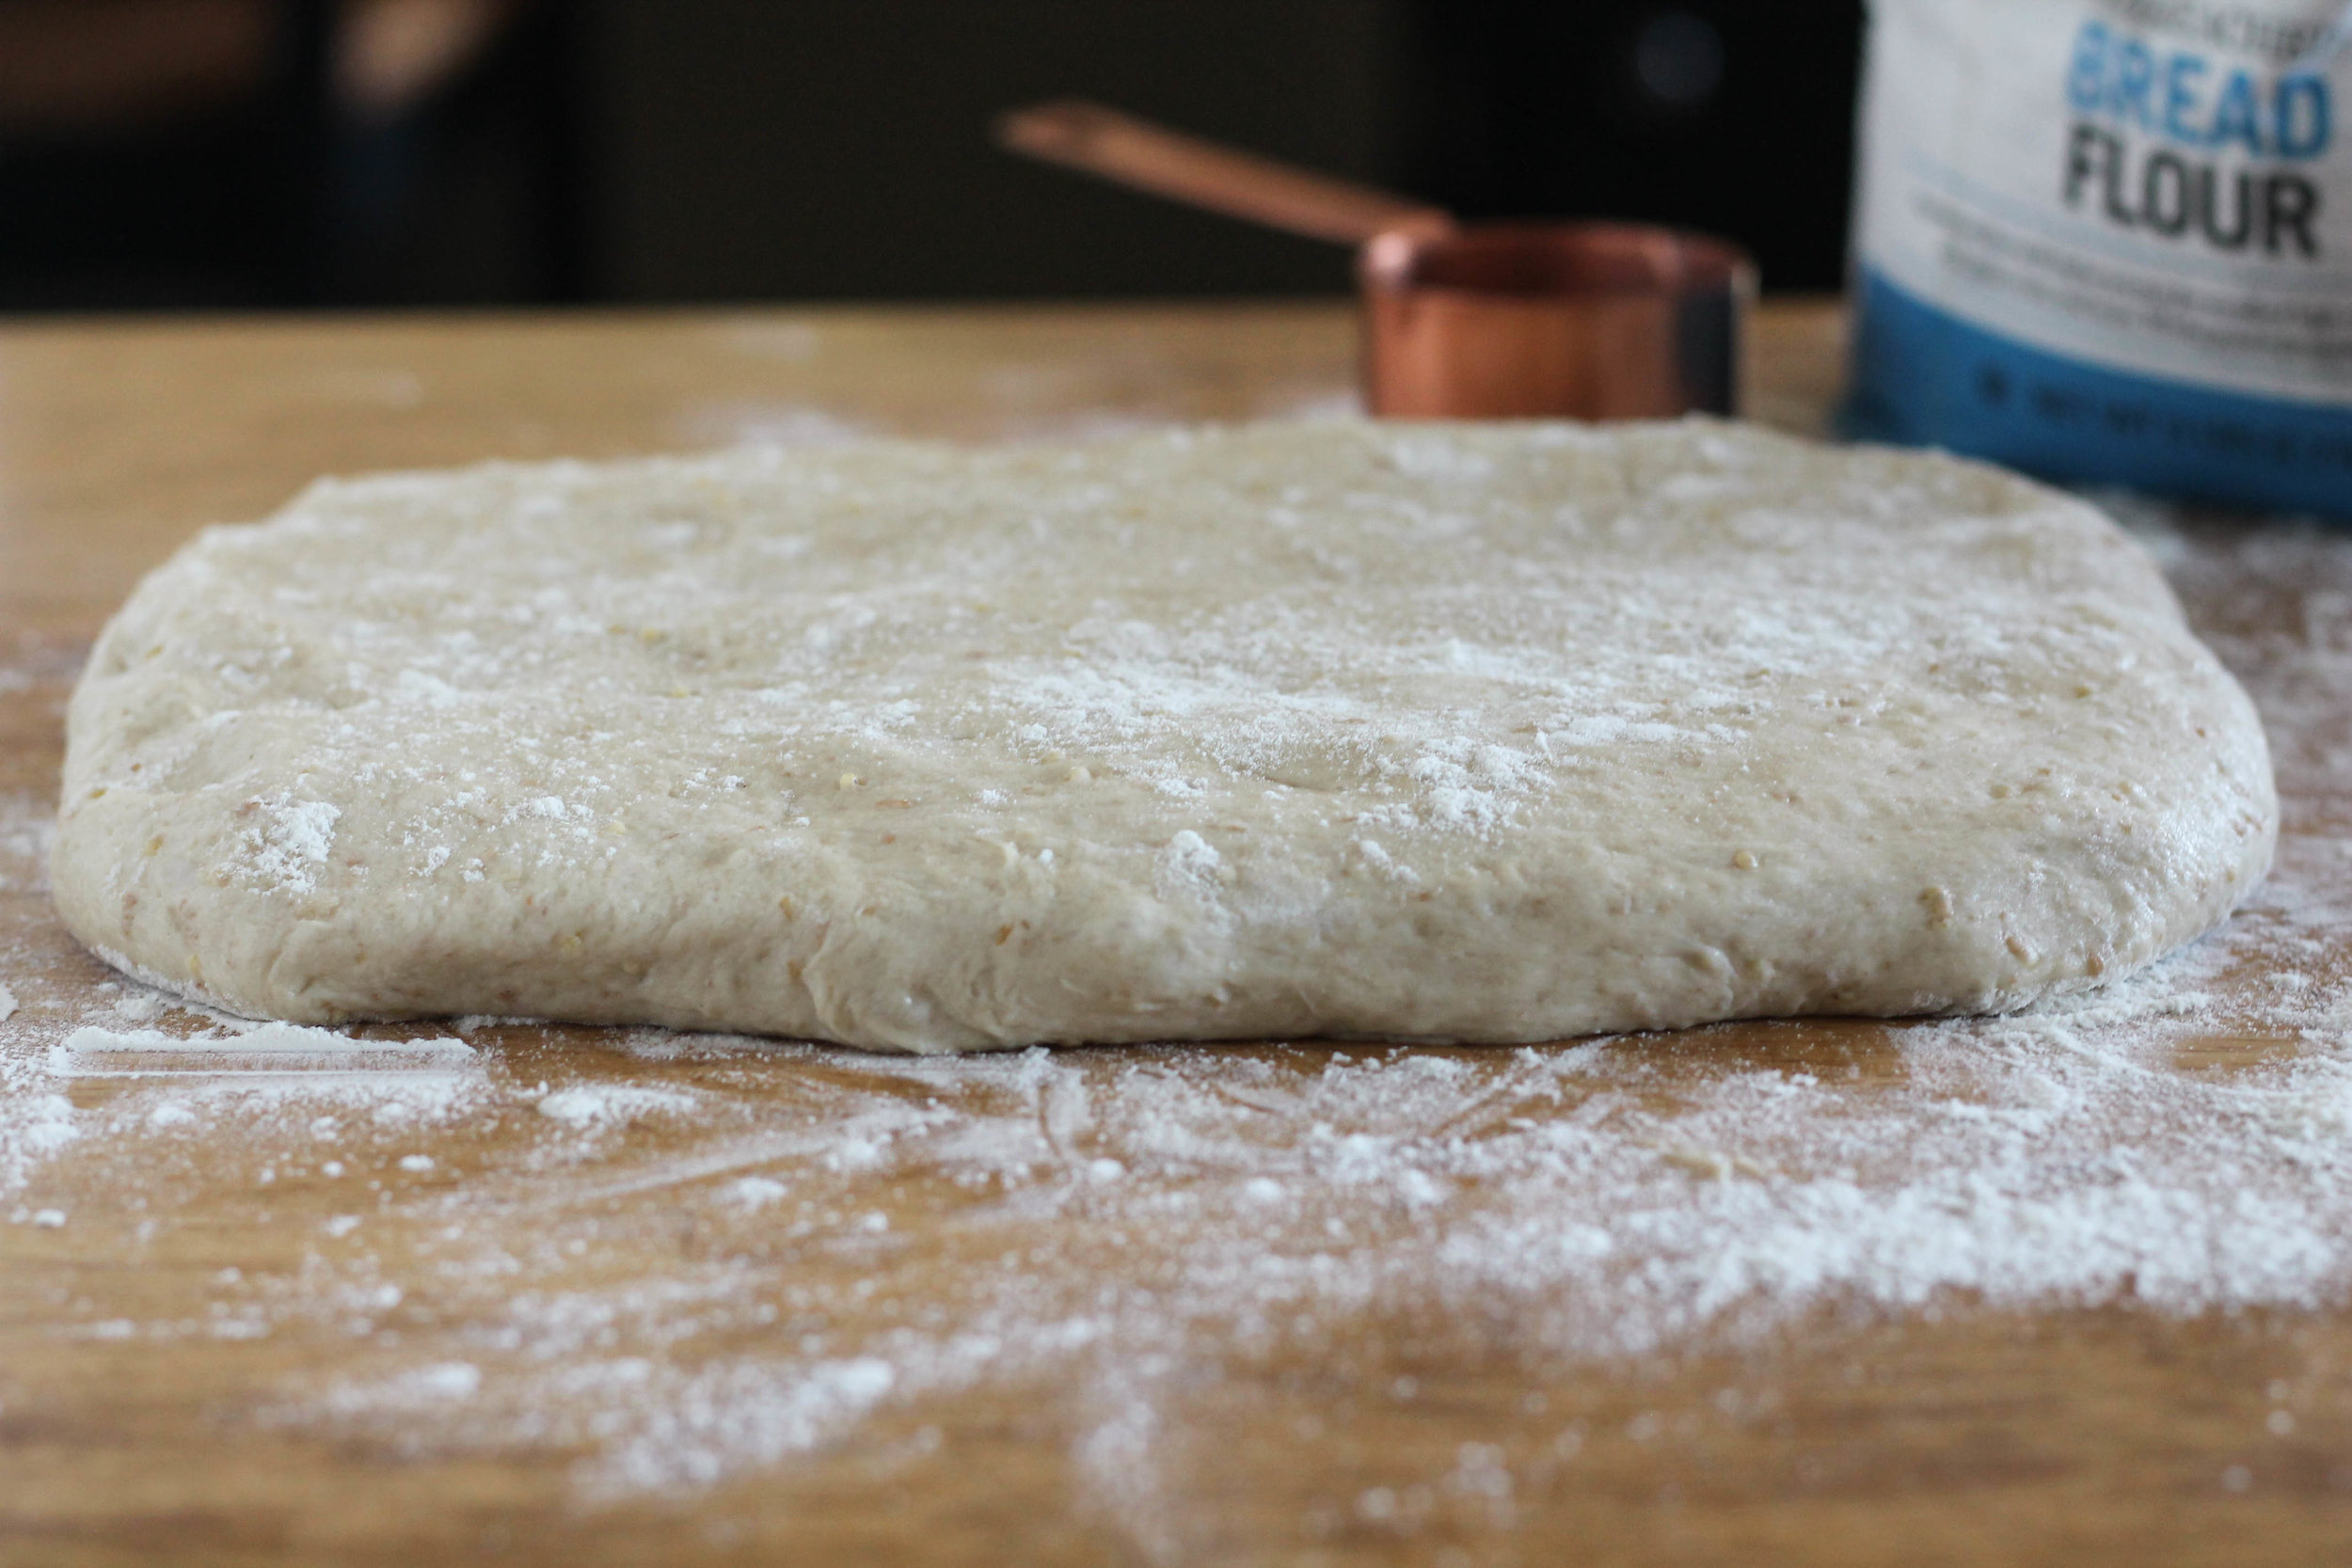
Turn the dough out unto a well-floured surface and punch it down gently. Use a rolling pin to shape the dough into a rectangle. It should be 3/4-inch in thickness, 6 inches wide, and 8 inches long. Form the dough into a load by folding in the two ends of the rectangle, as if you were forming an envelope. Place the dough into a 9x5 loaf pan that has been greased with nonstick spray and lined with parchment paper.
Spray the top of the loaf with nonstick spray and sprinkle with rolled oats and wheat bran. Cover loosely with plastic wrap and allow to proof for 90 minutes, or until the loaf has just about doubled in size.
Preheat oven to 350 degrees F.
Bake the bread for 25-40 minutes, until the top of the loaf is deep golden brown and the internal temperature of the loaf reads at 185-190 degrees F.
Place the loaf on a cooling rack to cool for one hour, or until your senses can no longer stand the anticipation. Enjoy!
Multigrain Bread [Hearty Sandwich Bread]
recipe adapted from The Bread Baker's Apprentice
for the soaker
- 3 tablespoons millet
- 3 tablespoons rolled oats
- 2 tablespoons wheat bran
- 1/4 cup filtered water
The day before you plan on baking your bread, prepare the soaker. Combine millet, rolled oats, wheat bran in a small bowl and cover with water. Stir just to combine and cover with plastic wrap. Leave the bowl at room temperature and allow to sit overnight.
for the dough
- 10 ounces bread flour (you may need to increase this amount up to 4 ounces more, in order to bring the dough together)
- 3.5 ounces whole wheat flour
- 3 tablespoons brown sugar
- 1 1/2 teaspoons salt
- 1 tablespoon instant yeast
- 1 1/2 tablespoons honey
- 1/2 cup buttermilk
- 3/4 cup filtered water, room temperature
- nonstick spray
- 2 teaspoons rolled oats
- 1 teaspoon wheat bran
In the bowl of your stand mixer, combine flours, sugar, salt, and yeast. Add in your prepared soaker, along with the honey, buttermilk, and water.
Fit your mixer with the paddle attachment and mix on low speed until the ingredients form a ball. If the dough is not coming together, add up to 5 ounces of extra bread flour.
Transfer the dough to a well-floured countertop and read for about 12 minutes, sprinkling with flour as needed. The dough should be pliable, but not sticky. Alternately, you can knead the dough in your stand mixer with the dough hook. Knead for 10 minutes in the mixer and then finish by kneading for an additional 2 minutes by hand.
At the end of the kneading process the dough should pass the windowpane test and should read at 77 to 81 degrees F.
Coat a large bowl with nonstick spray and place the dough in the bowl; turn to coat. Cover with plastic wrap and allow to rise at room temperature for 90 minutes; until the dough has doubled in size.
Turn the dough out unto a well-floured surface and punch it down gently. Use a rolling pin to shape the dough into a rectangle. It should be 3/4-inch in thickness, 6 inches wide, and 8 inches long. Form the dough into a load by folding in the two ends of the rectangle, as if you were forming an envelope. Place the dough into a 9x5 loaf pan that has been greased with nonstick spray and lined with parchment paper.
Spray the top of the loaf with nonstick spray and sprinkle with rolled oats and wheat bran. Cover loosely with plastic wrap and allow to proof for 90 minutes, or until the loaf has just about doubled in size.
Preheat oven to 350 degrees F.
Bake the bread for 25-40 minutes, until the top of the loaf is deep golden brown and the internal temperature of the loaf reads at 185-190 degrees F.
Place the loaf on a cooling rack to cool for one hour, or until your senses can no longer stand the anticipation. Enjoy!
![Tart Cherry & Cream Cheese Pretzel Turnovers [ WWW.PEDANTICFOODIE.COM ]](https://images.squarespace-cdn.com/content/v1/5150ff2ae4b07a397217c428/1525377109047-77S8O0R4W0OUN7NR0SGA/Tart+Cherry+%26+Cream+Cheese+Pretzel+Turnovers+%5B+WWW.PEDANTICFOODIE.COM+%5D)
![BANANA BREAD CINNAMON ROLLS WITH WALNUT PRALINE WILL CHANGE YOUR LIFE [ www.pedanticfoodie.com ]](https://images.squarespace-cdn.com/content/v1/5150ff2ae4b07a397217c428/1523476248139-NIZ8OO88CGMXV2S7J8R1/BANANA+BREAD+CINNAMON+ROLLS+WITH+WALNUT+PRALINE+WILL+CHANGE+YOUR+LIFE+%5B+www.pedanticfoodie.com+%5D)


I am coming to you with a weekend project that is as delightful to make as it is to eat.
Sure, I might be a little bias considering that few things bring me as much joy as kneading, rolling, and manipulating dough into plump little golden loaves, but truly, this project is a fun one!