How’s your Summer treating you? Are you drinking all pretty drinks with polka-dot straws? I hope so...
It has been far too hot to soak up these summer afternoons out of doors. From my air-conditioned haven, I drink glass after glass of sweet tea and ponder all that has to be done. Though in these lives of ours, there are always things that must be done, I desperately want to spend more time considering what gets to be done, or what could be done, rather than timidly bowing in submission to my overlording to-do list. So much of what is written on those lists are things in which I take great joy, or rather, could take great joy if they were seen as privileges rather than obligations.

"When you stop doing things for fun you might as well be dead."
Ernest Hemingway

As our beloved Hemingway related so poetically, the moment we begin to live for the duty of it rather than the fun, we die. We drain life of its vigor, and become slaves to the most merciless of masters.


We are sitting on the brink of August, the last full month of summer. I have been approaching it slowly, with both trepidation and determination. Trepidation, because I have not yet wanted to embrace the craziness that will come with the Fall, and determination, because I have been stubbornly intent upon living these last weeks to the fullest, checking off that bucket list, and shoving as much watermelon into my mouth as possible.

However, with Hemingway's words resting keenly upon my mind, I yearn to eliminate both sentiments from my thoughts. Lists should indeed be calls to action, but not intimidating demands that haunt us in our sleep-deprived states. This rings especially true when it comes to bucket lists.


One of the items on my 2016 bucket list that I was most excited about was item No. 7 - “Go berry picking and bake a blueberry pie.” The charge filled the depths of my pie-loving heart with exhilaration.


The requirements were simple -- fresh berries, flaky crust, a scant dose of sugar and a light, carefree perspective. Oh, and probably some citrus for brightness, but no demands. I wanted to make a blueberry pie; one that was unadulterated by my instincts to trash things up, and abundant with raw simplicity and the pureness of the pleasure with which it was created.

Now comes the time where I must confess that I did not pick these berries, which means that No. 7 has not been officially checked off. However, my market has had the most beautiful blueberries lately, and the fiancé’s allergies have been far too agitated for a romp through the berry bushes, so…I have an excuse for my oversight? While I do not want to cheat, or rush, or trudge, my way through my bucket list, with all things considered, and in the spirit of fun rather than pressure, it seemed a fair compromise.

Though I have not recorded the data, I am absolutely sure that the question I am asked most goes along the lines of, "What do you enjoying making/baking the most?" Each year I become more and more steadfast in my answer - pies and breads. There is something richly satisfying in creating something that has been enjoyed for centuries. It is a simple art, dependent upon patience, quality, and chemistry, and it's charm is timeless.


That was the spirit in which I baked this pie, and the patience and pleasure shown brighter than the berries themselves when the slices were served and the forks lifted.


My berries needed little adornment, but a squeeze of citrus must never be neglected. It brightens their flavor and takes the level of your pie from palatable to dreamy.

I should offer a warning. Know that this pie will not ever cut perfectly, but in my mind, it is exactly what a berry pie should be - juicy, flavorful, and pure, pure summer. Though the filling is indeed thickened, I cannot bear a berry filling that looks more like blue cornstarch jelly, rather than fresh fruit. I add several tablespoons of cornstarch, just to congeal those dark, sweet juices, but that is all.
We are making pie, not jelly, after all.

Though I wanted the berries to stand primarily on their own, I could not resist sprinkling the top of my pie with a generous dose of cinnamon sugar.

You could take the design of your pie in any direction you please. I chose to dot mine with tiny holes for a polka-dot effect. We are doing this for fun, remember? No rules or stuffy lattice work required.

This is my favorite moment. All the hard work is done, and I must bravely relinquish control to the warm, metaphorical hands of the oven.

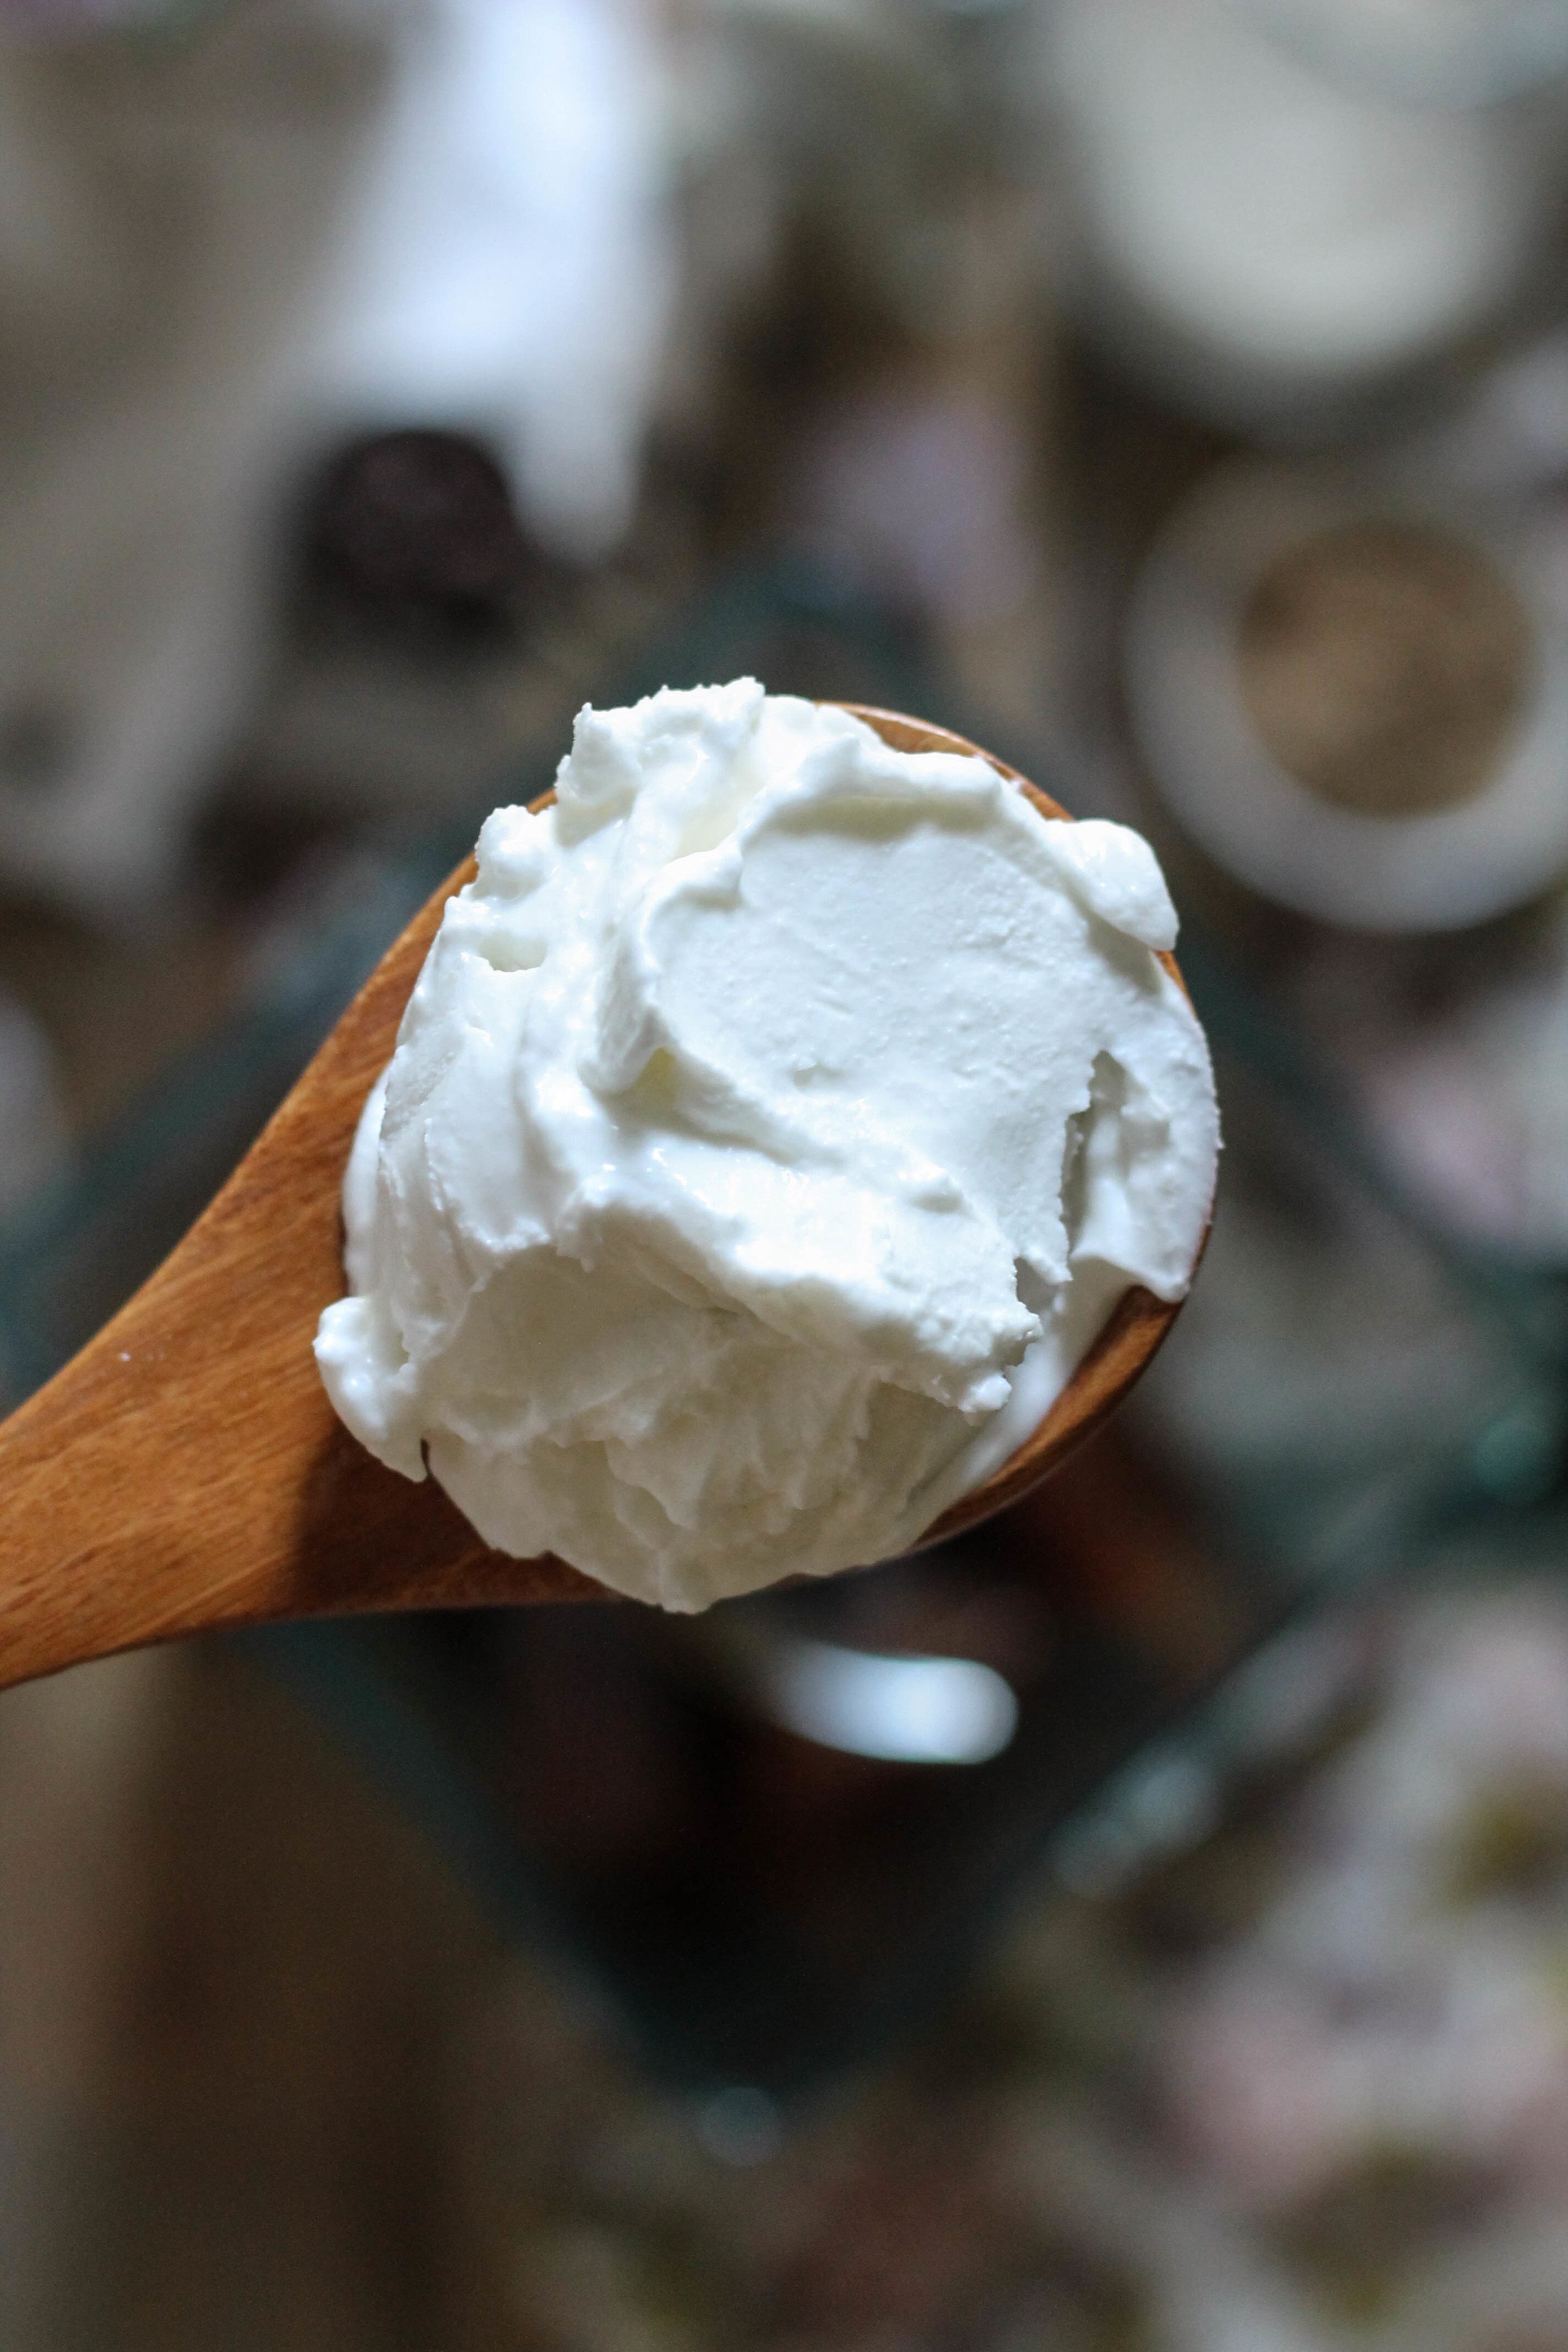
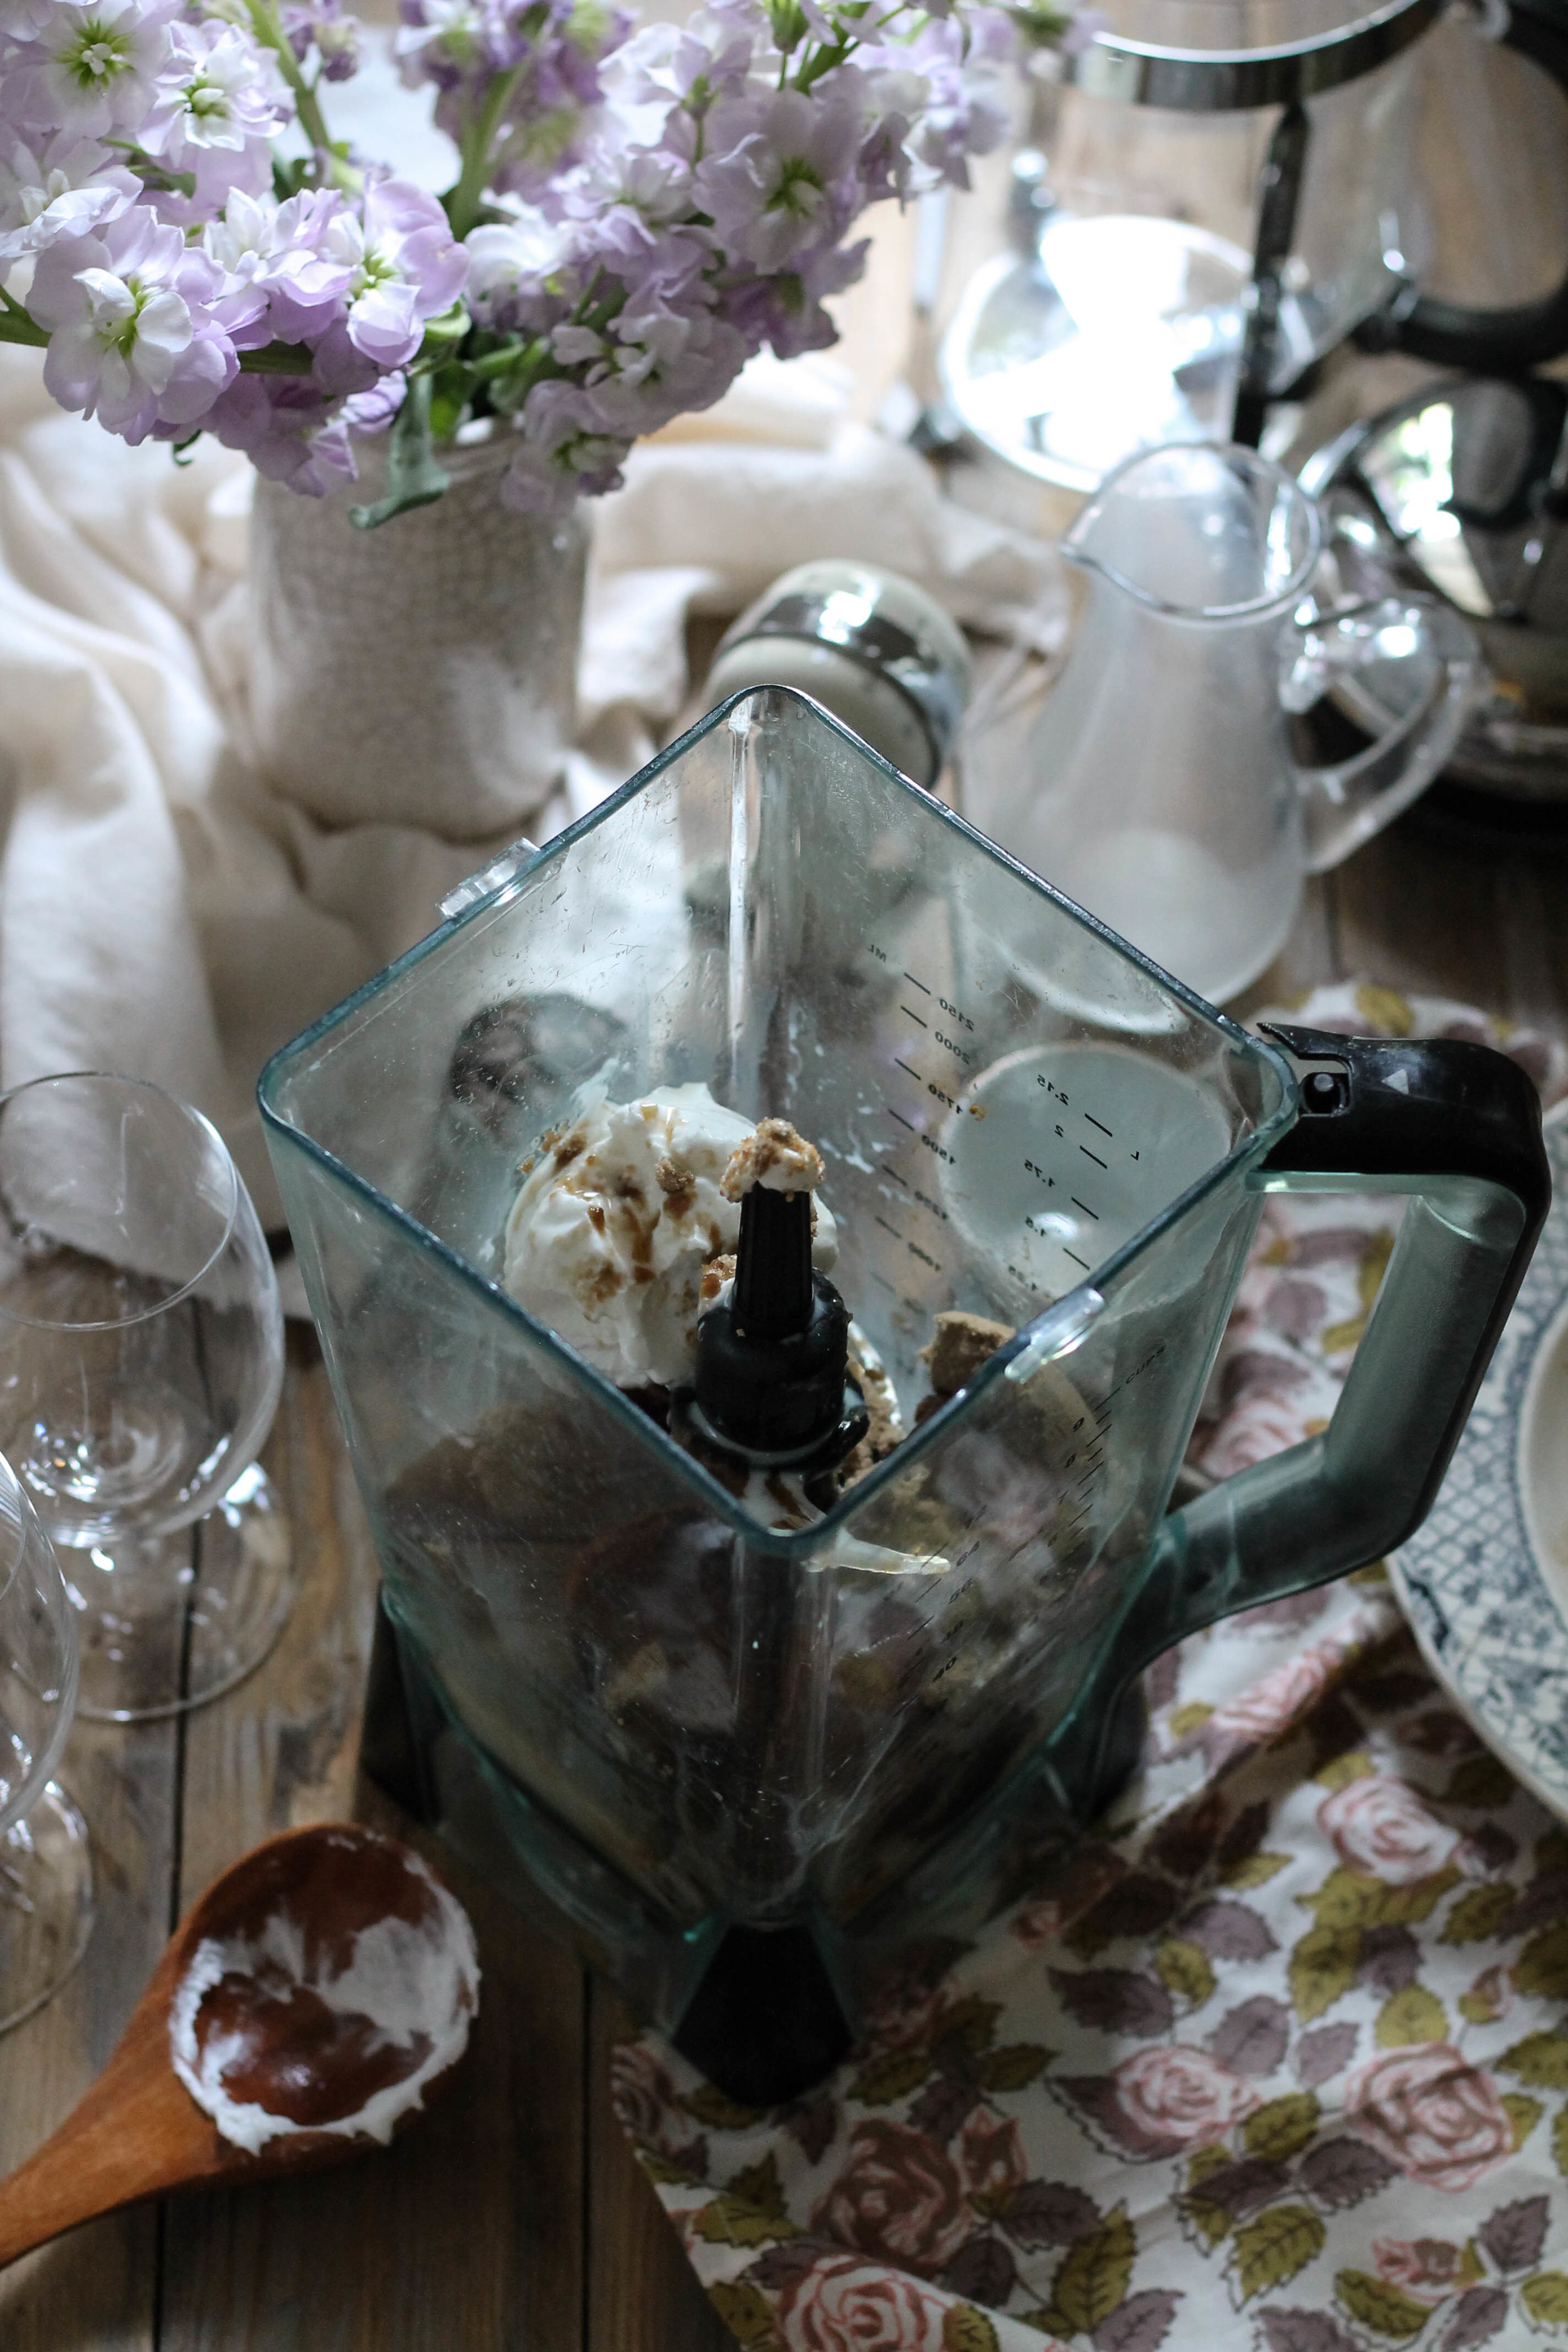
While the pie baked and perfumed my torrid kitchen, I mixed together a batch of my favorite ice cream and the equivalent of a creamy cinnamon roll.


While I was indeed living in the spirit of fun, a bit of patience was mandatory, otherwise all enjoyment would have ceased with the first cut.

This pie must, it really must, sit and cool for four hours so that the starches can work their magic on the berry-studded syrup.

I know, it is utter agony, but your self-control will be rewarded with a pie that cuts (somewhat) neatly.

In general, I prefer my pie sans ice cream, but this vivid slice was exquisitely complimented by a scoop of lightly-spiced ice cream.

Hemingway taught me something this week. Here's to hoping the lesson lasts longer than this pie did.
Sincerely,
Pedantic Foodie
Blueberry Pie with Cinnamon Sugar Crust
crust recipe adapted from The Four & Twenty Blackbirds Pie Book
the crust
- 2 1/2 cups all-purpose flour, plus extra for dusting
- 1 teaspoon kosher salt
- 2 teaspoons ground cinnamon, divided
- 3 tablespoon granulated sugar, divided
- 1 cup cold, unsalted butter (cut into 1/2-inch cubes)
- 1 cup cold water
- 1/4 cup apple cider vinegar
- 1 cup ice
- egg wash (1 egg whisked with 1 teaspoon water)
In a small bowl, combine 1 teaspoon ground cinnamon and 2 tablespoons granulated sugar. Set aside.
Sift to combine flour, salt, remaining 1 teaspoon cinnamon, and 1 tablespoon sugar in a large bowl. Add cubed butter and work into the flour mixture, using your finger tips and being careful not to melt the butter. If the mixture gets to warm, cover the bowl with a bit of plastic wrap and place in the freezer until it is cold. The finished mixture should have the texture of rough cornmeal.
In a small bowl, combine water, vinegar, and ice. Add the cold water mixture to the flour and butter mixture, several tablespoons at a time, stirring gently after each addition. Add just enough liquid to bring the dough roughly together. It should be very rough and crumbly. Turn the mixture out onto a floured surface and gently press to form the dough. Divide the dough in half and form two discs. Wrap each disc in plastic wrap and refrigerate for 1 hour.
Once the dough has chilled, remove one disc from the refrigerator and place on a well-floured surface. Roll out into a 12x12-inch circle. Drape the dough over your 9-inch pie pan. Trim away any extra dough at the edges of the pan, leaving only 1/2-inch for crimping. Fold the edges over and press with the tines of a fork to form the edge of the crust. Dot the crust with small holes by puncturing evenly with a fork. Cover the crust with plastic wrap and place in the freezer while you prepare the filling.
for the blueberry filling
- 5 cups ripe blueberries, rinsed
- 2/3 cup granulated sugar
- 5 tablespoons cornstarch
- 2 tablespoons lime or lemon juice
In a large bowl, combine all ingredients. Toss gently with a large spoon, until the berries are evenly coated with cornstarch and sugar.
Pour the filling into the frozen pie crust and set aside while you roll out the second disc of dough.
Turn the second disc of dough out unto a well-floured surface and roll into a 12x12 disc, just as before. Use a 1/4-inch round cutter to dot the center of the crust with holes; these will act as both decoration and vents for steam.
Lay the crust over the filling, and trim away any excess dough beyond 1/2-inch. Pinch and crimp to form the edge of the pie crust. Cover the pie with plastic wrap and refrigerate for thirty minutes, to set the pastry.
Preheat oven to 425 degrees. Brush the top of your chilled pie with egg wash and sprinkle with the prepared cinnamon and sugar mixture. Place the pie in the center of the oven and bake for 25 minutes. Reduce heat to 375 and bake for an additional 20 minutes, until the filling is bubbling evenly and the crust is a deep golden brown.
Remove the pie from the oven and set on a cooling rack. Allow to cool to room temperature before serving; about 3-4 hours.
Serve alongside cinnamon ice cream (recipe below), if desired. Enjoy!
for the cinnamon ice cream
- 1 cup whole milk
- 1 cup heavy whipping cream
- 1 teaspoon ground cinnamon
- 1/2 teaspoon vanilla extract
- 5 egg yolks
- 1/2 cup granulated sugar
In a small saucepan combine milk, whipping cream, and cinnamon. Bring to a simmer over medium heat and remove from heat. Add vanilla extract.
In a small bowl whisk to combine egg yolks and sugar. Slowly stream half of the warm milk mixture into the egg yolks while whisking constantly. Pour the tempered egg yolks into the saucepan and return to heat.
Cook for about 5 minutes, until the mixture has thickened into a light custard, then remove from heat and place in an ice bath.
Stir often, until the mixture has thoroughly chilled. You may have to change out the water once or twice.
Churn your ice cream base in an ice cream maker according to your manufacturer’s instructions. Transfer to a freezer safe container and chill until set.
You may also like...


![Mini Pies with Cream Cheese & Homemade Red Wine + Cinnamon Raspberry Jam [ www.pedanticfoodie.com ]](https://images.squarespace-cdn.com/content/v1/5150ff2ae4b07a397217c428/1515456239929-Q8Q8Y0J3ANEUPYBJLYJX/Mini+Pies+with+Cream+Cheese+%26+Homemade+Red+Wine+%2B+Cinnamon+Raspberry+Jam+%5B+www.pedanticfoodie.com+%5D)