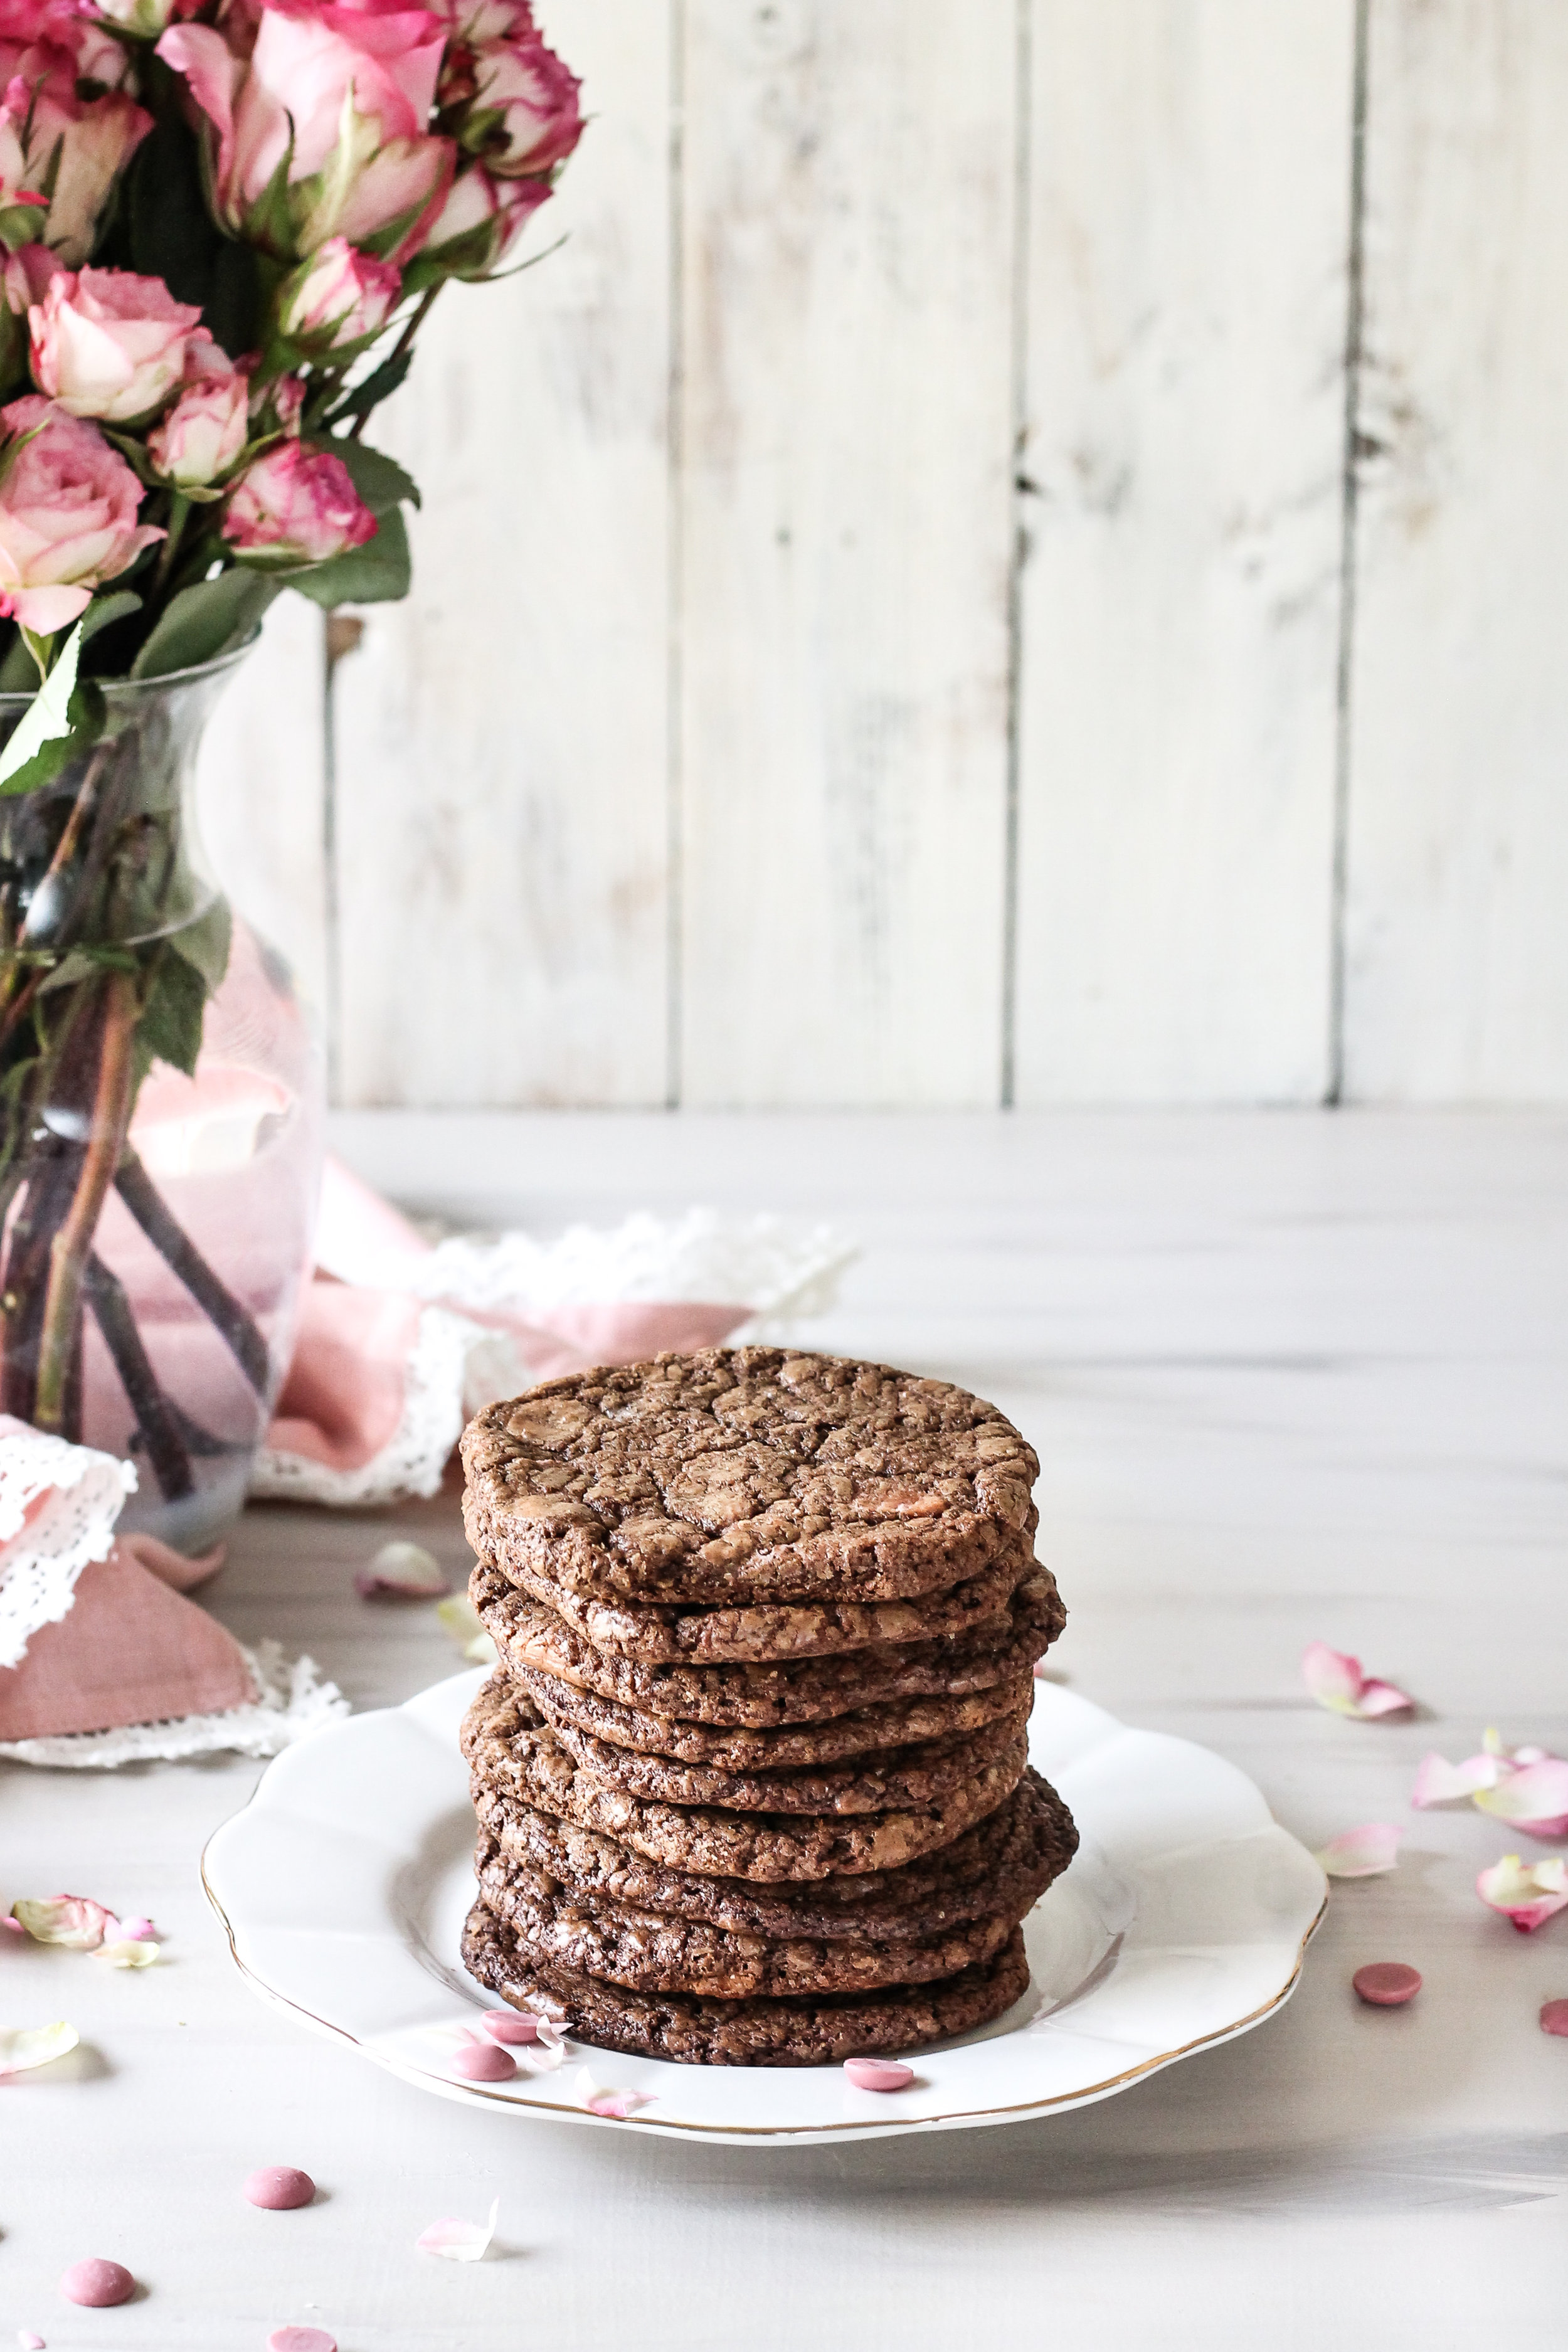
Push aside the Valentine’s Day candy and assorted truffle boxes (basically the most disappointing aspect of a woman’s life), because these cookies are the only treat we need on this lovey dovey holiday.
Read moreChocolate Chip Cannoli Tartlets
Once upon a time, about 4 years ago, I endeavored to make homemade cannoli.

Cannoli are one of my favorite sweet treats and I will always find room for one or two, regardless of how much pasta I have eaten beforehand. I could not wait to have the power to make them at whim.

I like to pride myself on being somewhat fearless in the kitchen, but that day I walked away with burnt arms that would eventually scar, a defeated heart, and two dozen or so cannoli which, while delicious, had a faint flavor of tears and anger. "Never again," I declared.
You see, cannoli would really be a very simple effort if not for trying to fry delicate little tubes of dough. Dough that will do everything in its power to slip and slide off of those metal molds and stick to the bottom of your pan.

Just thinking about it now is making me type with a small degree of rage. My fearless friend and I tried hanging on to the molds with tongs to keep them from resting on the bottom of our dutch oven, but they had a tendency to slip, thus splashing very hot oil onto our arms and creating a deep-set hatred for cannoli shells in our hearts. Well, at least in mine.

Over the years, I have denied my cravings and stuck to my vow, but my love for the beautiful, Italian-grandmother-made cannoli has remained.

Recently, the cravings resurfaced and while I had no interests in singed arms, I was curious about a cannoli alternative. Something that could mimic the flavors and textures of those delicate Italian...cookies? Gosh, what are they anyways?

So, it is with great pleasure that I give you cannoli petit fours, or mini tarts, or tartlets, or yummy little things that should be served at your next bridal shower, baby shower, or any other girly affair where bystanders will appreciate their cuteness. Oh yes, Mother's Day too.

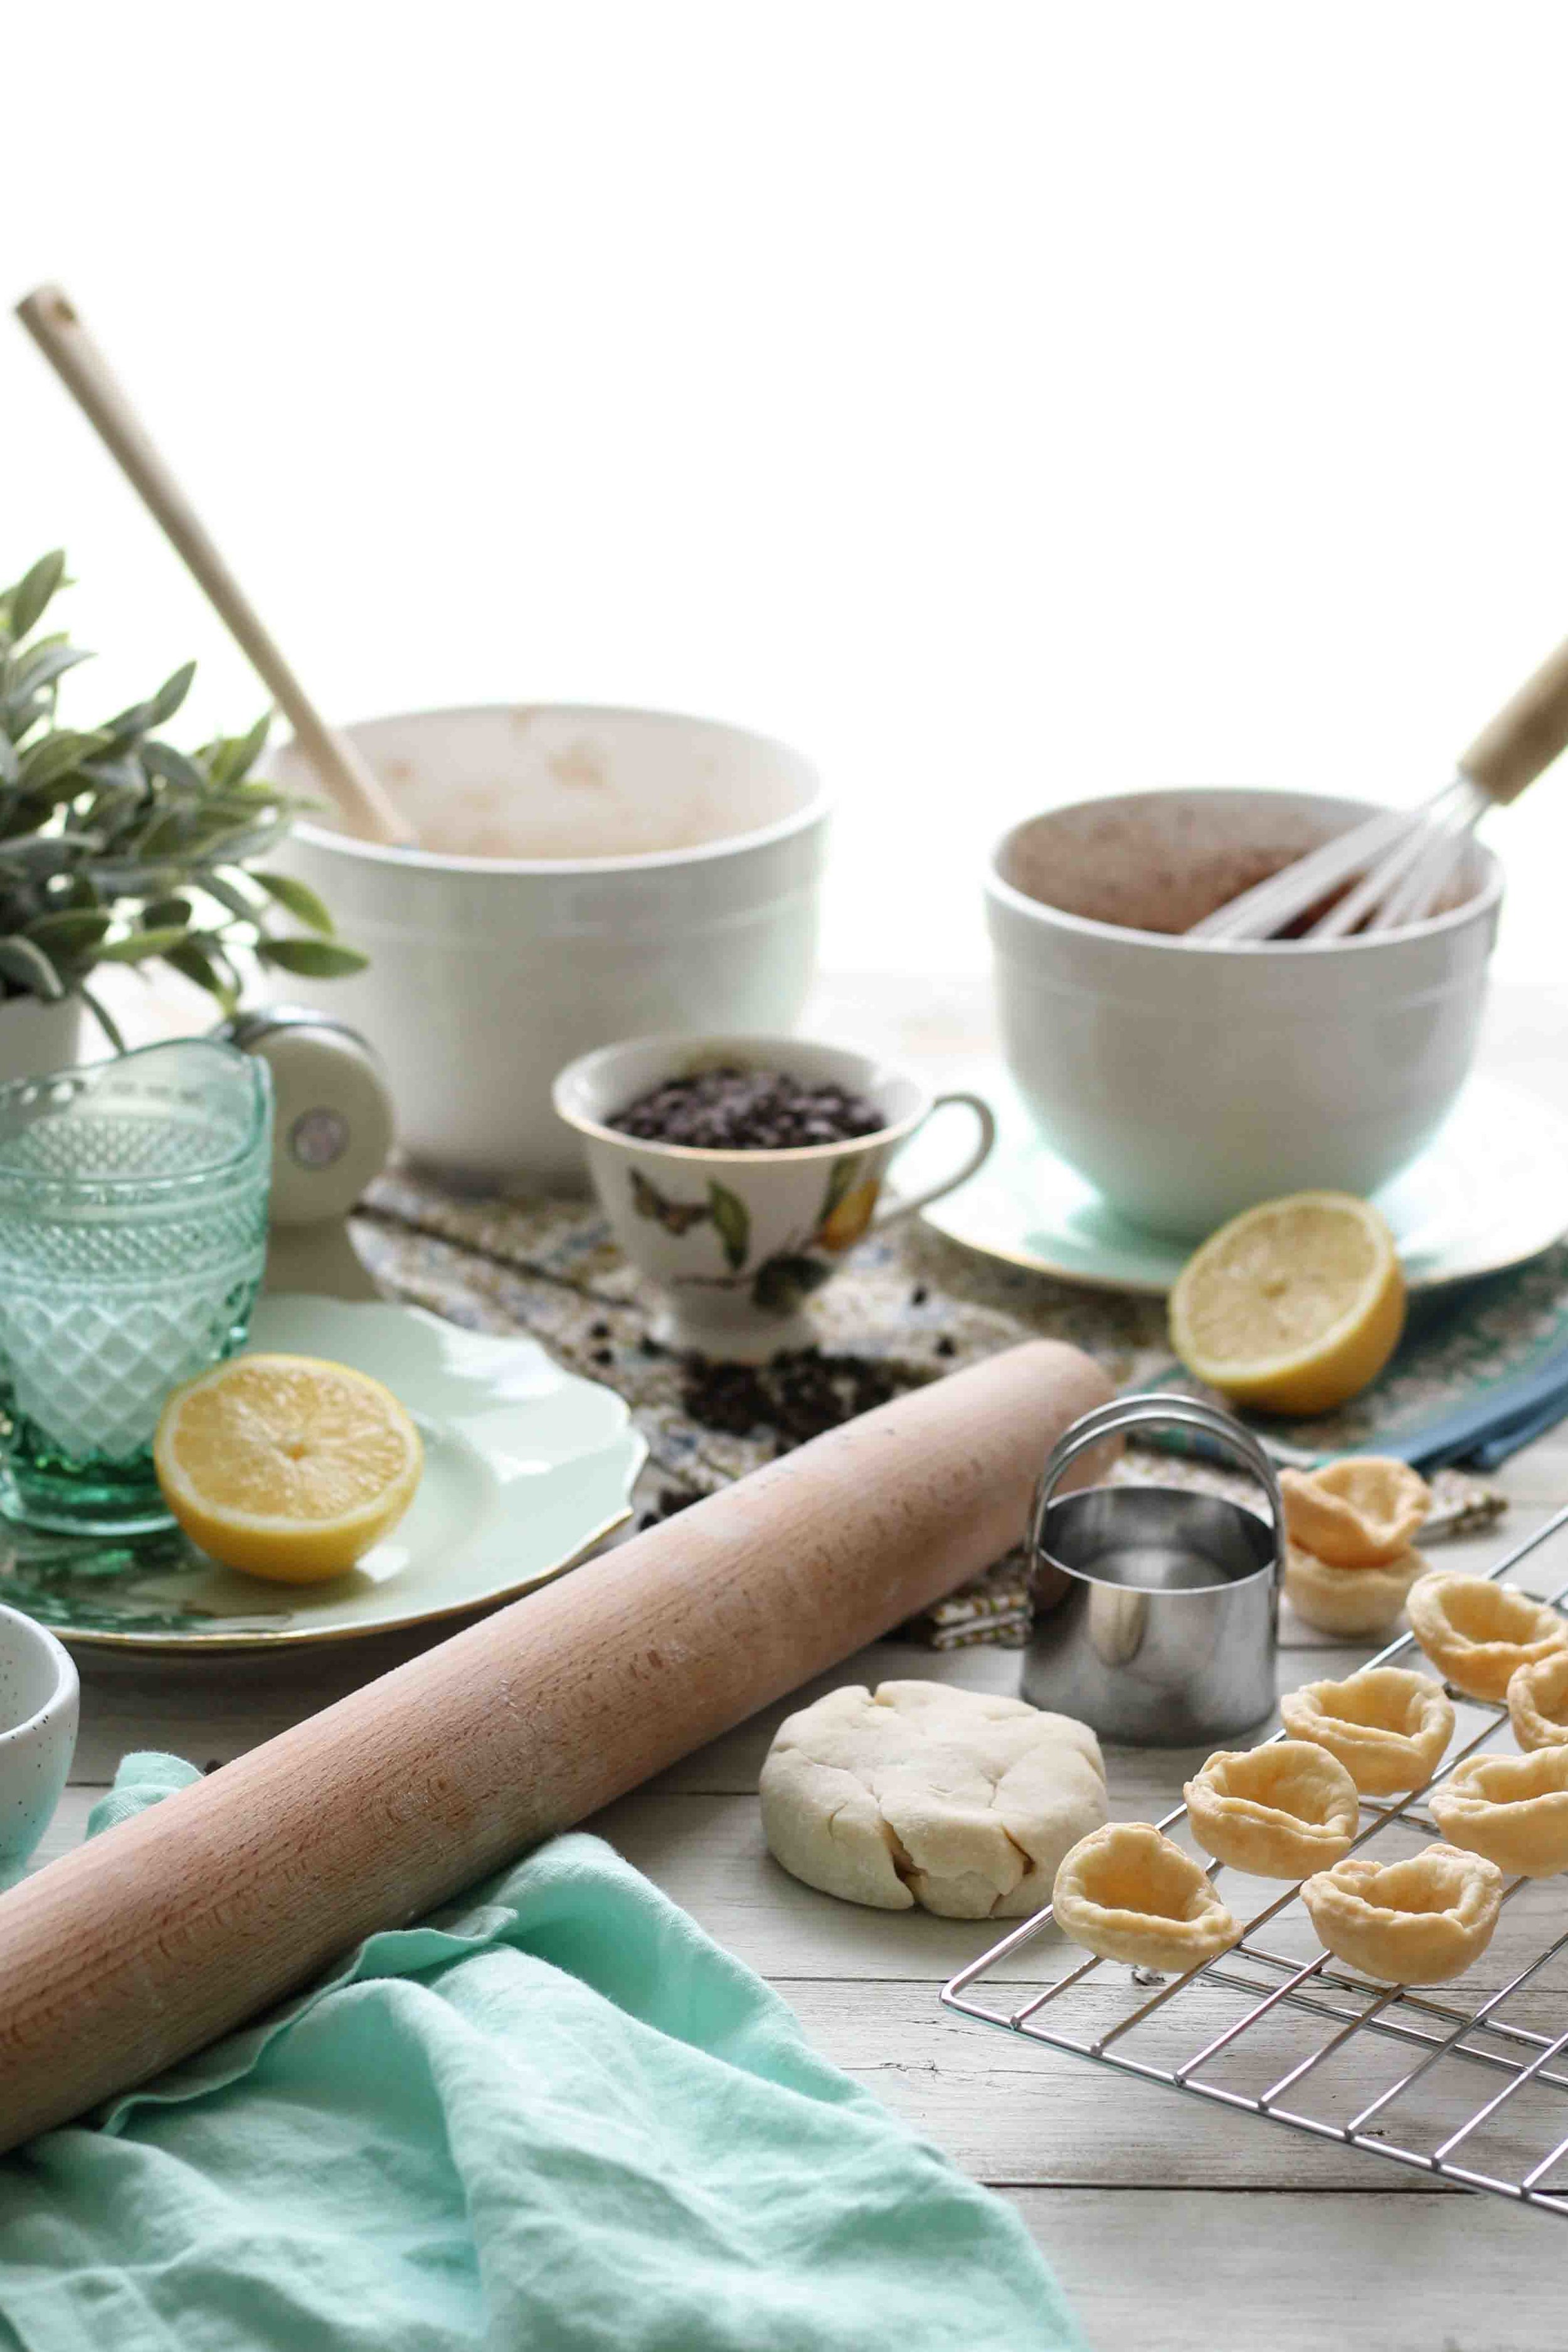
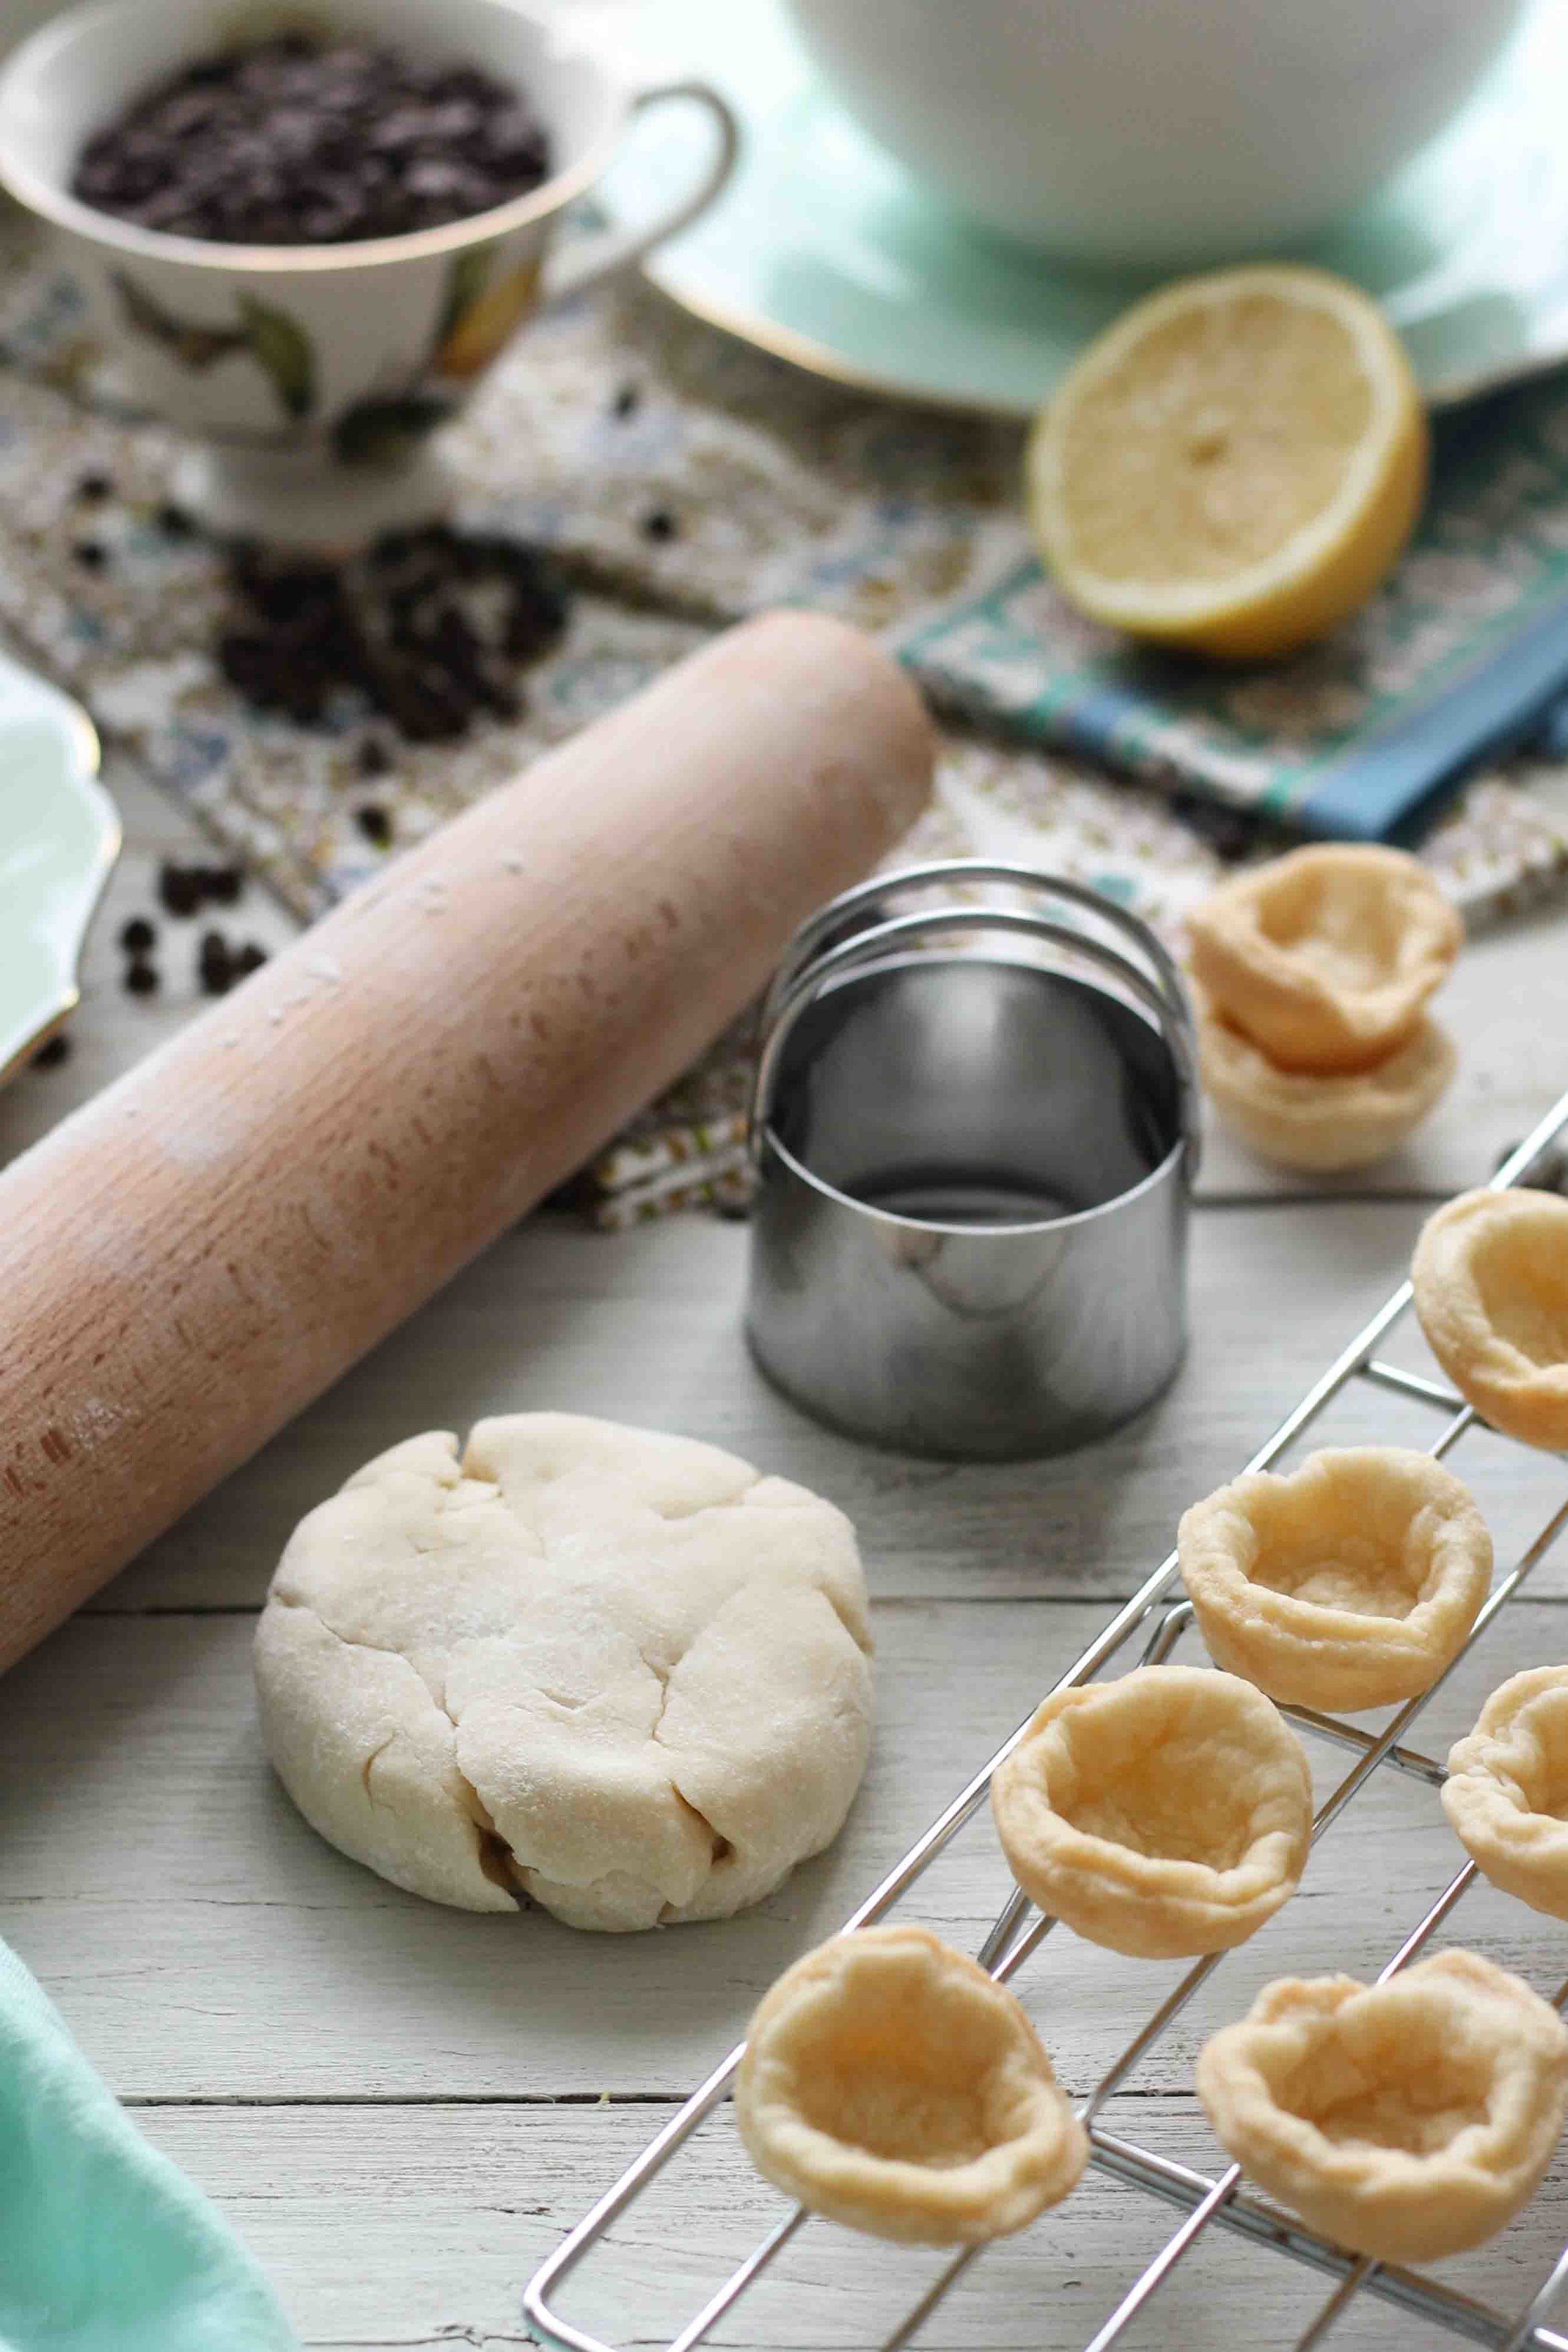
These tartlets begin, not surprisingly, with tart shells - our substitute for the traditional, beastly shells that I have forever put behind me.
While these miniature cups of pastry did not leave me burned and battered, they did present a few challenges of their own, namely the age-old issue of sinking.

I should begin by saying that I did not go out and purchase two dozen tiny tart tins, but instead used an item all of us likely have tucked away in some neglected corner cabinet - the mini muffin pan.
Sinking crusts are not a new problem, every pie-baker has known the pain of watching a carefully-made crust slip into an unattractive mound at the bottom of the pie pan. It would seem, however, that drooping sides are a bit easier to combat when it comes to larger crusts because we can look to pie weights for our aid. Tartlet crusts are a bit trickier. The first time I made these, as evidenced by the photographs, my sides sunk. No amount of freezing could battle the melting properties of buttery pastry. The second go-round, however, I was lucky enough to find Deb's foolproof recipe and applied her tart principles to my miniature tarts. The results were perfectly shaped, high-sided shells.

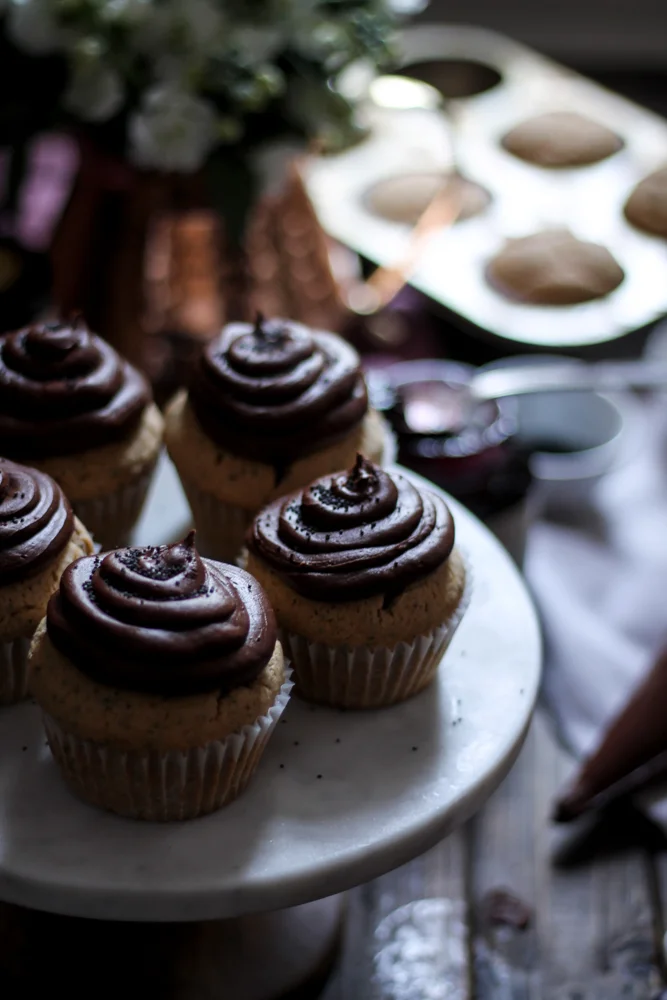
While I could have simply filled these shells with the cannoli filling, I felt like a little extra chocolate might be a good idea. It usually is.

Crisp, buttery pastry, rich chocolate ganache, and the creamy, chocolate chip-studded ricotta that we all adore so much. Everyone knows that the filling is the reason we love cannoli anyways.
I will not try to convince you that these tartlets are better than traditional cannoli, but they are a delicious substitute.

This time I walked away rage-free, without a burn, and my cannoli cravings satisfied. In some ways these far out-rank the original.
Sincerely,
Pedantic Foodie
Chocolate Chip Cannoli Tartlets
makes 24 tartlets
for the tartlet crust
- 1 1/2 cups all-purpose flour
- 1/2 cup confectioner’s sugar
- 1/4 teaspoon kosher salt
- 9 tablespoons very cold unsalted butter, cut into cubes
- 1 large egg, gently whisked
- 1 egg white, whisked
In the work bowl of your food processor, combine flour, sugar, and salt; pulse to combine. Scatter the butter over the flour mixture and pulse several times, until the butter is in roughly pea-sized pieces. Add the egg and and pulse in 10-second increments, until a dough begins to come together.
Turn the dough out until a lightly floured surface and knead just enough to pull the together any dry bits. Shape into a disc and wrap in plastic wrap. Chill for two hours.
Place the dough on a well-floured surface and roll with a rolling pin to about 1/8-inch in thickness. Cut into twenty-four circles using a 2 1/4-inch biscuit cutter. Gently press the dough into a miniature muffin tin, forming tiny cups. Use the tines of a fork to dot the crusts with holes for steam.
Cook's Note: For my particular mini muffin pan, the 2 1/4-inch cutter is the perfect size. However, I realize that these pans are not standardized, so feel free to test a couple different sizes to make sure you have a proper fit. You are looking for just enough dough to come up the sides of the cavity and just barely reach over the edges.
Freeze the tartlet crusts for at least thirty minutes. Preheat oven to 375 degrees.
After the crusts have chilled, take a large sheet of aluminum foil that has been greased with nonstick spray on one side and press the greased side down over and into the crusts, sealing tightly. This will help those crusts stay in their proper places. Place the muffin tin on the center rack of your oven and bake for 20-25 minutes, until the crusts look almost done. (You will have to peek under a corner of the aluminum foil to evaluate.)
Remove the aluminum foil gently, then brush each crust lightly with a bit of the whisked egg white and return to the oven for an additional 2-5 minutes; until the edges have begun to brown and the centers are fully baked.*
Cook’s Note: The brush of egg white may seem like an extra step, but this will help to “laminate” the crusts so that they will not become soggy when we fill them.
Allow the tartlet shells to cool fully before filling.
(Tartlet crust adapted from Smitten Kitchen.)
for the ganache
- 4 ounces semisweet chocolate chips
- 1/4 cup heavy cream
In a small, glass bowl, combine chocolate and heavy cream. Microwave at 30-second increments, stirring well after each, until the chocolate has melted and is thick and shiny.
Using a small spoon, place about 1 teaspoon of ganache in the center of each tartlet. Allow the ganache to cool for a few moments while you prepare the cannoli filling.
for the cannoli filling
- 1/4 cup heavy whipping cream
- 1 cup whole milk ricotta
- 6 tablespoons confectioner’s sugar, sifted
- 1/2 teaspoon ground cinnamon
- 1/8 teaspoon ground allspice
- 1/2 cup miniature chocolate chips, plus extra for decorating
- cocoa powder, for dusting
Using an electric mixer, beat heavy cream on high speed until soft peaks have formed.
In a separate bowl, whisk ricotta until very smooth. Stir in confectioner’s sugar and spices, then gently fold in the heavy cream. Stir in the chocolate chips. (Stirring in a bit of lemon zest would also be traditional, but I prefer to omit it.)
Transfer the filling to a piping bag and pipe about 1/2 tablespoon of filling onto the top of each tartlet. Sprinkle with mini chocolate chips and cocoa powder. Refrigerate until ready to serve. Enjoy!!
Cook’s Note: I would recommend serving these tartlets the same day that you make them. However, you can make the tartlet shells and ricotta filling a day in advance and fill them just before serving.
(Cannoli filling recipe adapted from Alex Guarnaschelli.)
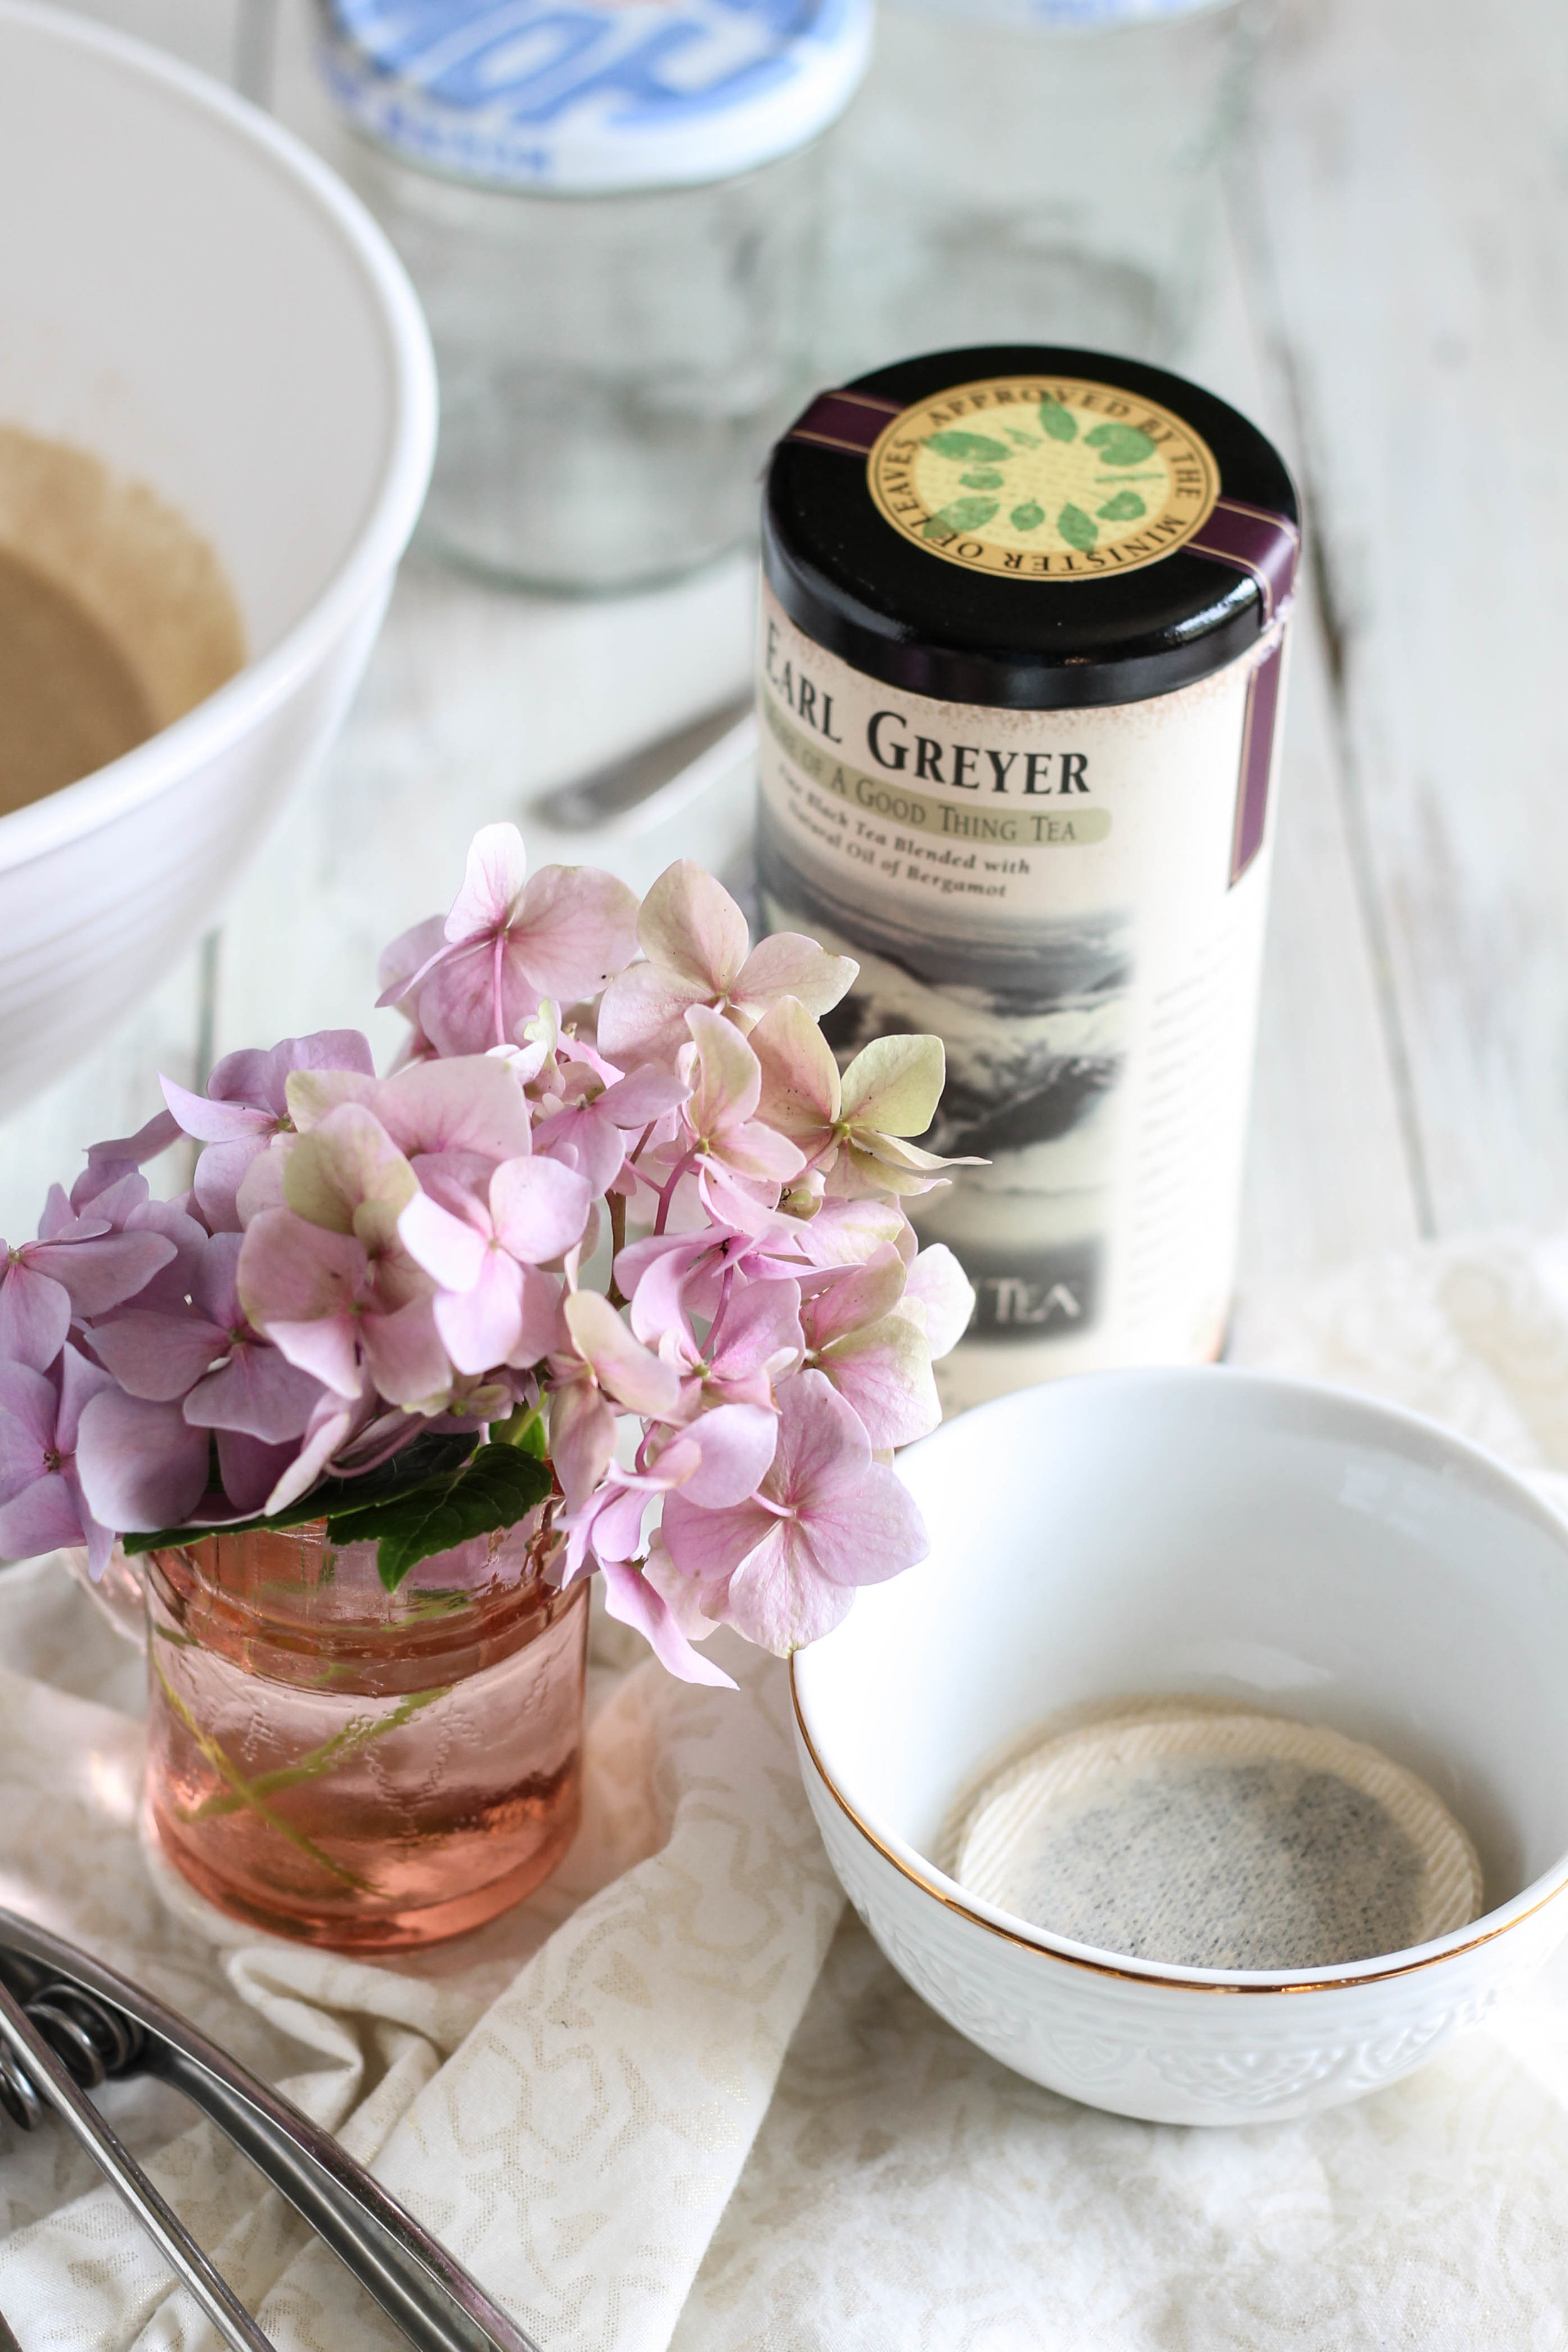
Earl Grey Dark Chocolate Chip Ice Cream
Cream or sugar in your tea?
How about tea in your ice cream?
We only have a few precious weeks of prime ice cream weather left so let's soak it up while we still can.

All great ice cream begins the same way - milk, sugar, and egg yolks.
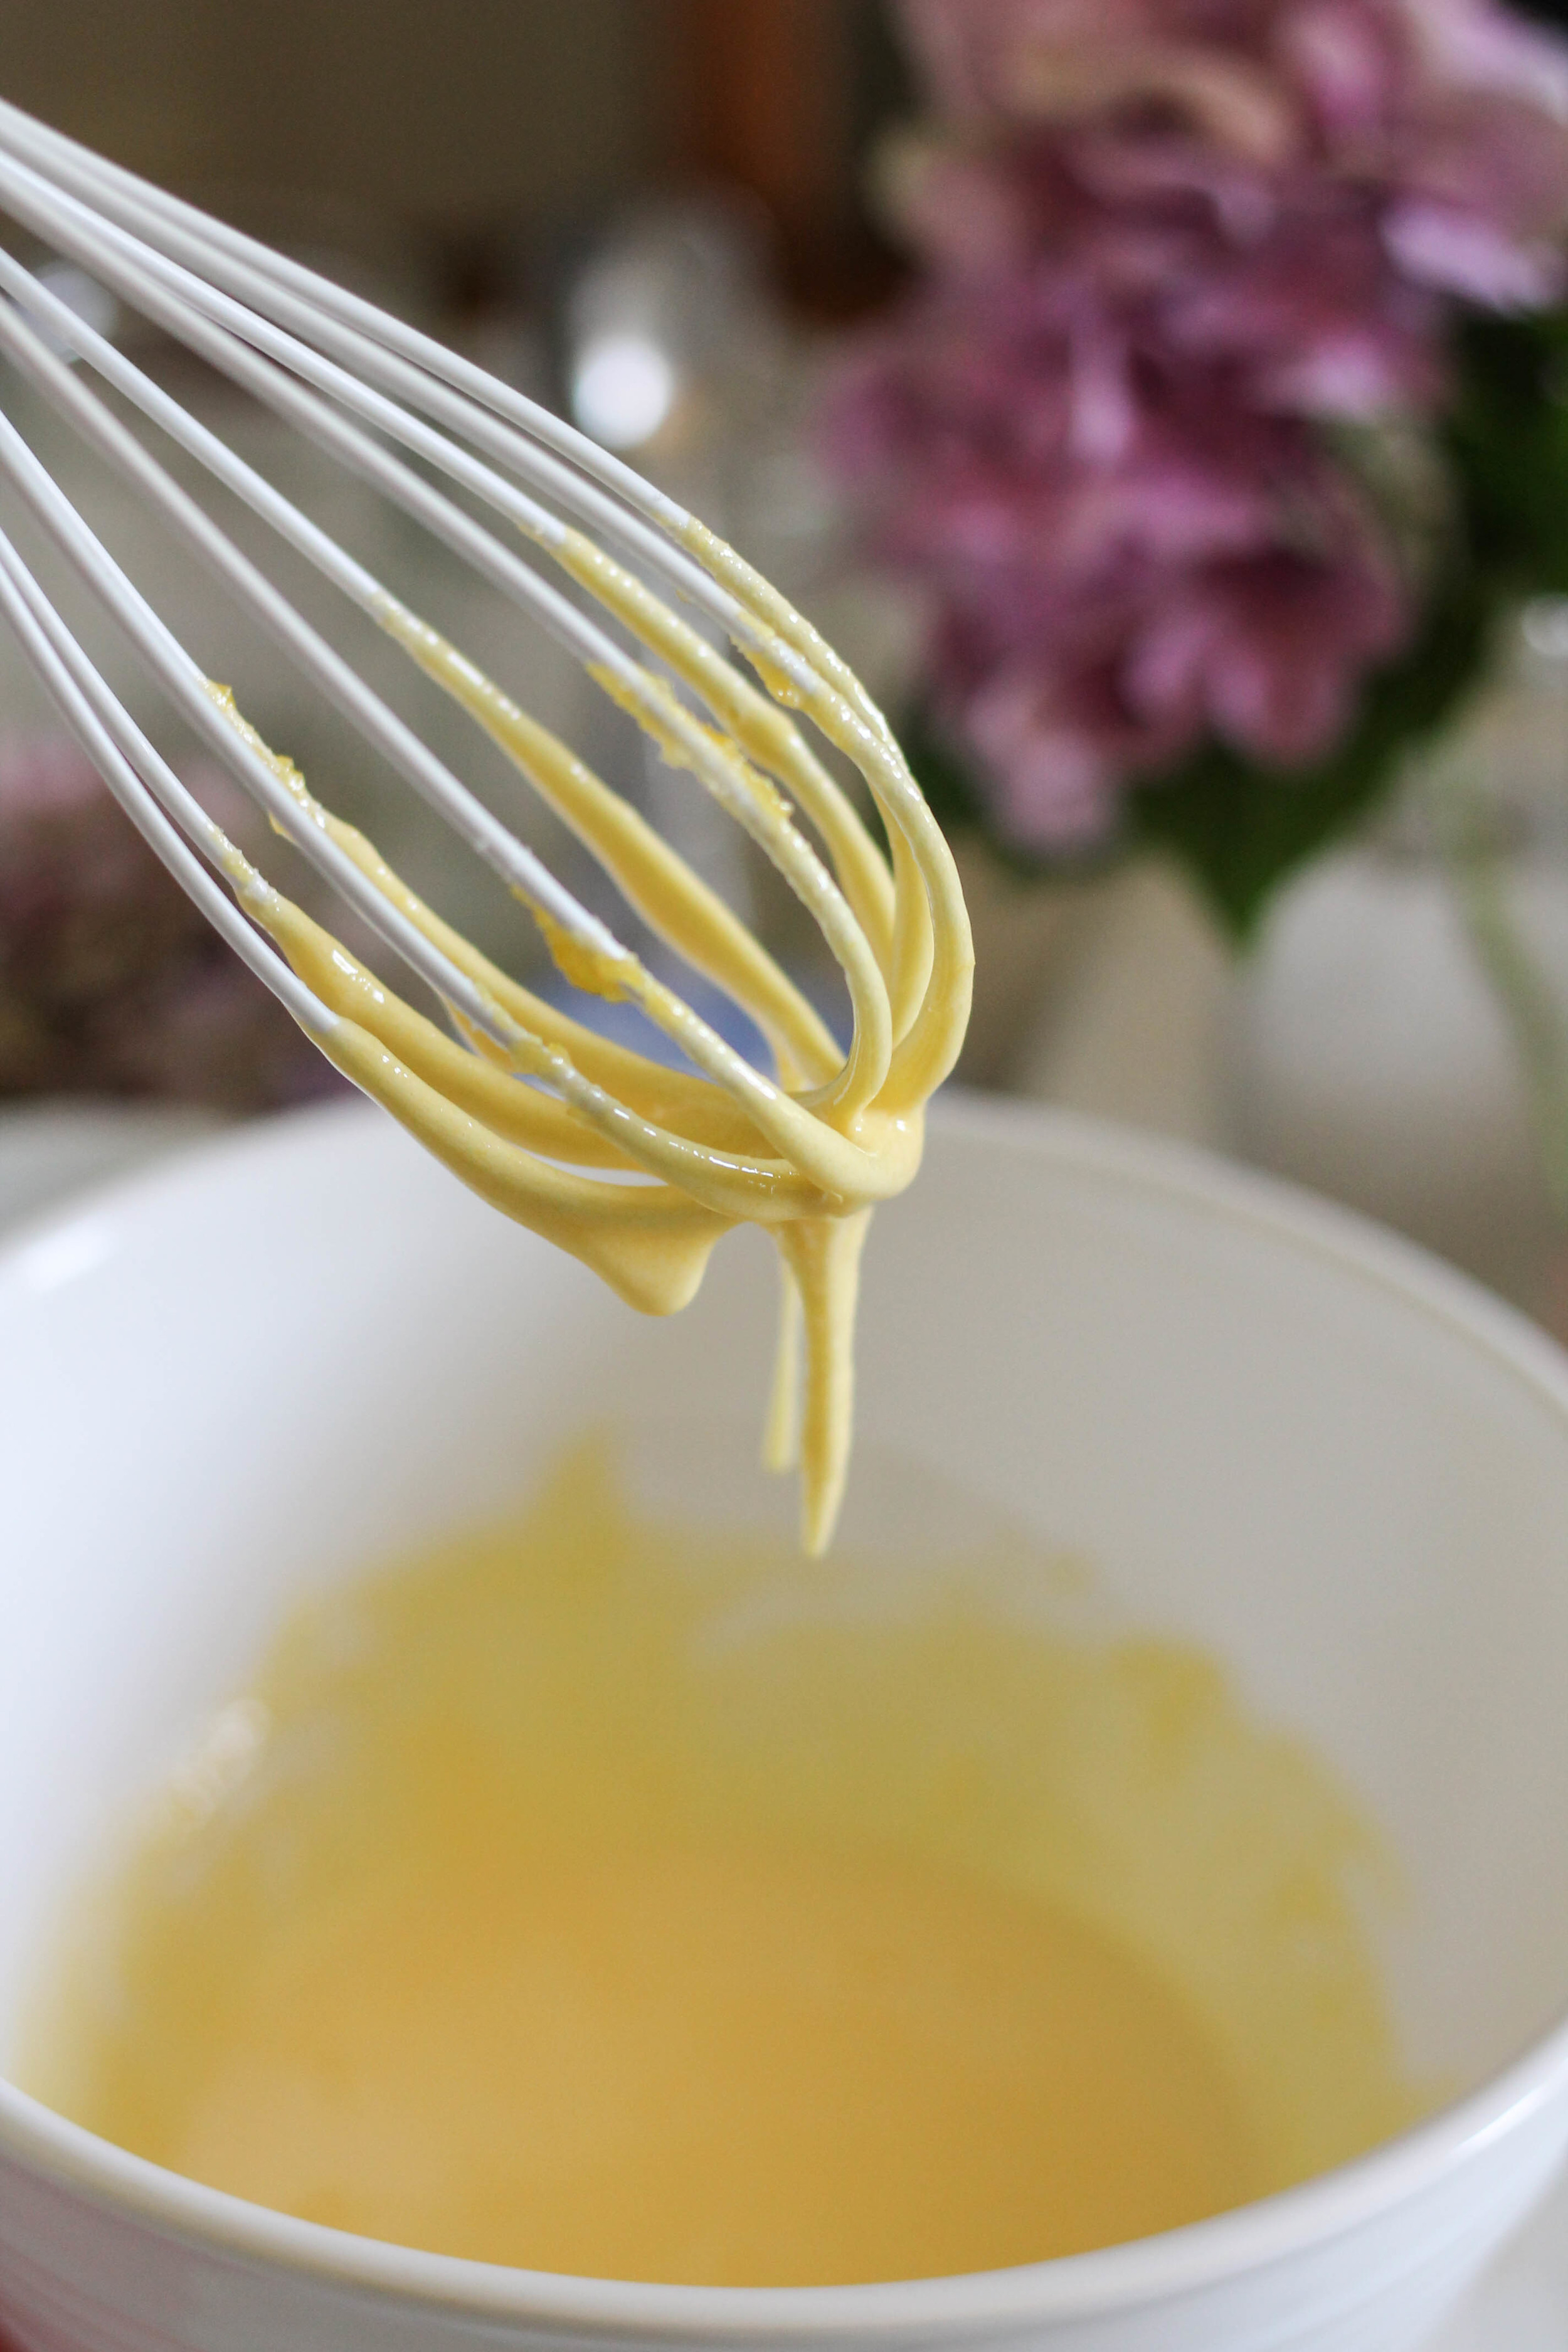
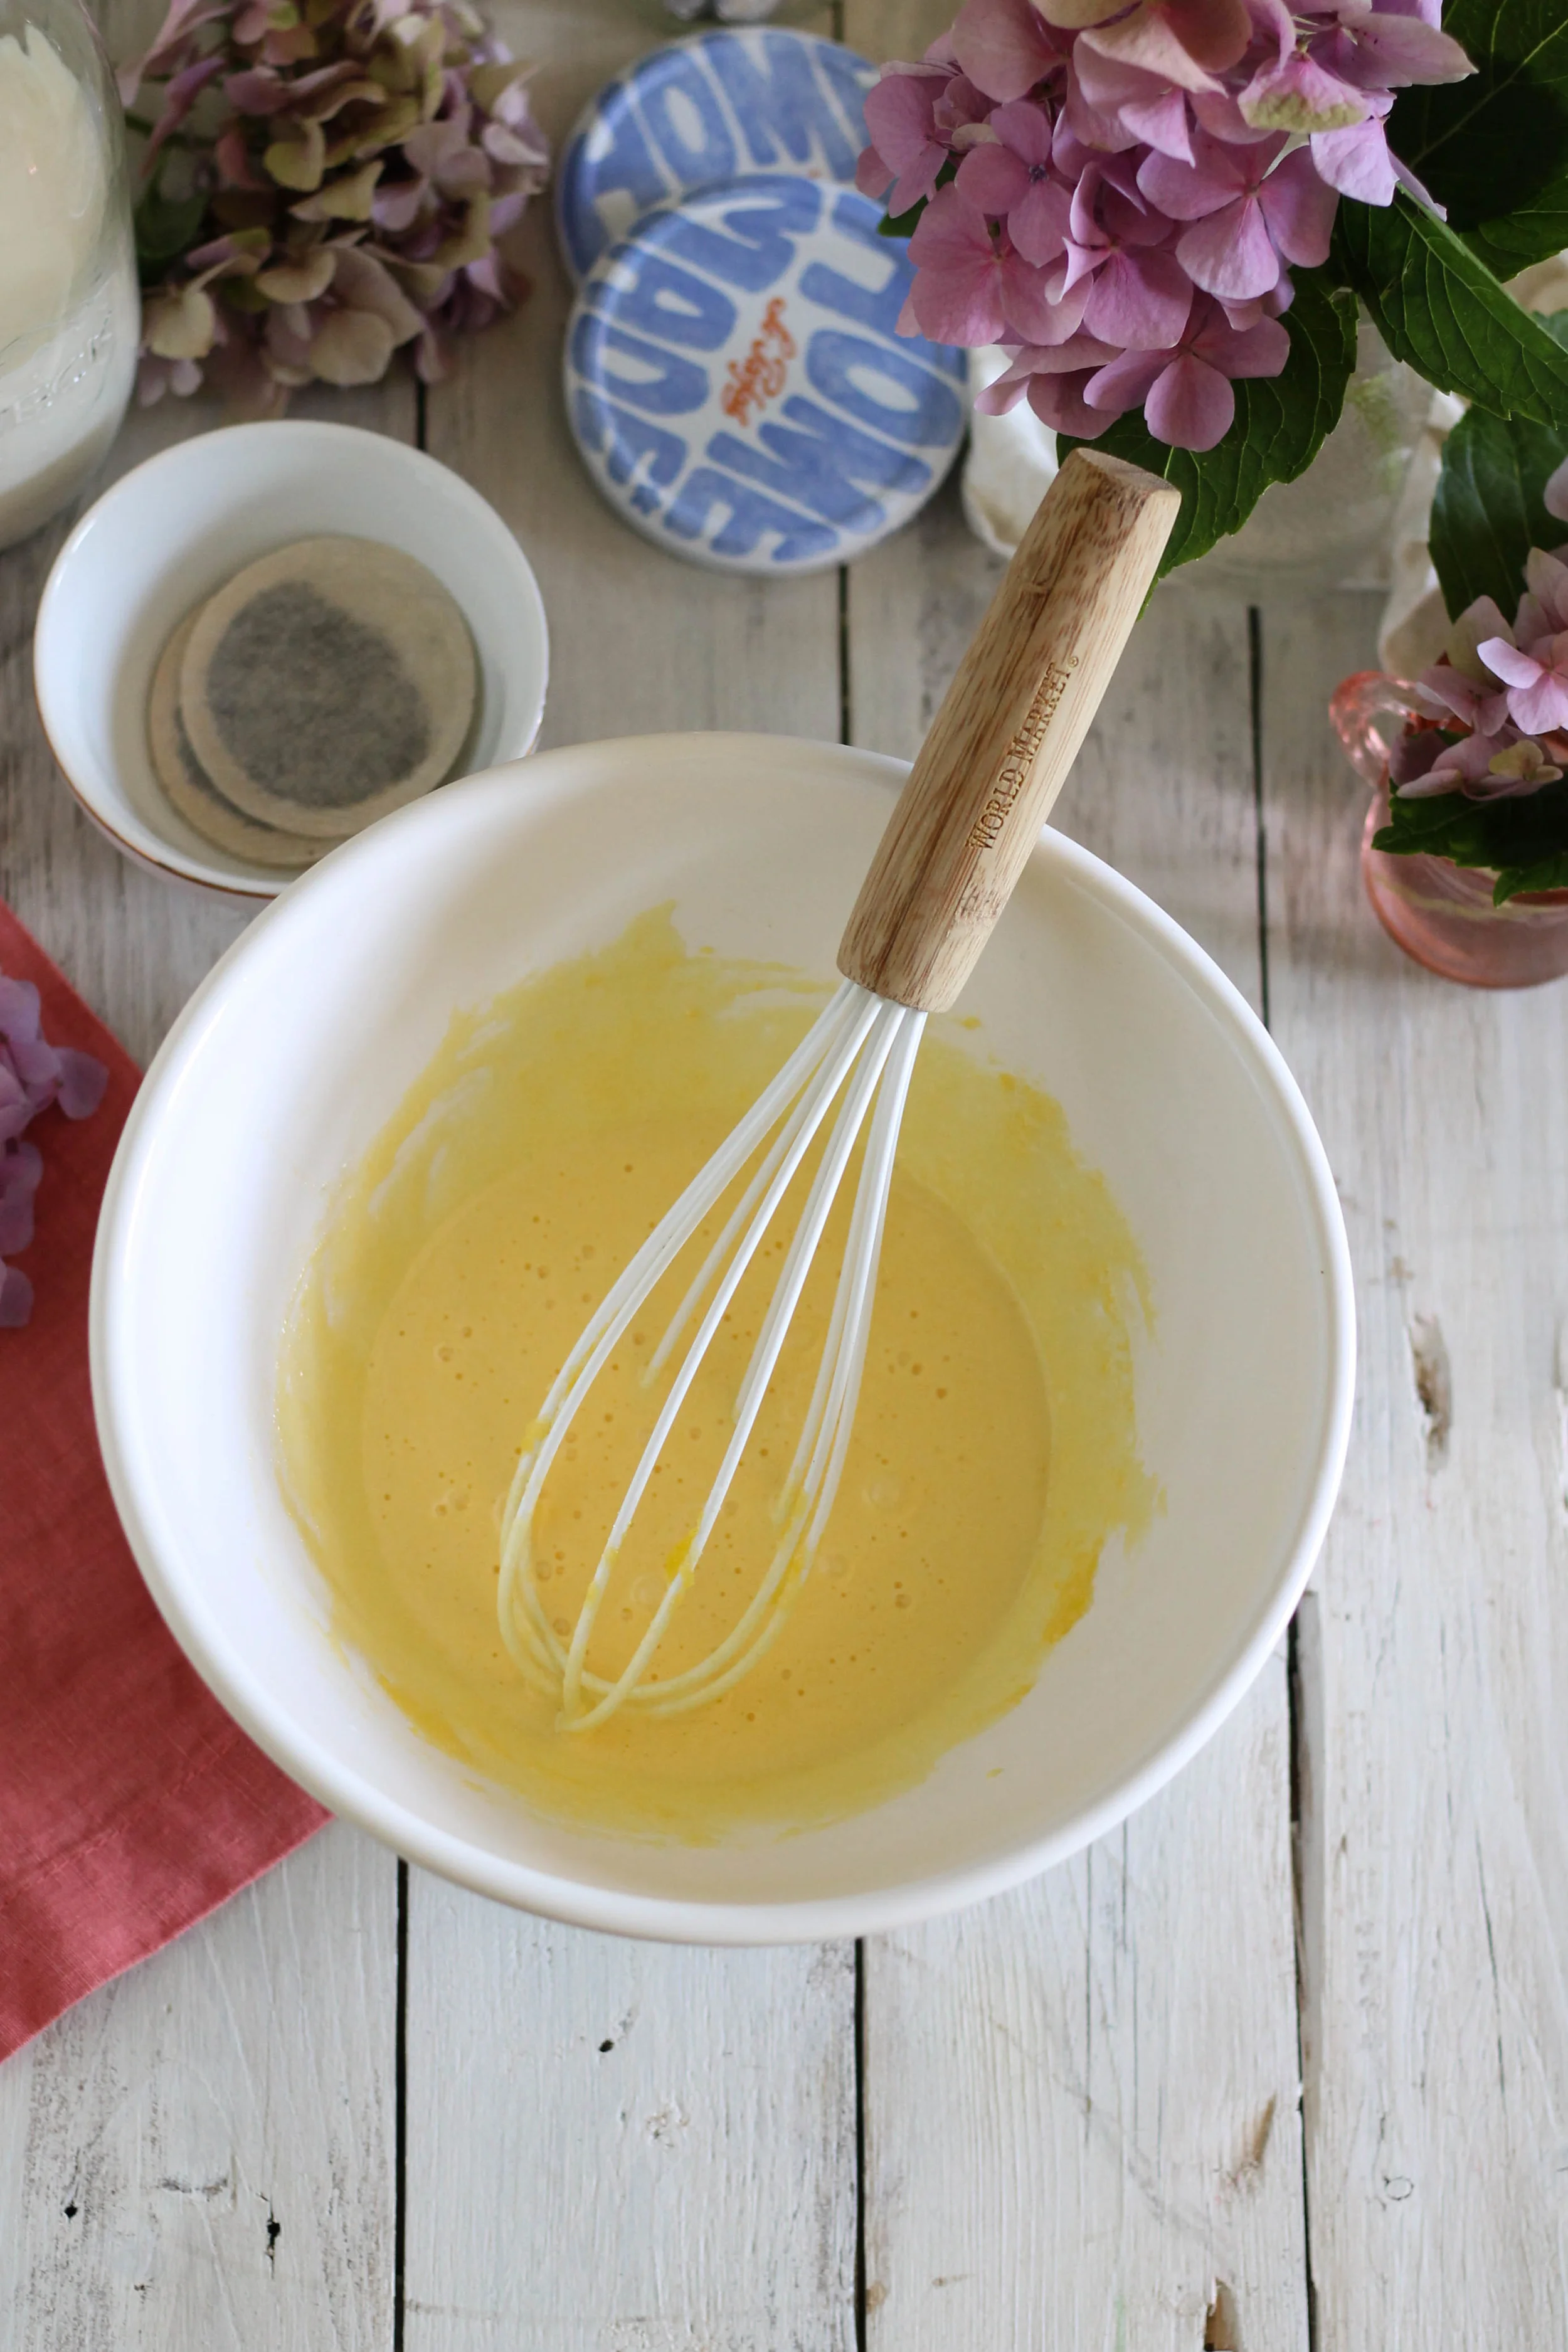
Eggs and sugar are whisked into the ribbon stage. This is when the yolks have lightened in color and have thickened up significantly.

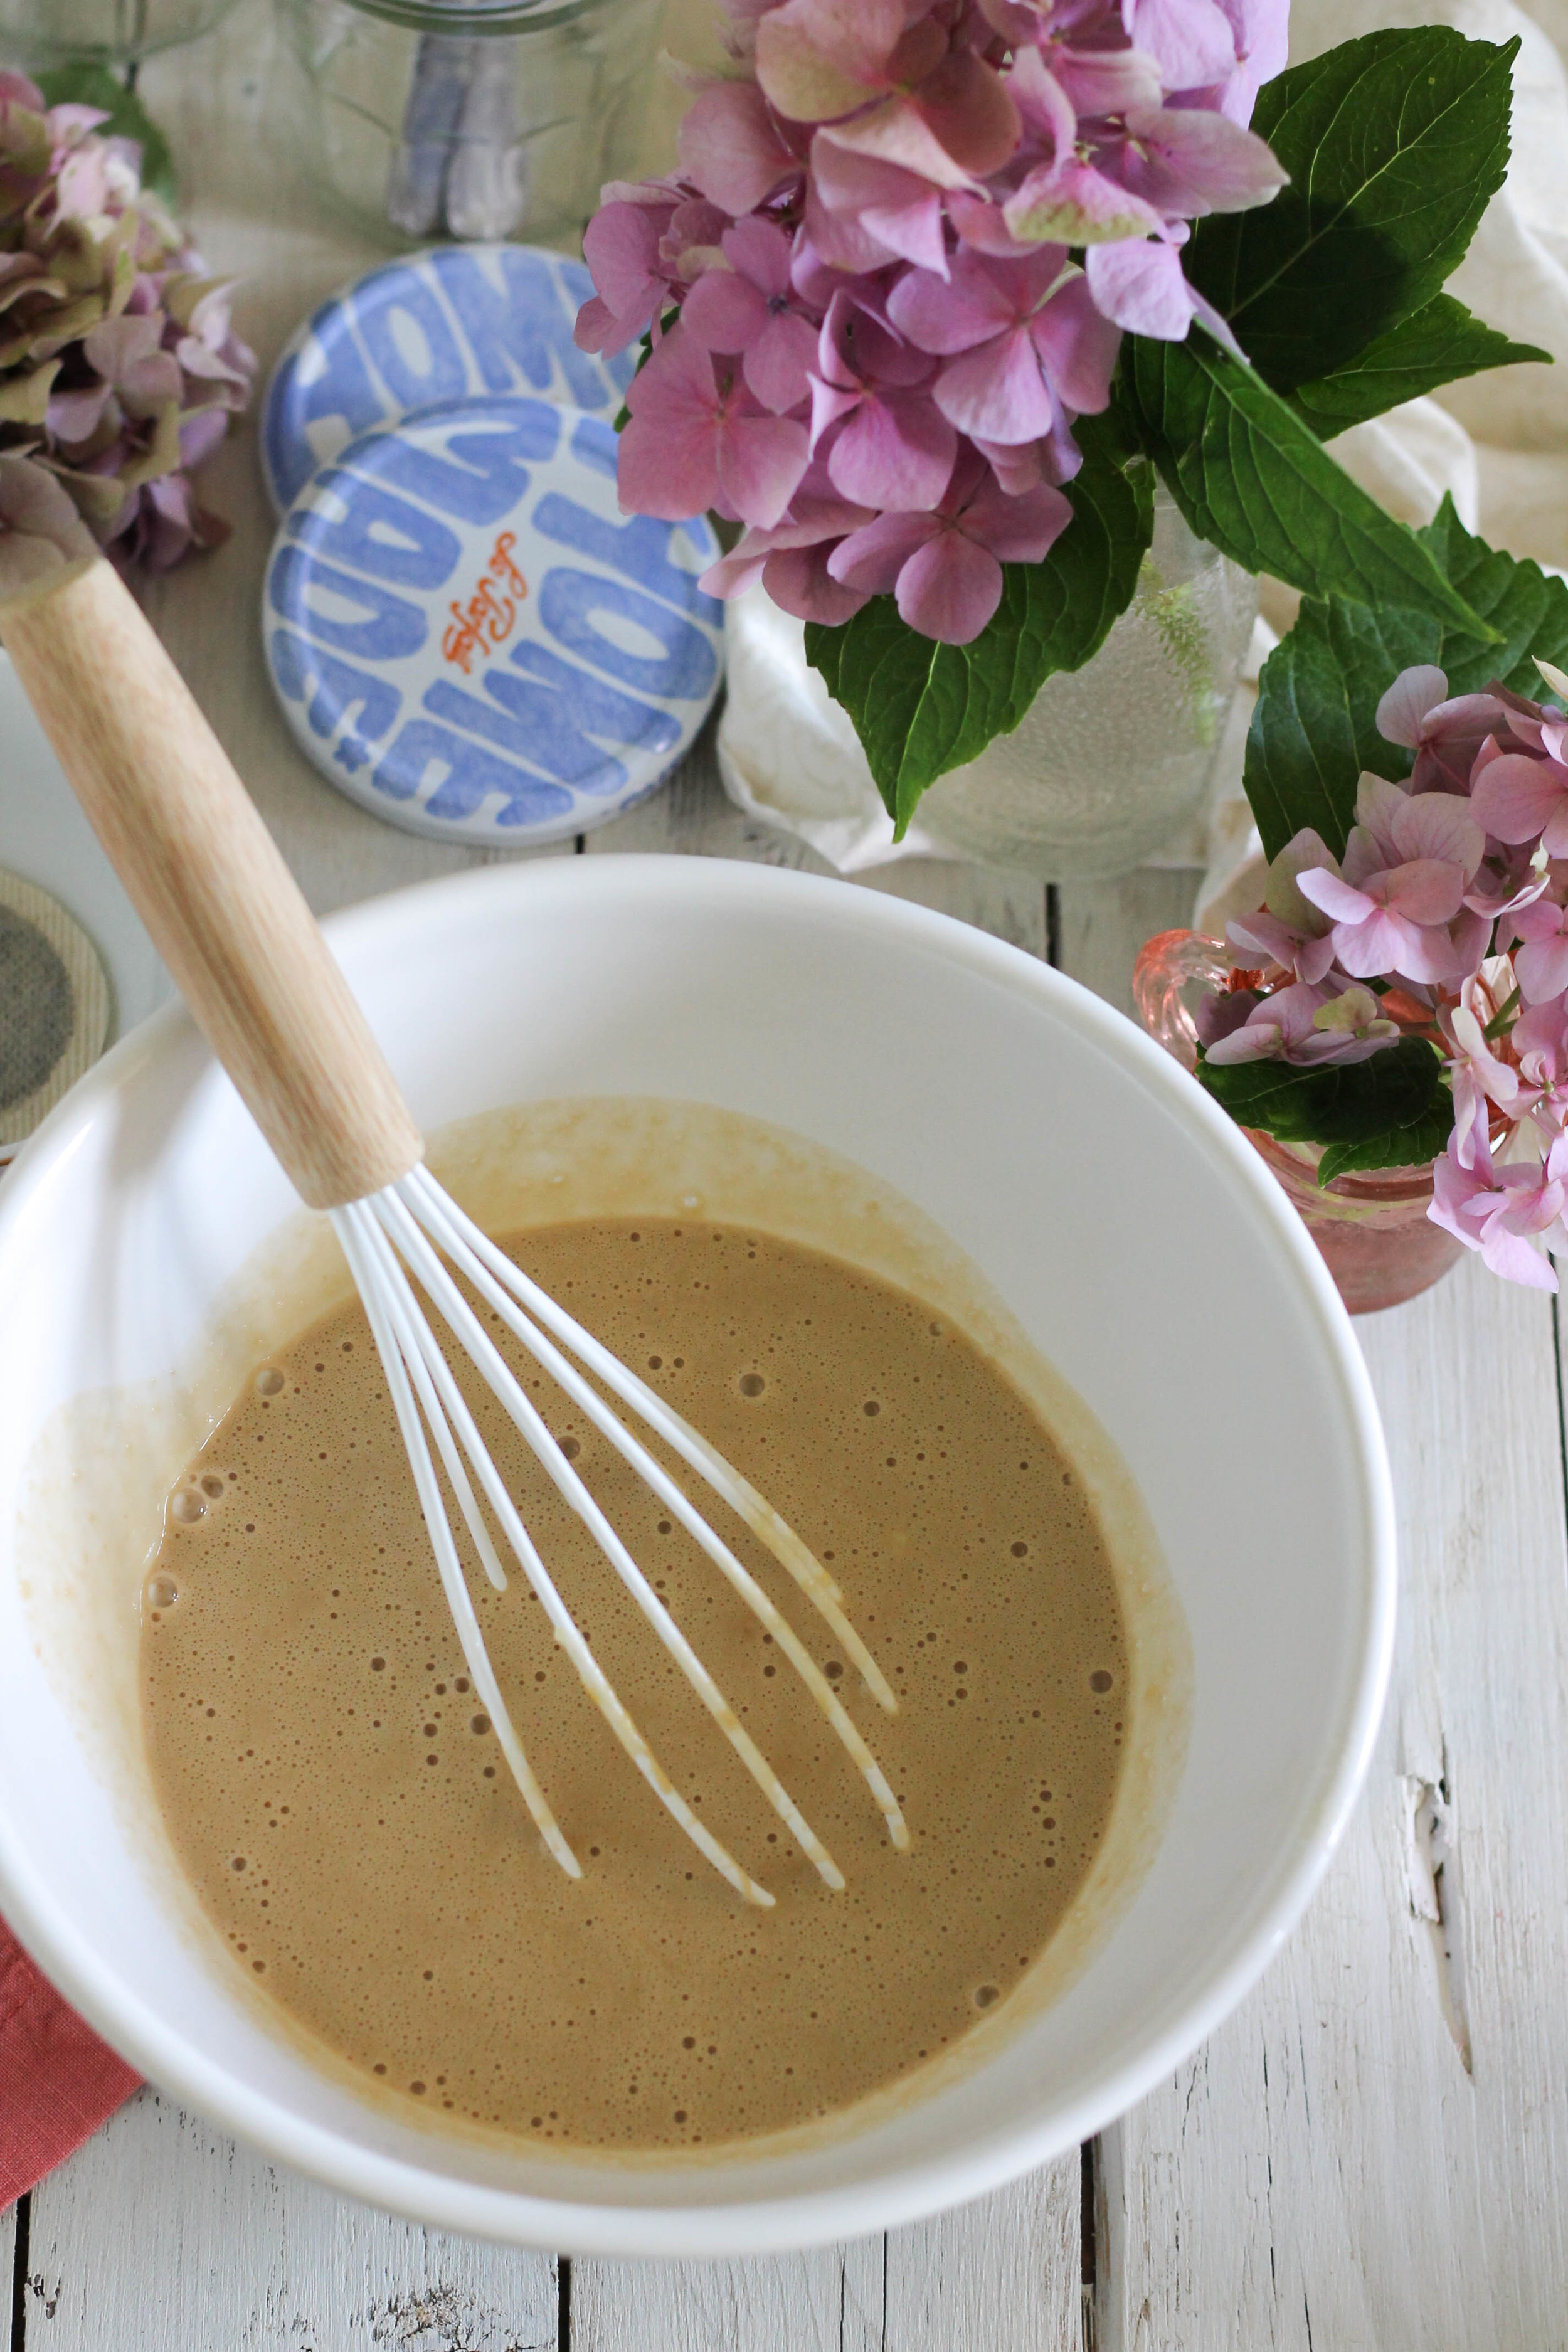
At this point, the steaming cream can be streamed into the egg yolks, slowly tempering the eggs without scrambling them.
Now comes the moment where our simple sweet cream canvas is transformed by strokes of fragrant bergamot.
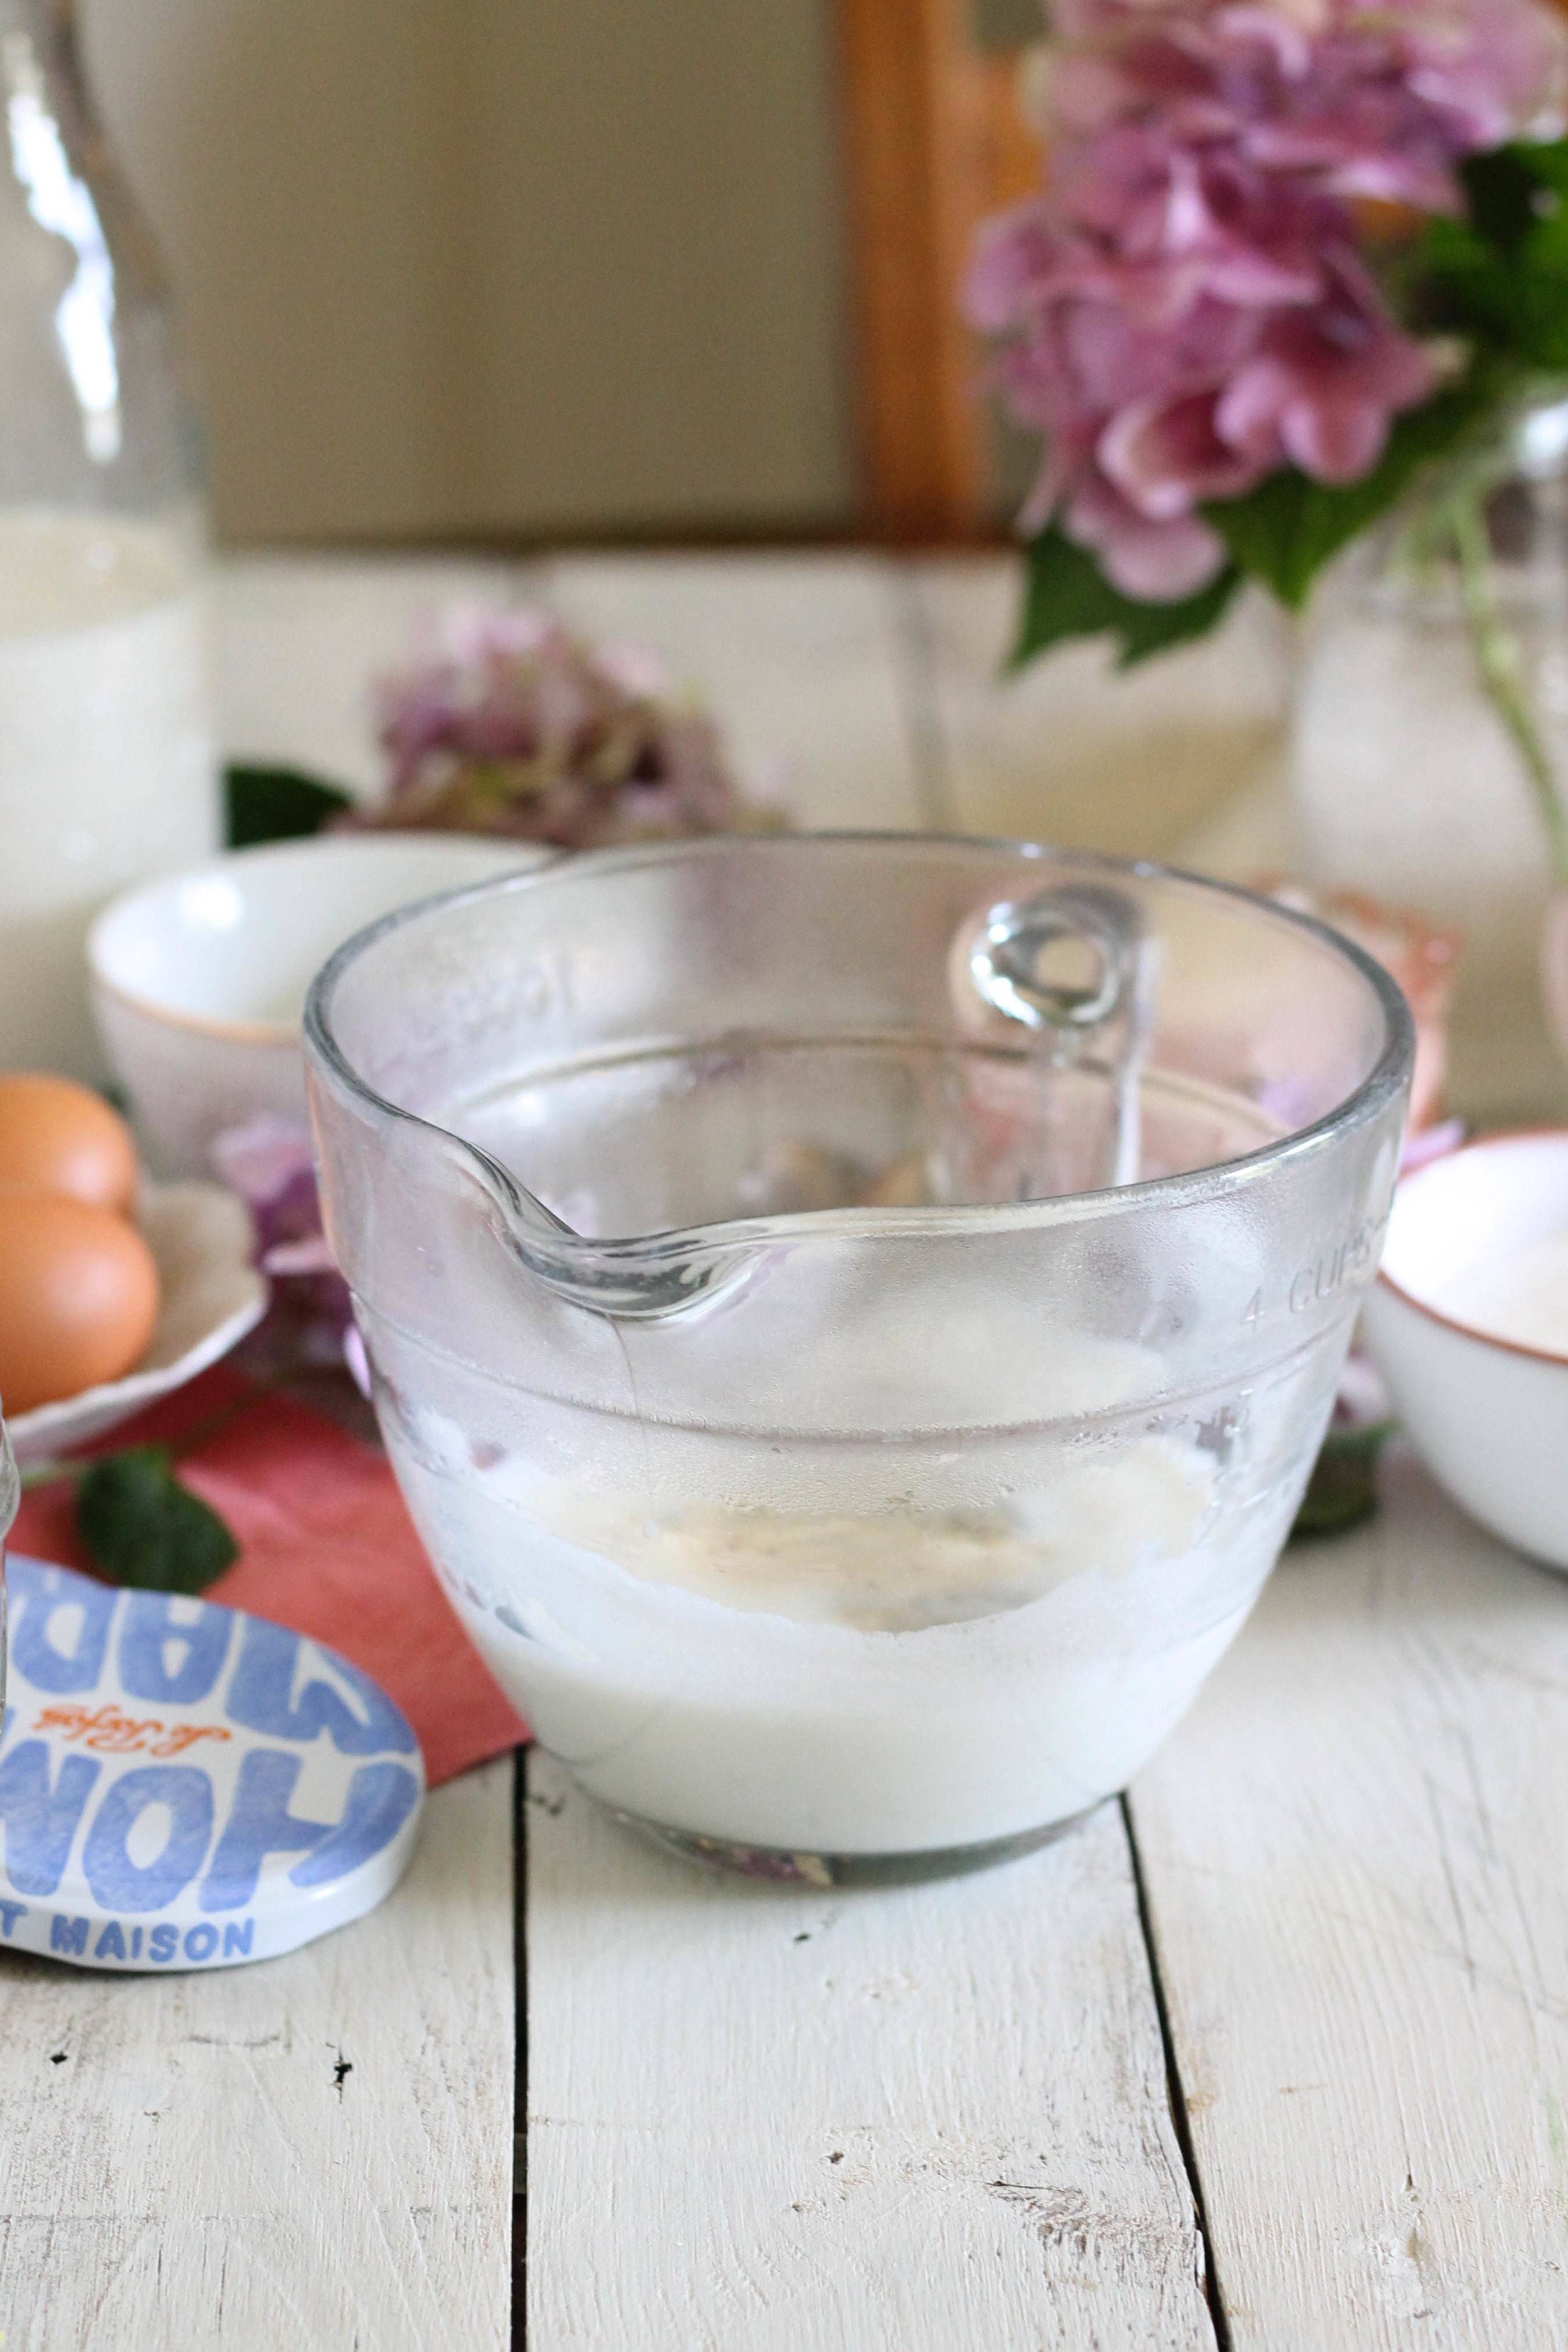
I steeped a handful of my favorite earl grey tea bags in a cup of milk for about fifteen minutes. Normally, that would be far too long a steeping period, but the sugar and cream mellow out any trace of bitterness, leaving only the striking notes of crisp, black tea.

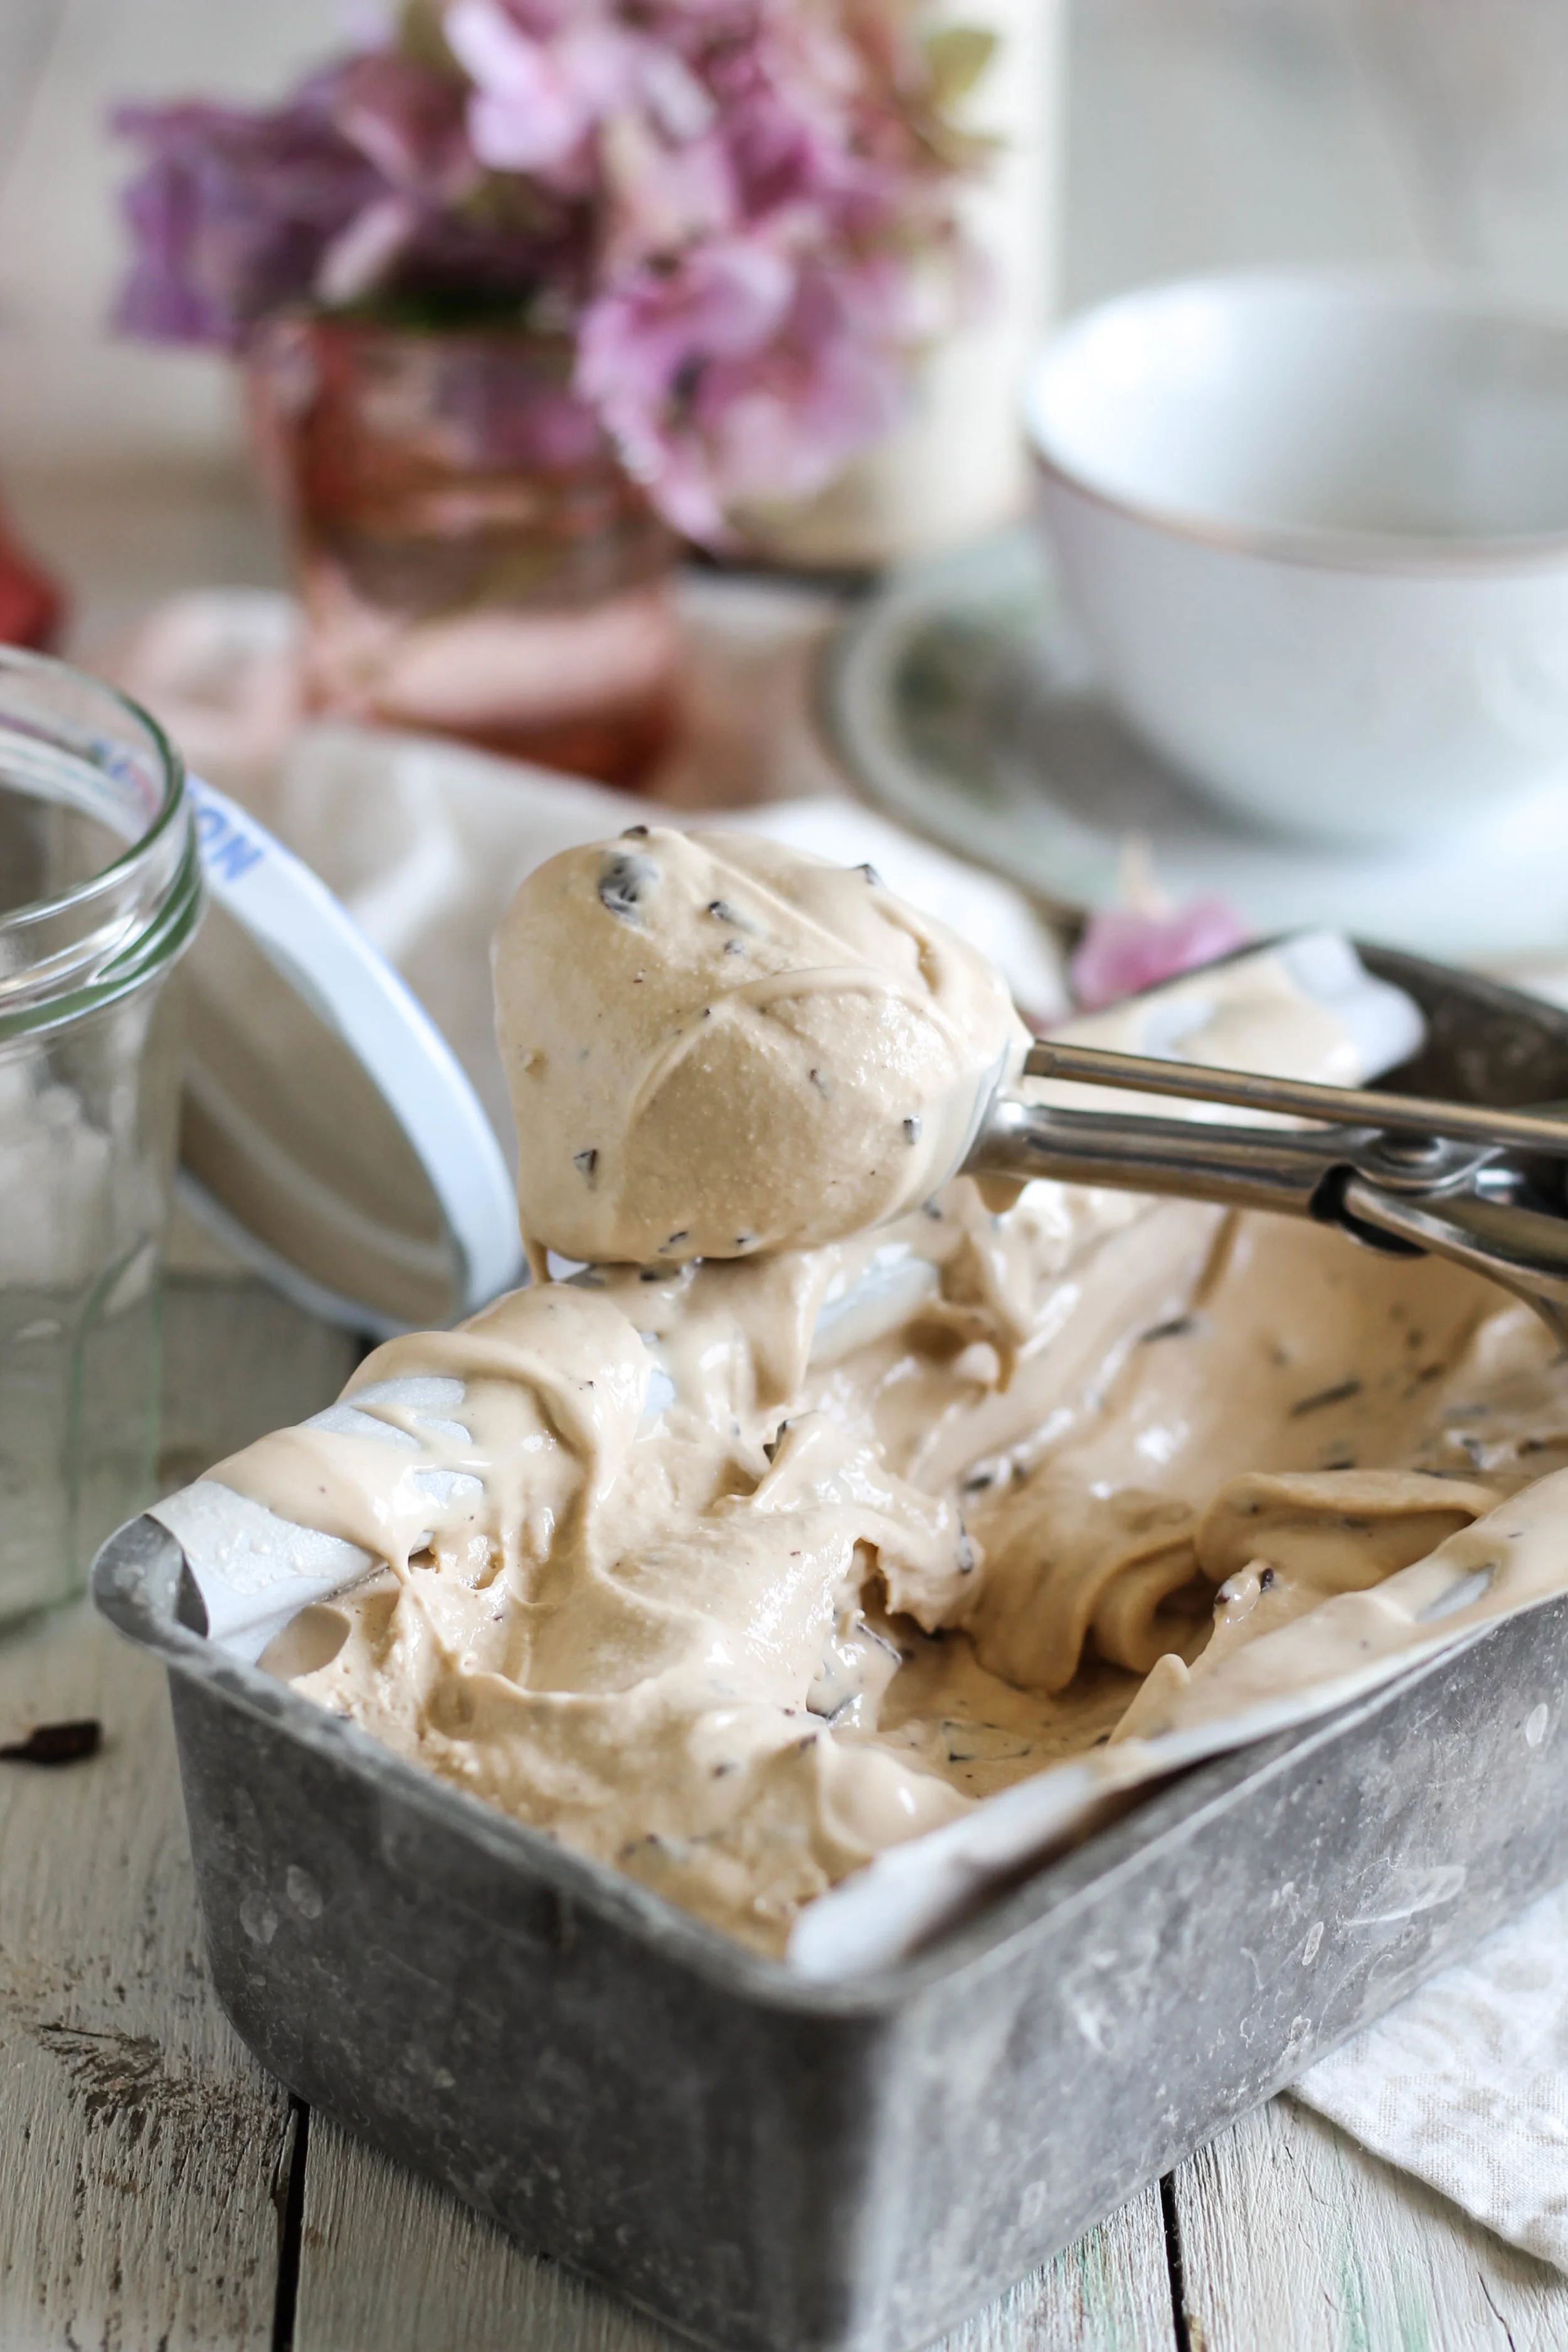
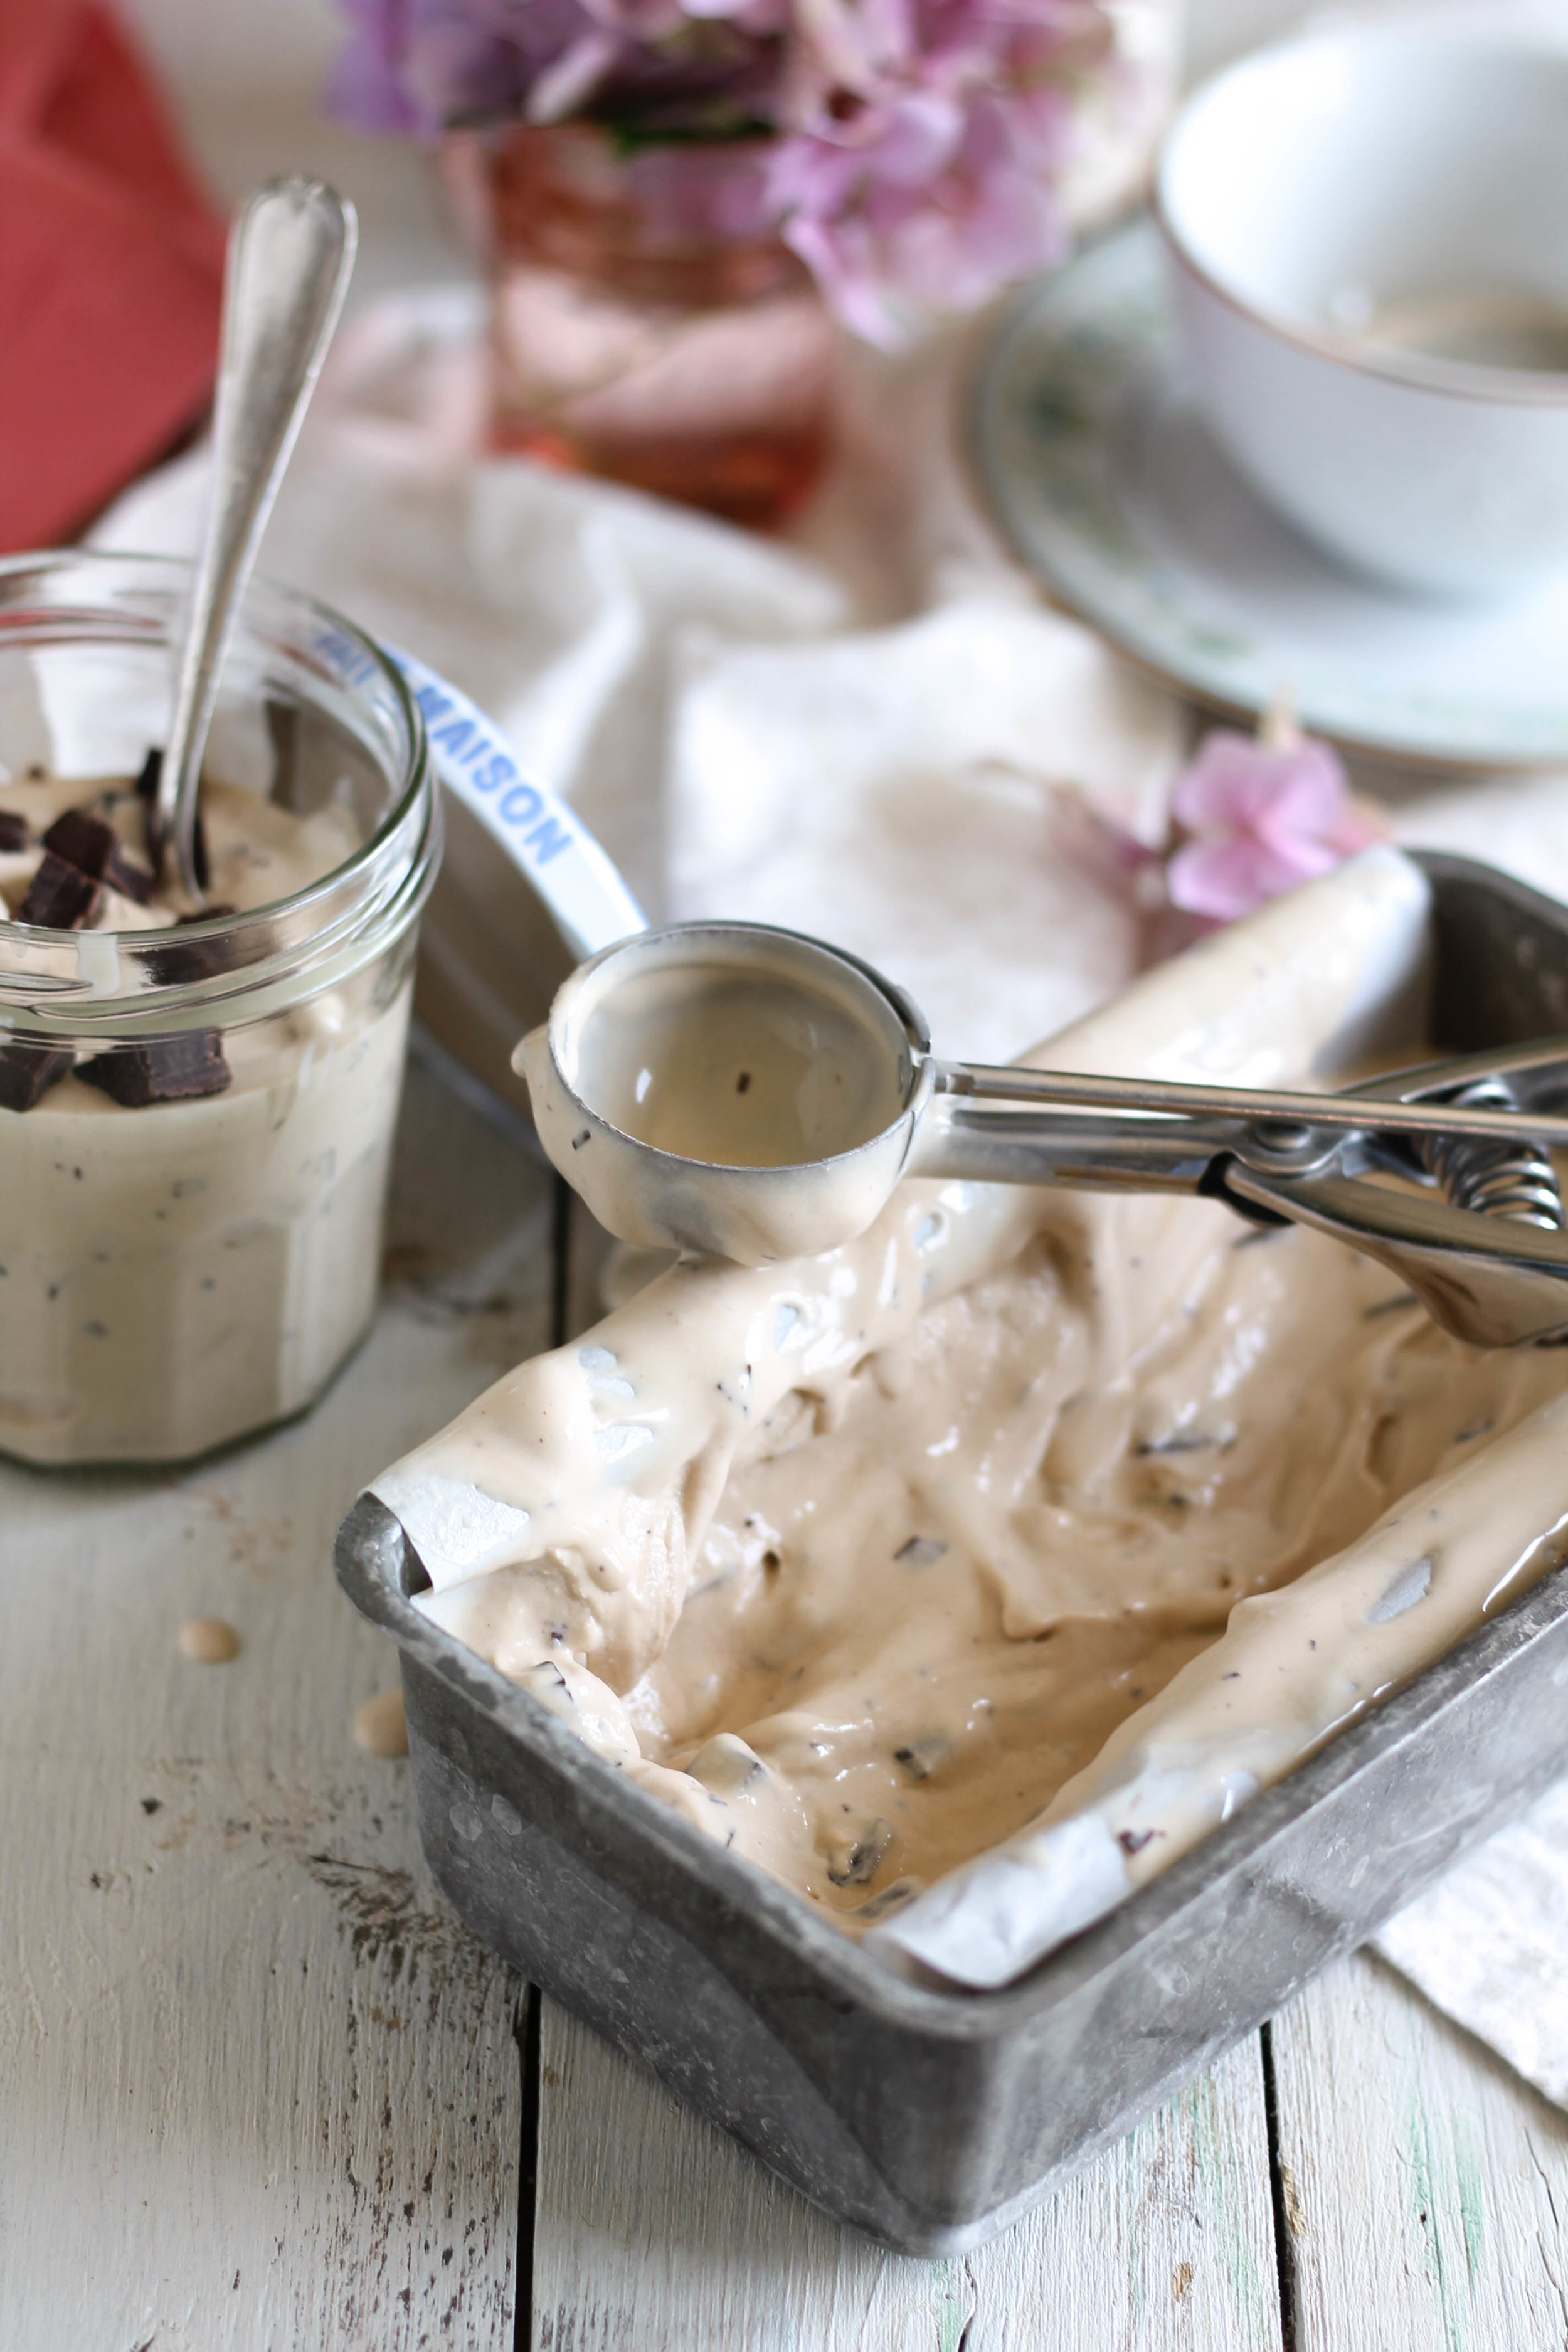
After the base has thoroughly chilled, it can be churned into an airy ice cream. I added a handful of dark chocolate chunks right at the end. I love how chocolate and earl grey play together.
I am really terrible at being patient. Especially when it comes to ice cream.

That is why this ice cream is very much on the soft serve side. If you have more self-control than I do, then you can wait until your ice cream is fully set.

I'll tell you right now that it is pretty wonderful straight from the churning bowl.

I think we just made the perfect autumn ice cream. Rich, black tea, and slightly fruity dark chocolate...it's so good. Step aside pumpkin.
Sincerely,
Pedantic Foodie
Earl Grey Dark Chocolate Chip Ice Cream
makes about 1 quart
- 1 cup whole milk
- 8 earl grey tea bags (I really like this variety)
- 1 cup heavy cream
- 5 egg yolks
- 1/2 cup + 2 tablespoons sugar
- 1 teaspoon vanilla extract
- 3/4 cup good, dark chocolate (roughly chopped)
In a small saucepan, heat milk over medium heat, until steaming. Remove from heat and add tea bags. Cover and steep for fifteen minutes. Remove tea bags.
In a second saucepan, heat cream over medium heat, until steaming.
In a large bowl, whisk egg yolks until they have lightened in color and are thick and pale yellow. Slowly whisk in the granulated sugar. While continuing to whisk, slowly stream in the hot cream, tempering the egg yolks. Return the custard to the saucepan, along with the earl grey milk, and cook over medium heat until the custard has just begun to thicken slightly and coats the back of a spoon. Remove from heat and stir in the vanilla extract.
Cover with plastic wrap and refrigerate until chilled. Prepare in your ice cream maker according to the manufacturer's instructions. During the last minute of churning, add chocolate.
Transfer the soft ice cream to a freezer-safe container for 3-6 hours; until set. Enjoy!
you may also like...
![Almond Chai Lattes are the perfect wake-up call for these chilly autumn mornings! [ WWW.PEDANTICFOODIE.COM ]](https://images.squarespace-cdn.com/content/v1/5150ff2ae4b07a397217c428/1539879421564-J5MZ01FHUXPCUMV9YJ52/Almond+Chai+Lattes+are+the+perfect+wake-up+call+for+these+chilly+autumn+mornings%21+%5B+WWW.PEDANTICFOODIE.COM+%5D)
![SPARKLING BLOOD ORANGE CHAI [ www.pedanticfoodie.com ]](https://images.squarespace-cdn.com/content/v1/5150ff2ae4b07a397217c428/1516194764113-7QY7ZVXDAK5IYDSOHNPW/SPARKLING+BLOOD+ORANGE+CHAI+%5B+www.pedanticfoodie.com+%5D)


Ready to knock out those winter colds? Me too.