Last week I invited some of my favorite ladies over to paint pumpkins and now I am going to try to convince you do to the same. It might be the easiest party you ever throw, and we have snacks and glitter so I really do not know why you would not want to hop on this Pinteresty bandwagon.
Read moreChocolate Chip Cannoli Tartlets
Once upon a time, about 4 years ago, I endeavored to make homemade cannoli.

Cannoli are one of my favorite sweet treats and I will always find room for one or two, regardless of how much pasta I have eaten beforehand. I could not wait to have the power to make them at whim.

I like to pride myself on being somewhat fearless in the kitchen, but that day I walked away with burnt arms that would eventually scar, a defeated heart, and two dozen or so cannoli which, while delicious, had a faint flavor of tears and anger. "Never again," I declared.
You see, cannoli would really be a very simple effort if not for trying to fry delicate little tubes of dough. Dough that will do everything in its power to slip and slide off of those metal molds and stick to the bottom of your pan.

Just thinking about it now is making me type with a small degree of rage. My fearless friend and I tried hanging on to the molds with tongs to keep them from resting on the bottom of our dutch oven, but they had a tendency to slip, thus splashing very hot oil onto our arms and creating a deep-set hatred for cannoli shells in our hearts. Well, at least in mine.

Over the years, I have denied my cravings and stuck to my vow, but my love for the beautiful, Italian-grandmother-made cannoli has remained.

Recently, the cravings resurfaced and while I had no interests in singed arms, I was curious about a cannoli alternative. Something that could mimic the flavors and textures of those delicate Italian...cookies? Gosh, what are they anyways?

So, it is with great pleasure that I give you cannoli petit fours, or mini tarts, or tartlets, or yummy little things that should be served at your next bridal shower, baby shower, or any other girly affair where bystanders will appreciate their cuteness. Oh yes, Mother's Day too.

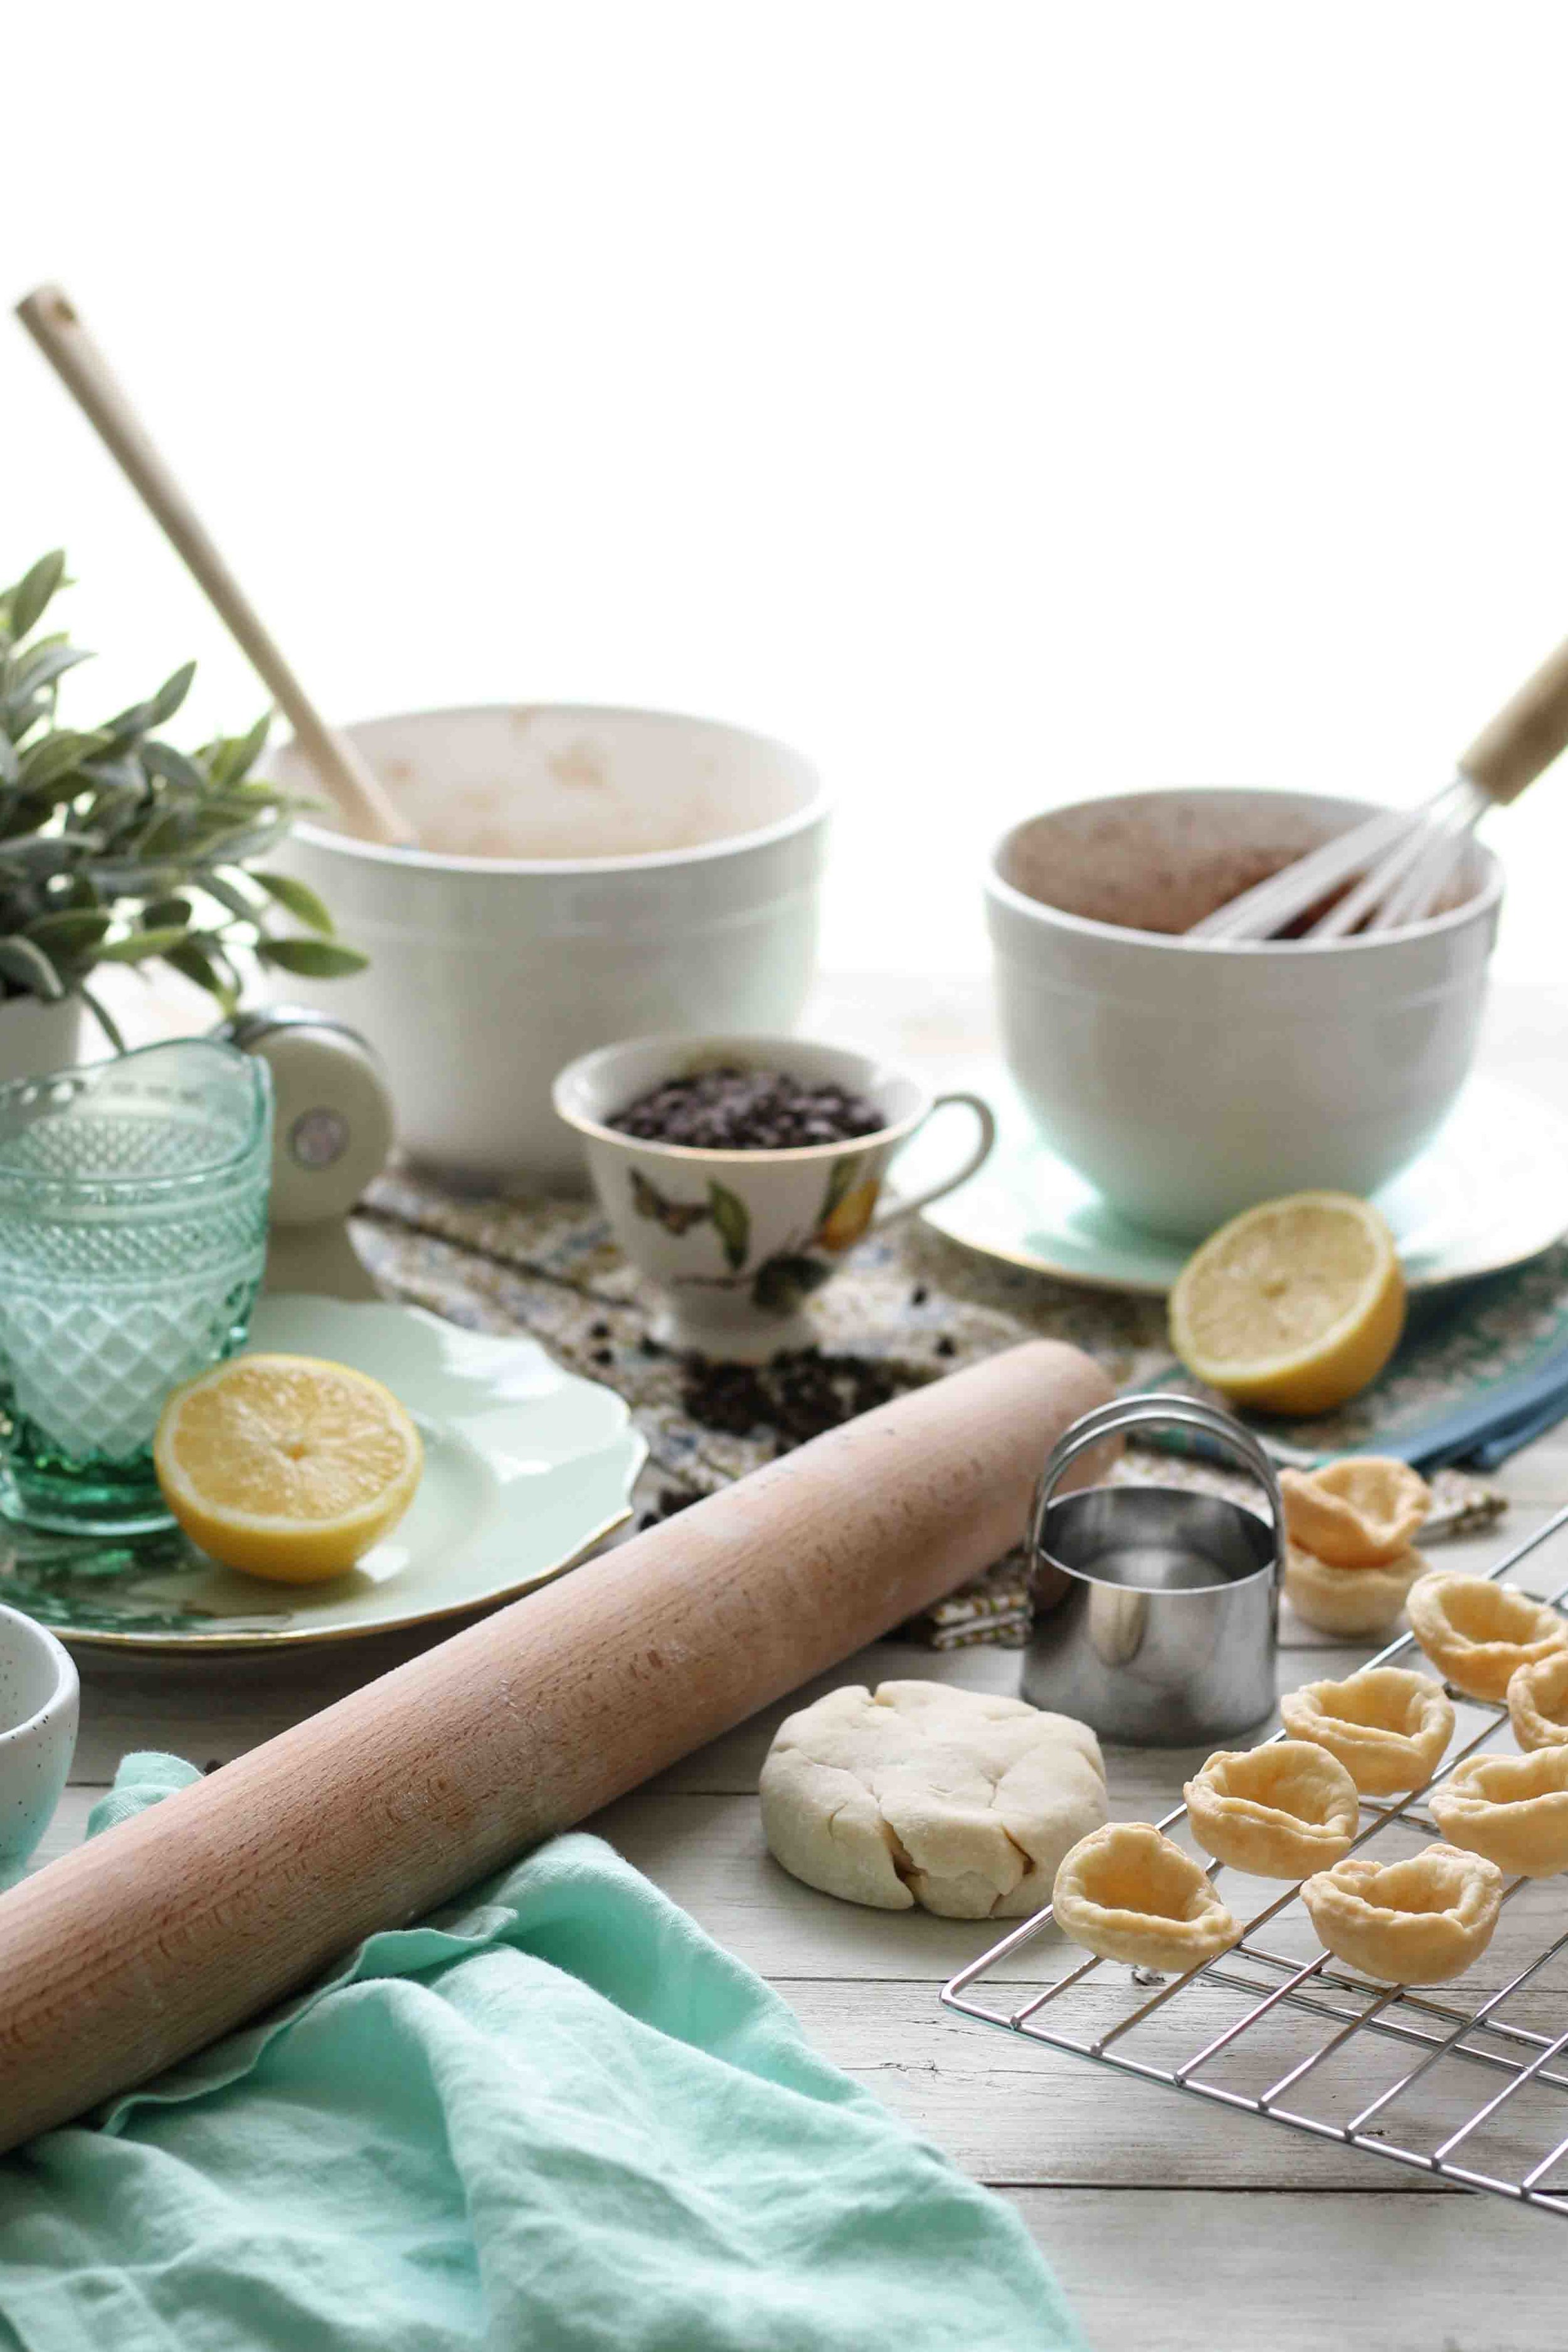
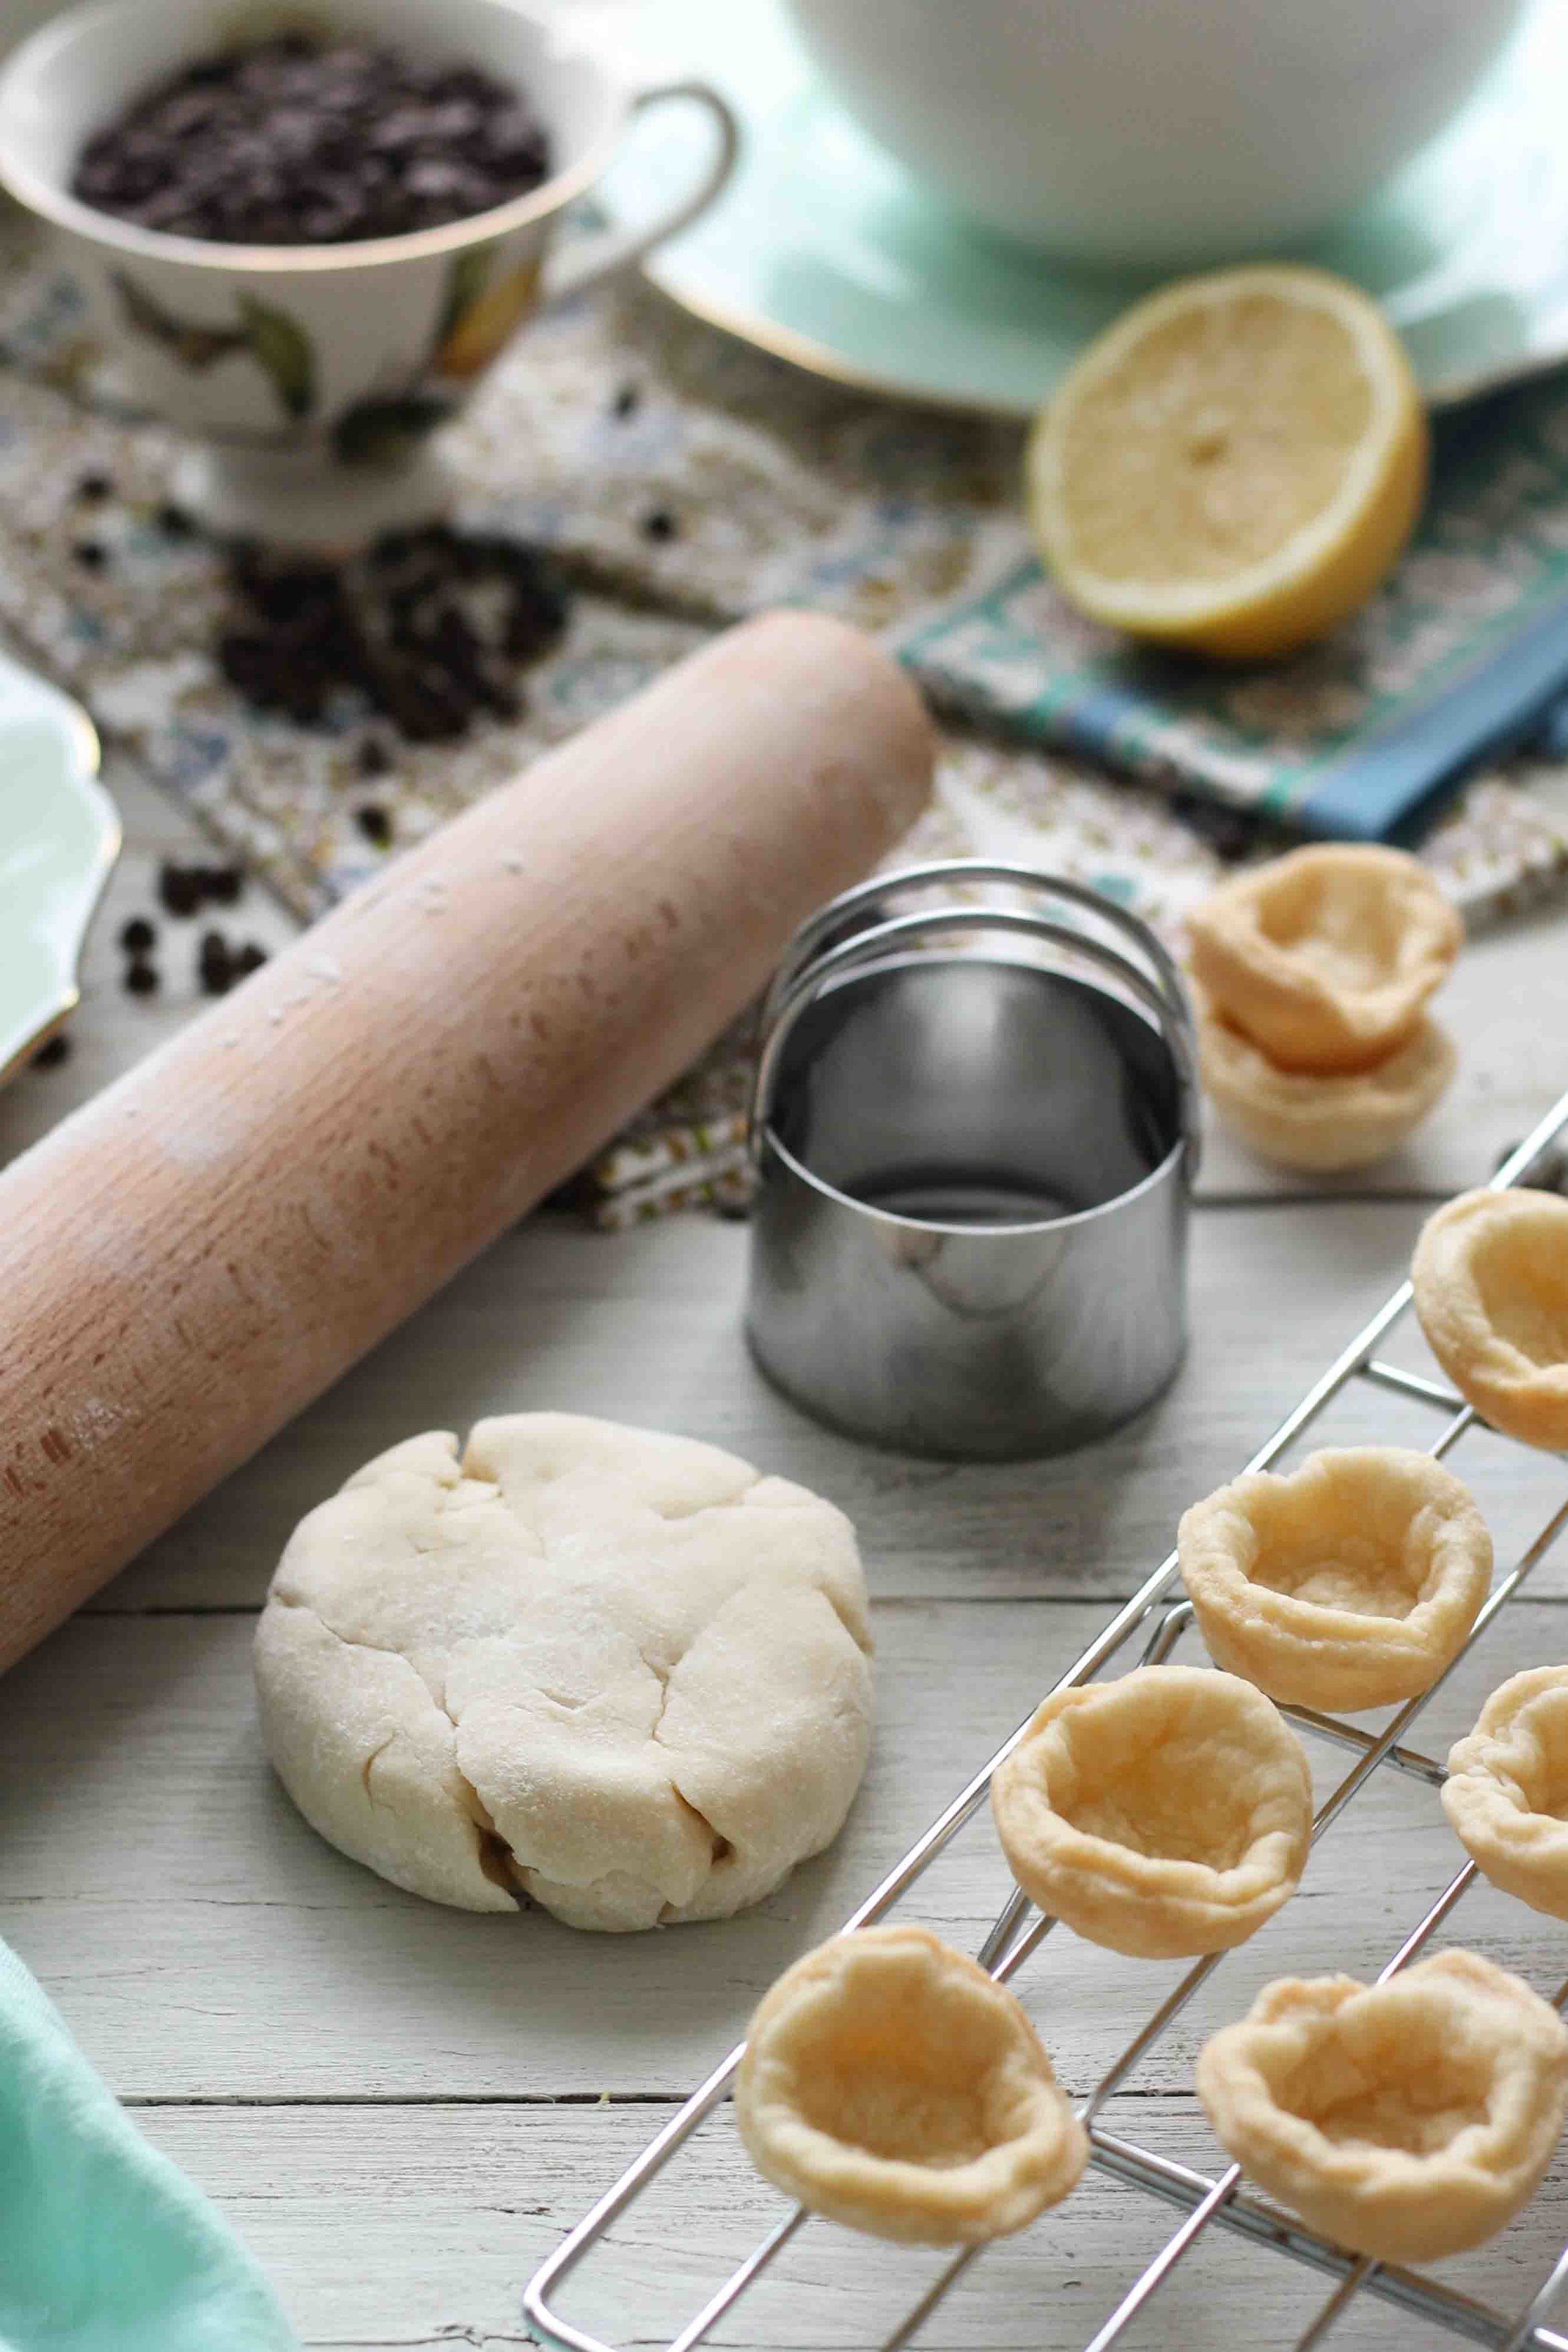
These tartlets begin, not surprisingly, with tart shells - our substitute for the traditional, beastly shells that I have forever put behind me.
While these miniature cups of pastry did not leave me burned and battered, they did present a few challenges of their own, namely the age-old issue of sinking.

I should begin by saying that I did not go out and purchase two dozen tiny tart tins, but instead used an item all of us likely have tucked away in some neglected corner cabinet - the mini muffin pan.
Sinking crusts are not a new problem, every pie-baker has known the pain of watching a carefully-made crust slip into an unattractive mound at the bottom of the pie pan. It would seem, however, that drooping sides are a bit easier to combat when it comes to larger crusts because we can look to pie weights for our aid. Tartlet crusts are a bit trickier. The first time I made these, as evidenced by the photographs, my sides sunk. No amount of freezing could battle the melting properties of buttery pastry. The second go-round, however, I was lucky enough to find Deb's foolproof recipe and applied her tart principles to my miniature tarts. The results were perfectly shaped, high-sided shells.

While I could have simply filled these shells with the cannoli filling, I felt like a little extra chocolate might be a good idea. It usually is.

Crisp, buttery pastry, rich chocolate ganache, and the creamy, chocolate chip-studded ricotta that we all adore so much. Everyone knows that the filling is the reason we love cannoli anyways.
I will not try to convince you that these tartlets are better than traditional cannoli, but they are a delicious substitute.

This time I walked away rage-free, without a burn, and my cannoli cravings satisfied. In some ways these far out-rank the original.
Sincerely,
Pedantic Foodie
Chocolate Chip Cannoli Tartlets
makes 24 tartlets
for the tartlet crust
- 1 1/2 cups all-purpose flour
- 1/2 cup confectioner’s sugar
- 1/4 teaspoon kosher salt
- 9 tablespoons very cold unsalted butter, cut into cubes
- 1 large egg, gently whisked
- 1 egg white, whisked
In the work bowl of your food processor, combine flour, sugar, and salt; pulse to combine. Scatter the butter over the flour mixture and pulse several times, until the butter is in roughly pea-sized pieces. Add the egg and and pulse in 10-second increments, until a dough begins to come together.
Turn the dough out until a lightly floured surface and knead just enough to pull the together any dry bits. Shape into a disc and wrap in plastic wrap. Chill for two hours.
Place the dough on a well-floured surface and roll with a rolling pin to about 1/8-inch in thickness. Cut into twenty-four circles using a 2 1/4-inch biscuit cutter. Gently press the dough into a miniature muffin tin, forming tiny cups. Use the tines of a fork to dot the crusts with holes for steam.
Cook's Note: For my particular mini muffin pan, the 2 1/4-inch cutter is the perfect size. However, I realize that these pans are not standardized, so feel free to test a couple different sizes to make sure you have a proper fit. You are looking for just enough dough to come up the sides of the cavity and just barely reach over the edges.
Freeze the tartlet crusts for at least thirty minutes. Preheat oven to 375 degrees.
After the crusts have chilled, take a large sheet of aluminum foil that has been greased with nonstick spray on one side and press the greased side down over and into the crusts, sealing tightly. This will help those crusts stay in their proper places. Place the muffin tin on the center rack of your oven and bake for 20-25 minutes, until the crusts look almost done. (You will have to peek under a corner of the aluminum foil to evaluate.)
Remove the aluminum foil gently, then brush each crust lightly with a bit of the whisked egg white and return to the oven for an additional 2-5 minutes; until the edges have begun to brown and the centers are fully baked.*
Cook’s Note: The brush of egg white may seem like an extra step, but this will help to “laminate” the crusts so that they will not become soggy when we fill them.
Allow the tartlet shells to cool fully before filling.
(Tartlet crust adapted from Smitten Kitchen.)
for the ganache
- 4 ounces semisweet chocolate chips
- 1/4 cup heavy cream
In a small, glass bowl, combine chocolate and heavy cream. Microwave at 30-second increments, stirring well after each, until the chocolate has melted and is thick and shiny.
Using a small spoon, place about 1 teaspoon of ganache in the center of each tartlet. Allow the ganache to cool for a few moments while you prepare the cannoli filling.
for the cannoli filling
- 1/4 cup heavy whipping cream
- 1 cup whole milk ricotta
- 6 tablespoons confectioner’s sugar, sifted
- 1/2 teaspoon ground cinnamon
- 1/8 teaspoon ground allspice
- 1/2 cup miniature chocolate chips, plus extra for decorating
- cocoa powder, for dusting
Using an electric mixer, beat heavy cream on high speed until soft peaks have formed.
In a separate bowl, whisk ricotta until very smooth. Stir in confectioner’s sugar and spices, then gently fold in the heavy cream. Stir in the chocolate chips. (Stirring in a bit of lemon zest would also be traditional, but I prefer to omit it.)
Transfer the filling to a piping bag and pipe about 1/2 tablespoon of filling onto the top of each tartlet. Sprinkle with mini chocolate chips and cocoa powder. Refrigerate until ready to serve. Enjoy!!
Cook’s Note: I would recommend serving these tartlets the same day that you make them. However, you can make the tartlet shells and ricotta filling a day in advance and fill them just before serving.
(Cannoli filling recipe adapted from Alex Guarnaschelli.)
[ Easter Brunch pt. 2. ] Agua Fresca from Over Easy
At this point (many Easters ago) my siblings and I would have begged my mother to her breaking point and gone into full egg-stuffing mode.

We used to have quite the grandiose egg hunts on my family's humble two acres, and once the eggs were pulled out of the barn loft and the candy bought, we would not stop pestering my mother for the task of stuffing them. We would take solemn vows against eating the candy while stuffing, but our thrill in the job was by no means dimmed. My sister and I grabbed our favorite colors - hers purple and mine chartreuse - leaving the unwanted eggs for our compliant younger brother.

I took pride in matching the candy to the eggs and we would excitedly make "bonus eggs" that contained just shy of the number of jelly beans that would keep the egg from closing.

Easter was always joyous, but not because of the new dresses, or the thrilling hunts, or my grandmother's succulent, glazed hams, but because our parents never let us forget that those traditions were just that - traditions, and we were going to church that morning to celebrate something far greater.

Earlier this week, I shared the recipe for this quiche and suggested it as a possible Easter morning option.

Today, on this very fine Wednesday, I am giving you the perfect spring drink to serve alongside it!

Up until last week, I had never made any form of agua fresca before, but when I saw the ridiculously simple ingredient list, I decided I had no excuse.

So, what is agua fresca? Well it is a little more than its translation would suggest. I mean, that would be a little boring.

Agua frescas are water-based, non-alcoholic drinks that have been flavored with fruits and/or herbs and sweetened lightly.

I have a very strong sense that you will be seeing quite a few of them this year so you may want to find your blender. Now that I know the simplicity there is nothing stopping me from spiking every glass of water with some herbaceous fusion.

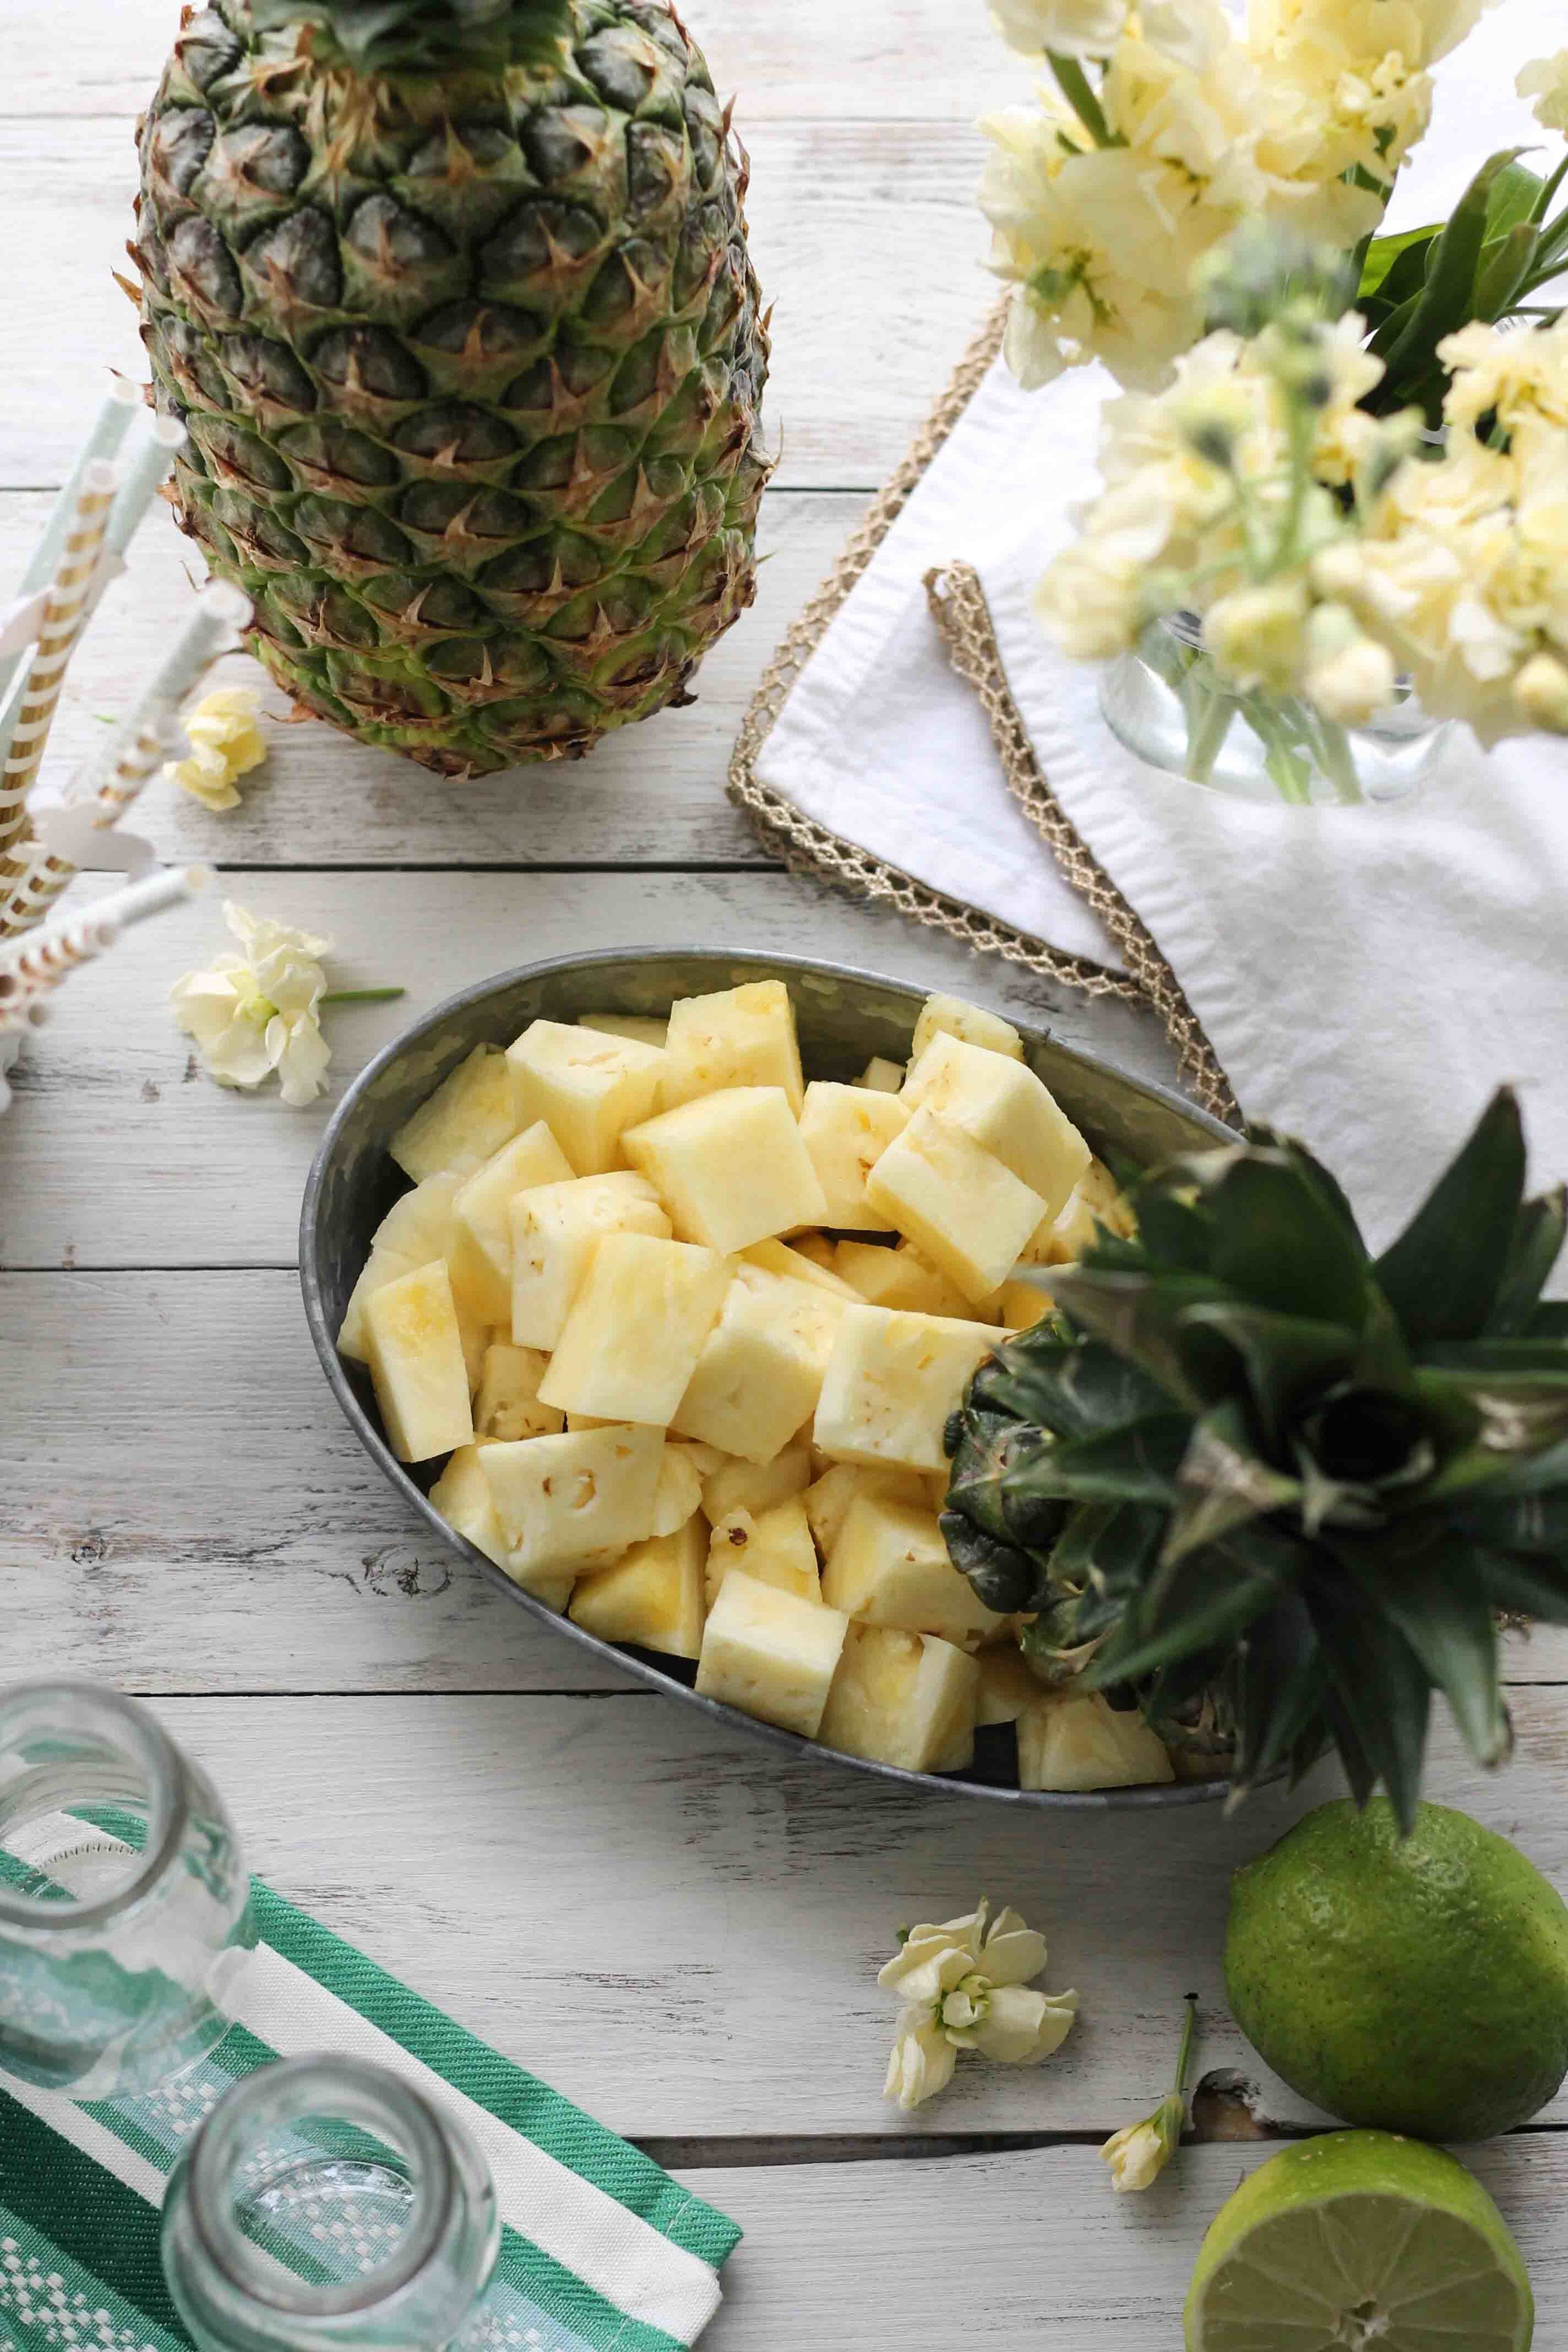
This particular recipe called for cucumbers, pineapple, and mint. I added a dose of fresh lime for a bit more acidity.

I have recently realized that I prefer drinking cucumbers over eating them. Their flavor is so refreshing.
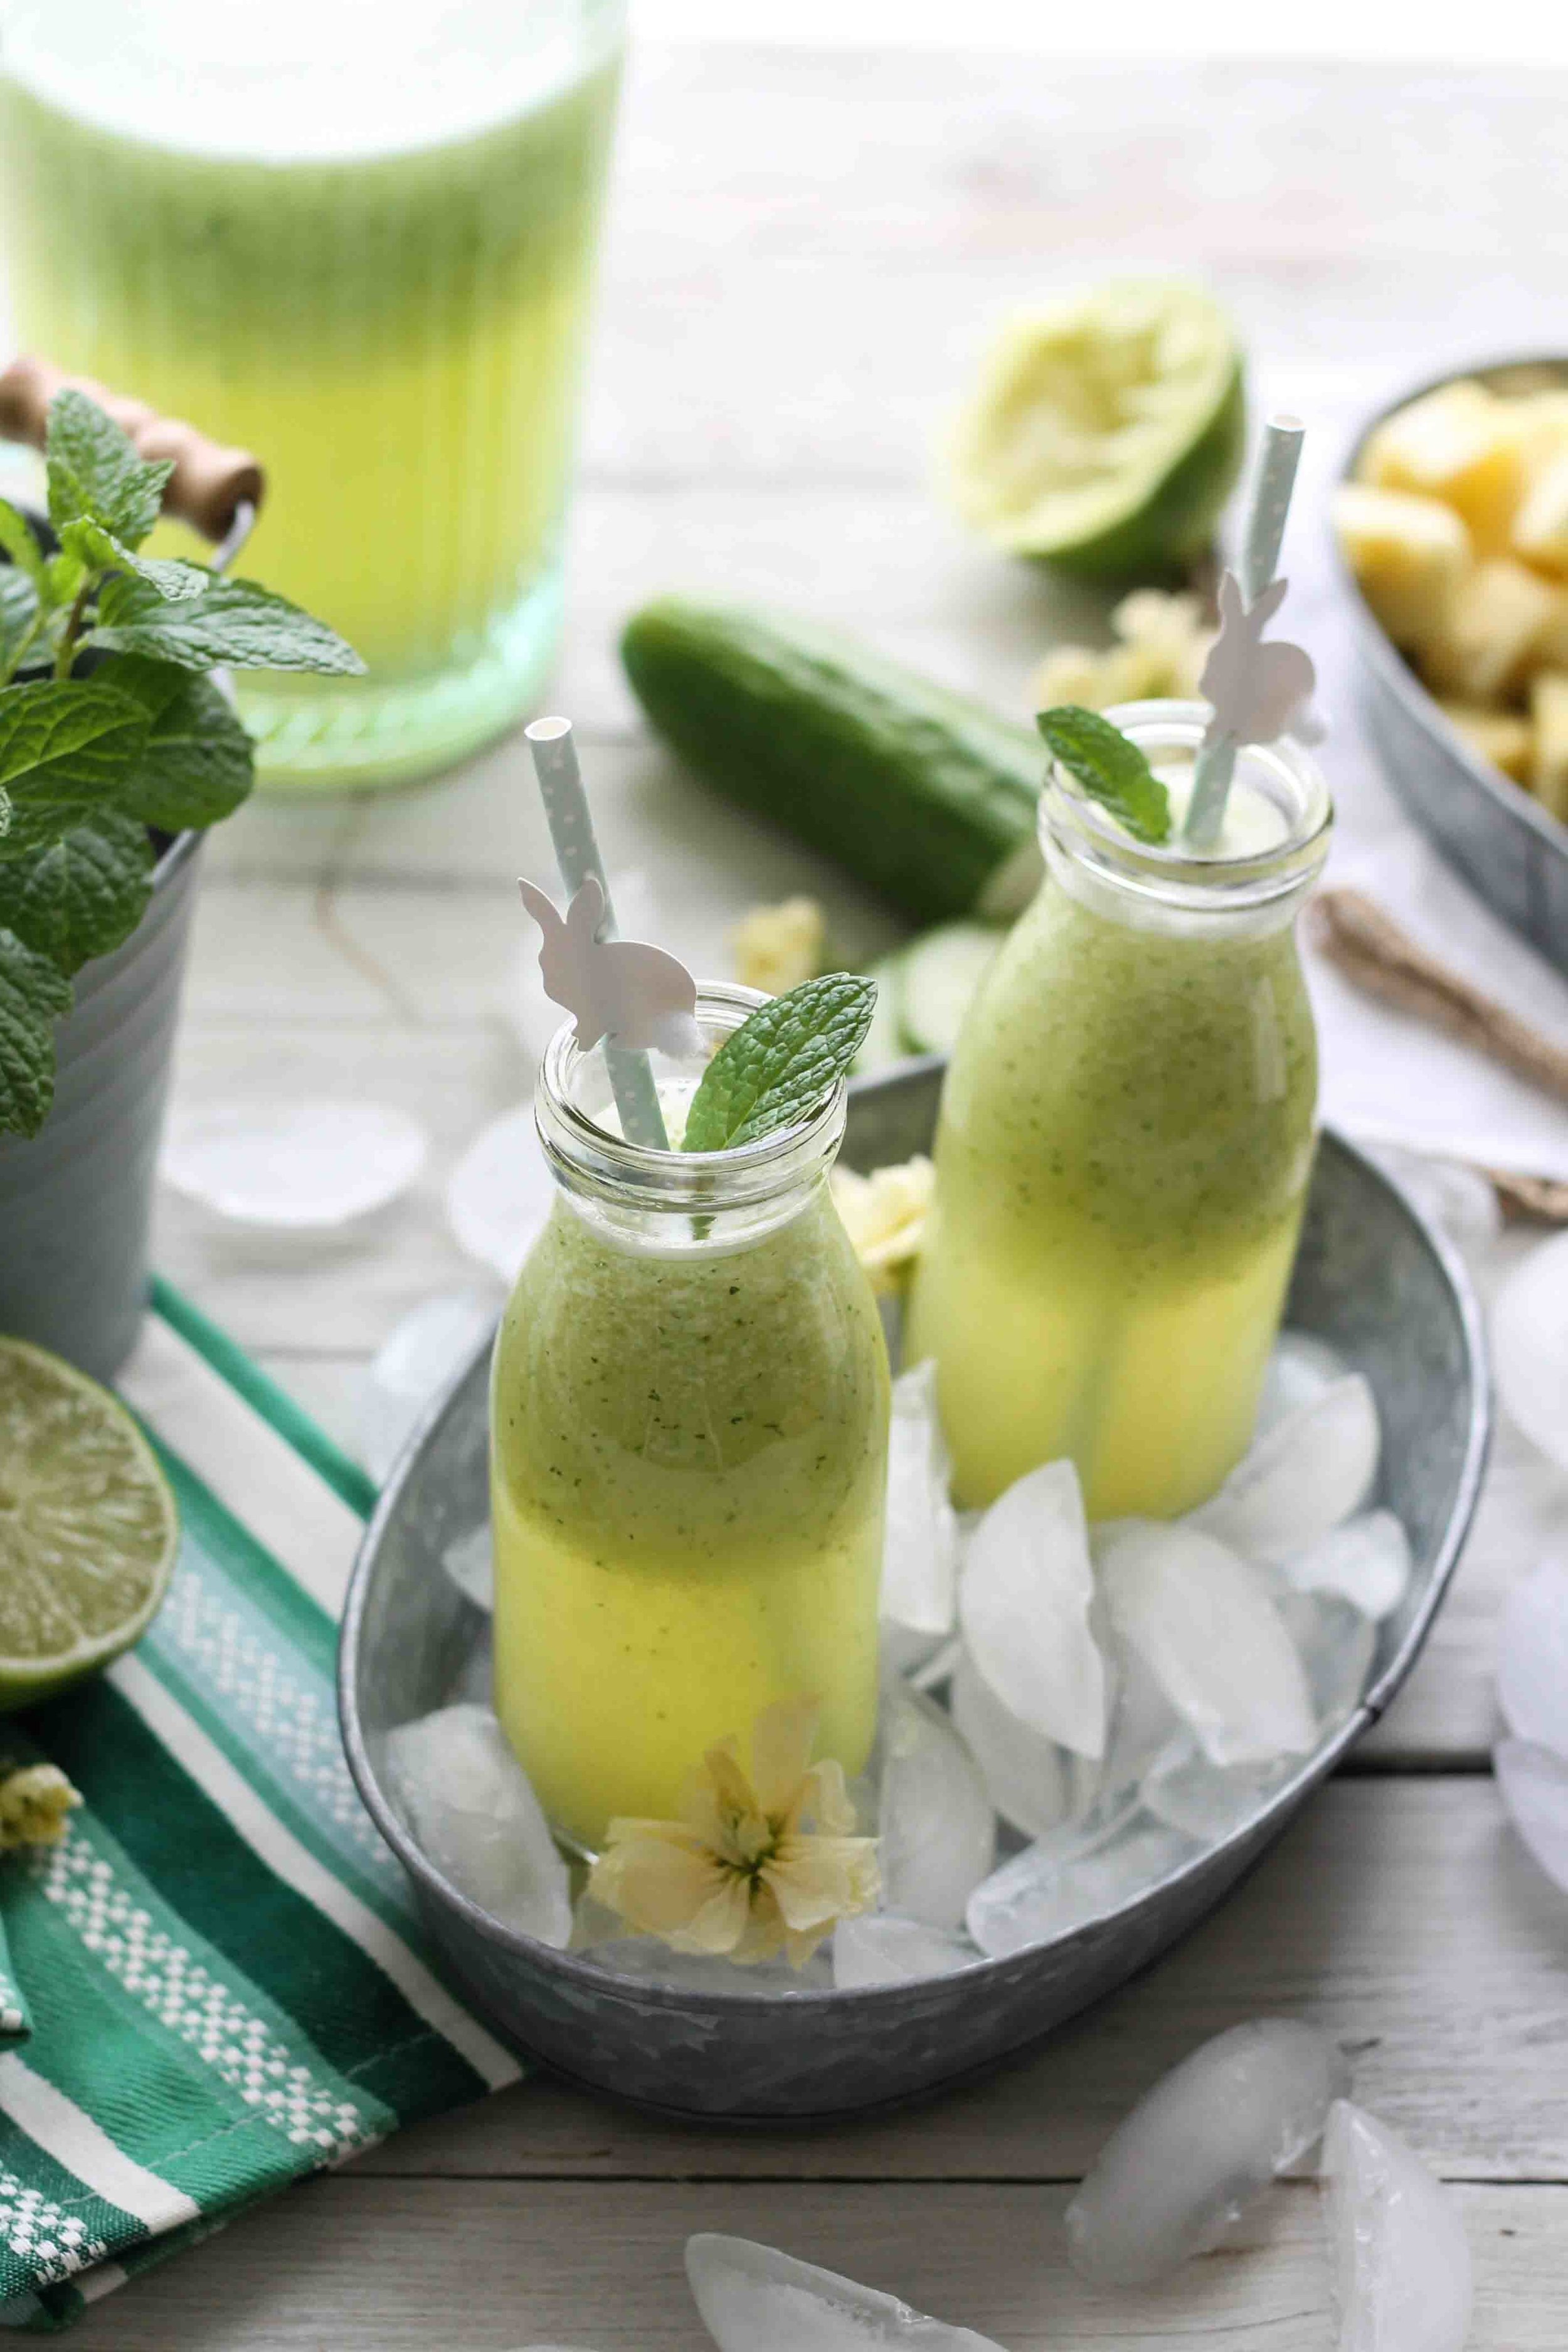
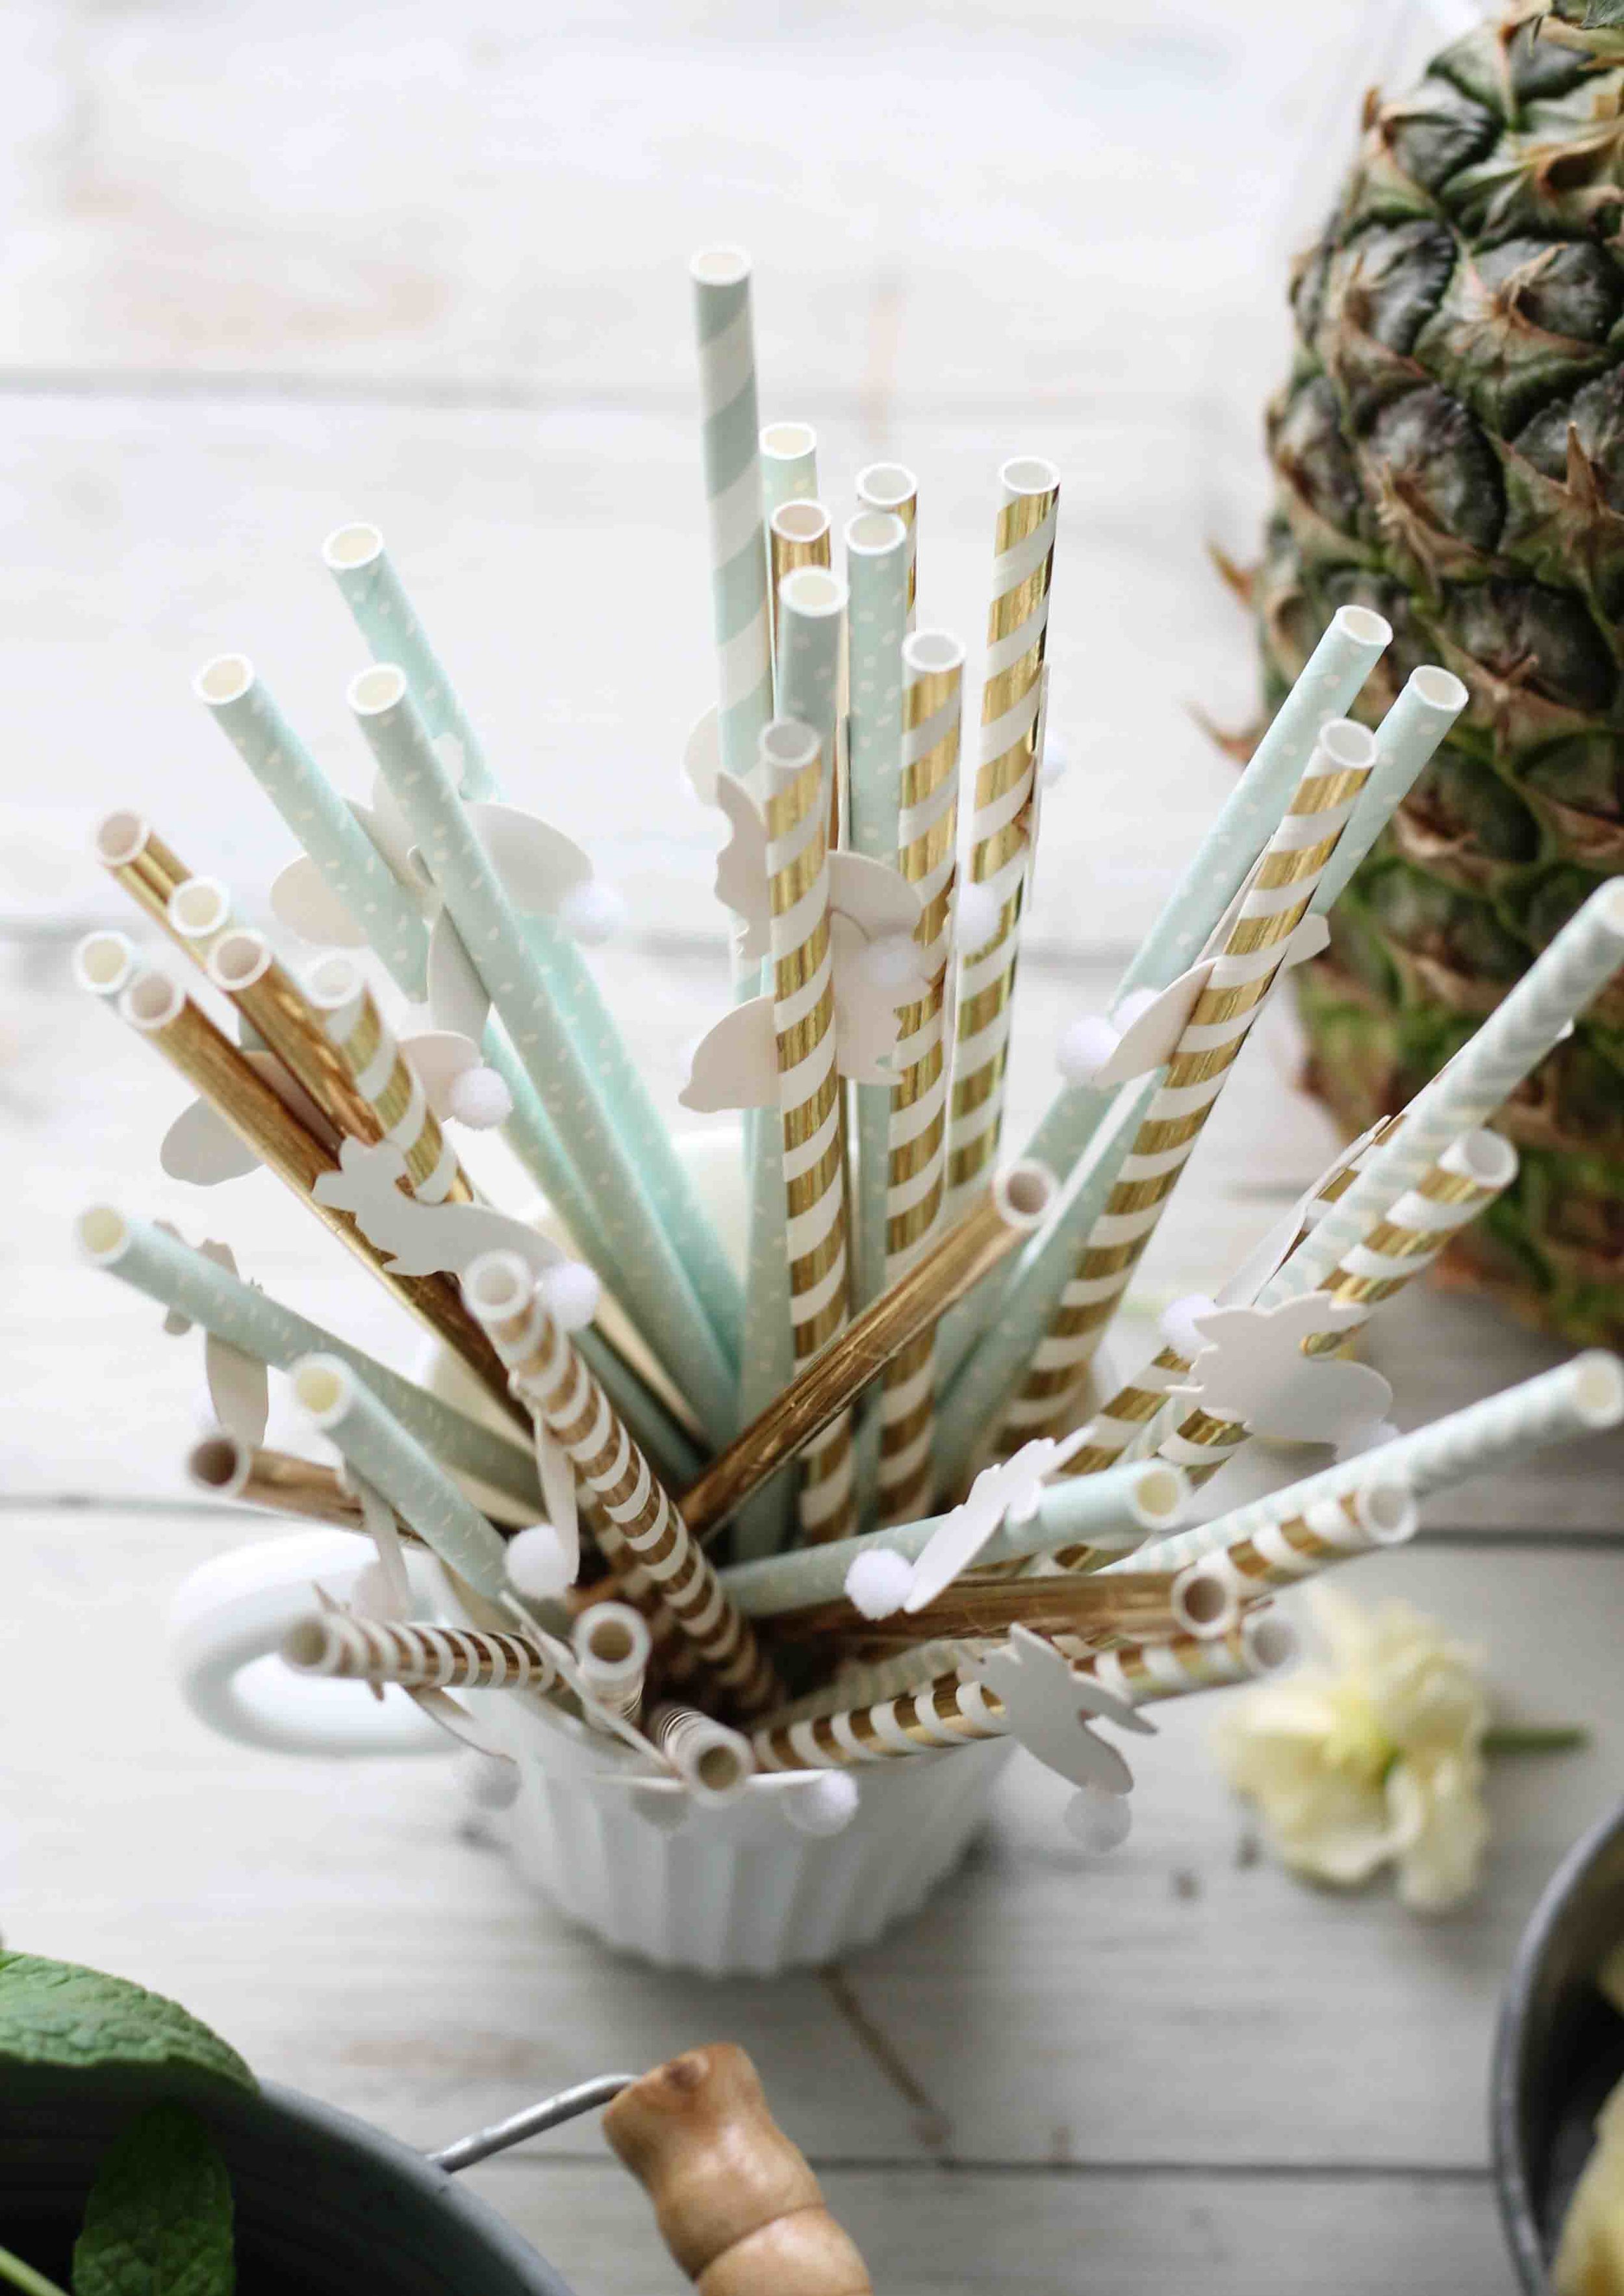
Let's pause to acknowledge the world's most adorable paper straws. The pom-pom tails make my heart skip a beat. I'm squealing as I type this.

This lovely spring tonic can be made the night before you plan to serve it and refrigerated. The flavors will actually improve and meld as it sits.
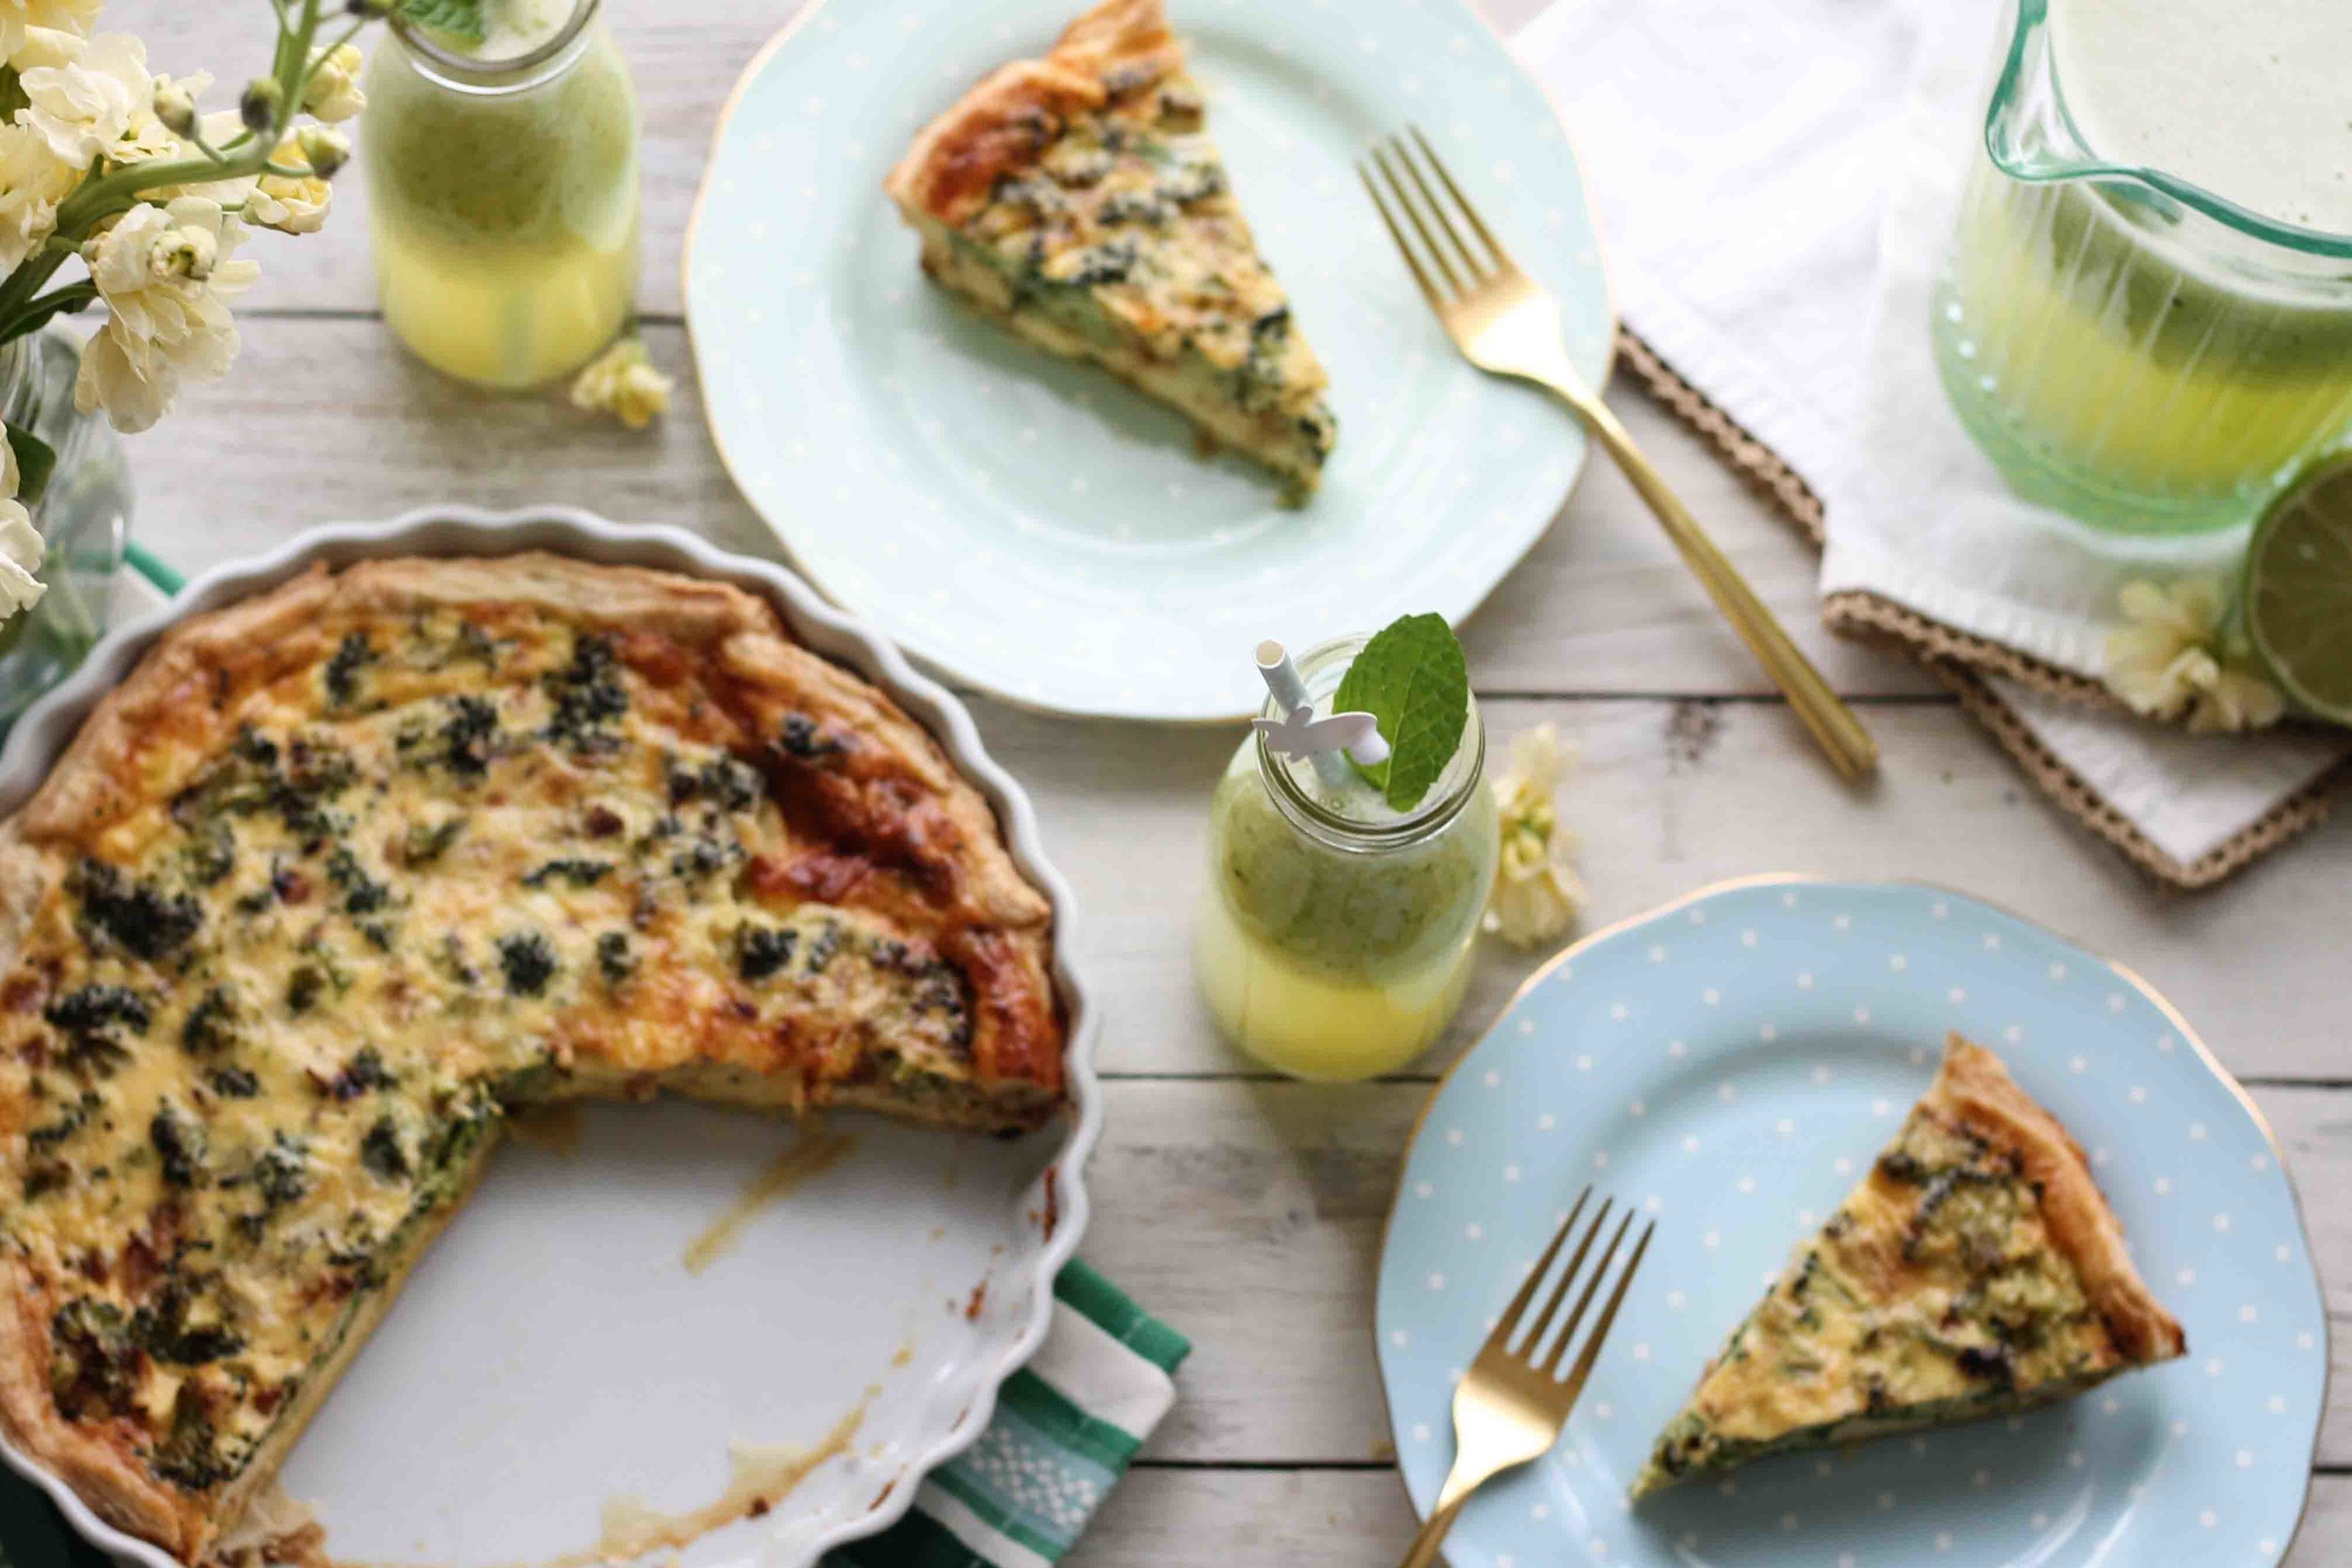
Simple, fruity, and perfectly refreshing. This is the ideal pairing for your hearty breakfast quiche, and a great way to pave the way for all those cadbury eggs.
Sincerely,
Pedantic Foodie
Cucumber Pineapple Agua Fresca
serves 8 / recipe from Over Easy (slightly adapted)
- 3 cups fresh pineapple cubes
- 1/2 english cucumber, sliced
- 10 fresh mint leaves
- 1/4 cup fresh lime juice
- 1/2 cup granulated sugar
- 5 cups filtered water
In the base of your blender combine pineapple, cucumber, mint, lime, sugar, and 2 cups of the water. Blend on high until very smooth. The mixture will be quite thick.
Transfer to a large pitcher and stir in the remaining water. Cover and refrigerate for at least 2 hours. This will give the flavors a chance to bloom and meld.
Give the agua fresca a good stir before dispensing. Serve over ice with cute straws and maybe a sprig of mint if you're feeling it. Enjoy!