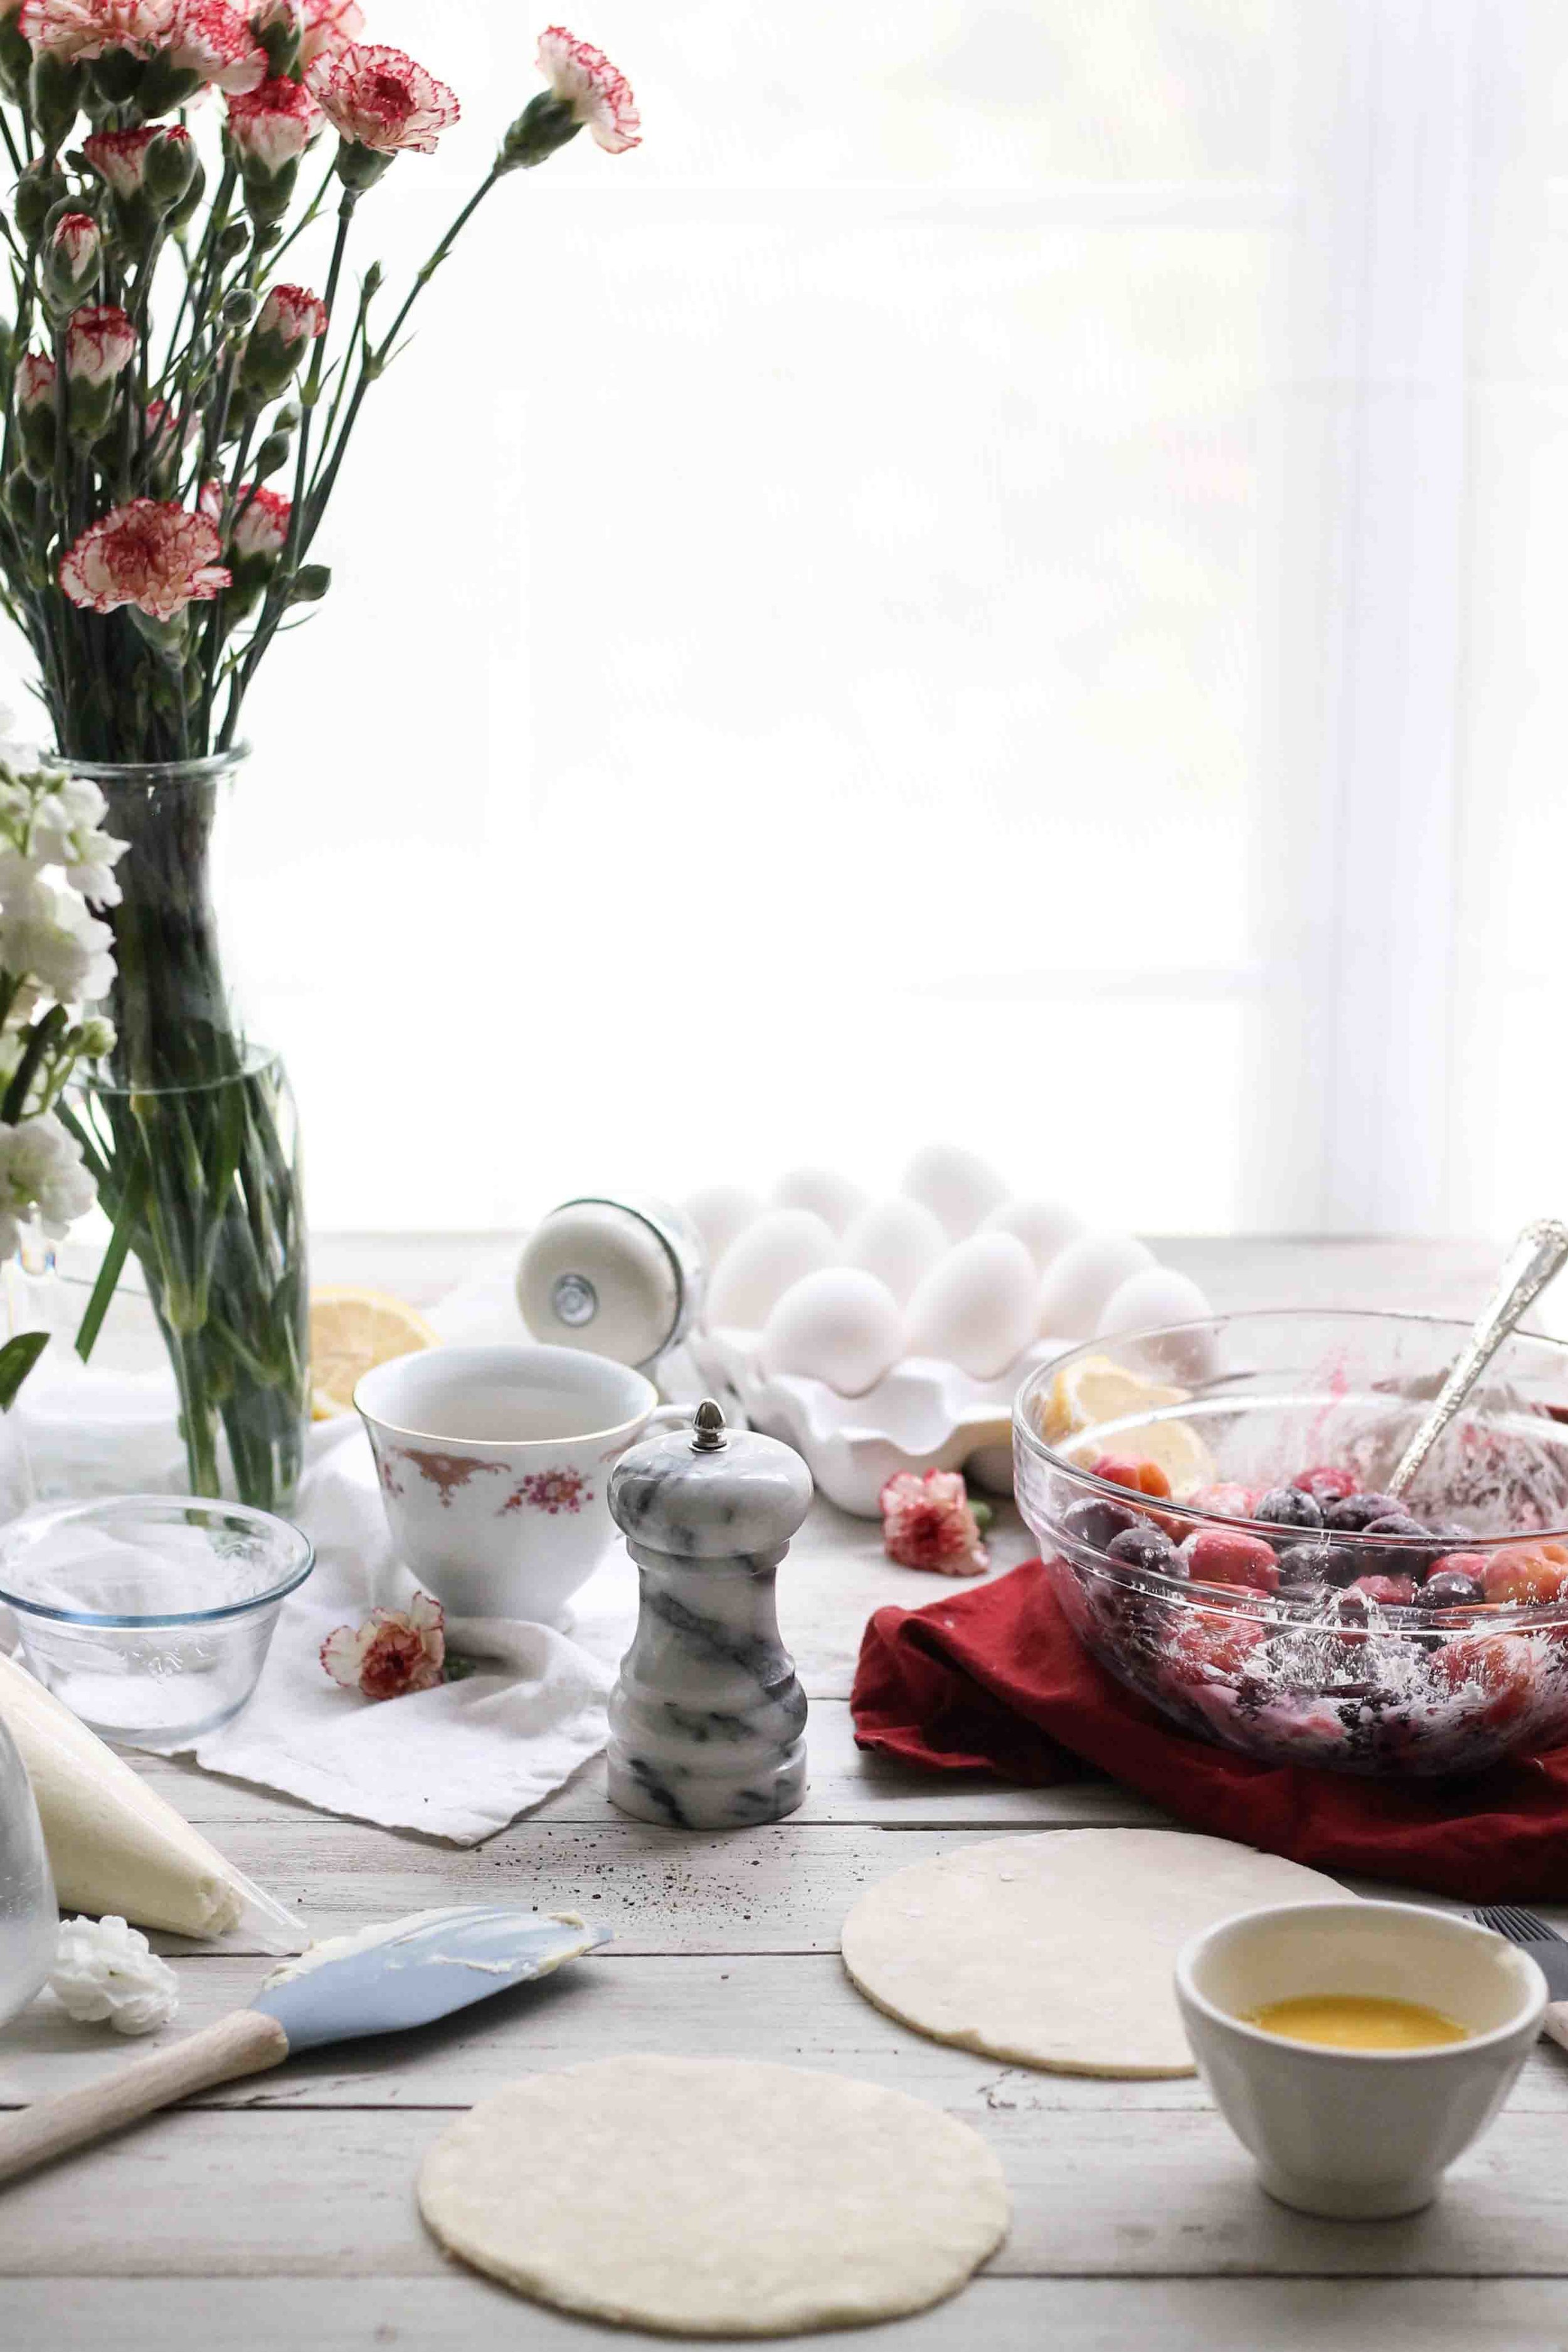
It was a warm, July morning, the kind of morning where temperatures had dipped over 85 degrees by 8am. I was staring at my supply of cherries trying to revisit the inspiration that had so clearly dawned on me days before when I had ambitiously tossed them into my shopping cart.

I waffled over ideas as the maintenance man banged away at this and that. Not surprisingly, everything in our little abode began malfunctioning the day we resigned our lease. As my power came in and out, I was shifting back and forth between mental images of buttery galettes stuffed with ripe cherries and a cherry-studded arugula salad with a tangy, molasses-like balsamic drizzle and candied pecans.

Unable to decide upon my fruit's fate, and being that I stem from a generation infamous for its "have it all" mentality, I opted out of choosing and married the two visions into one.

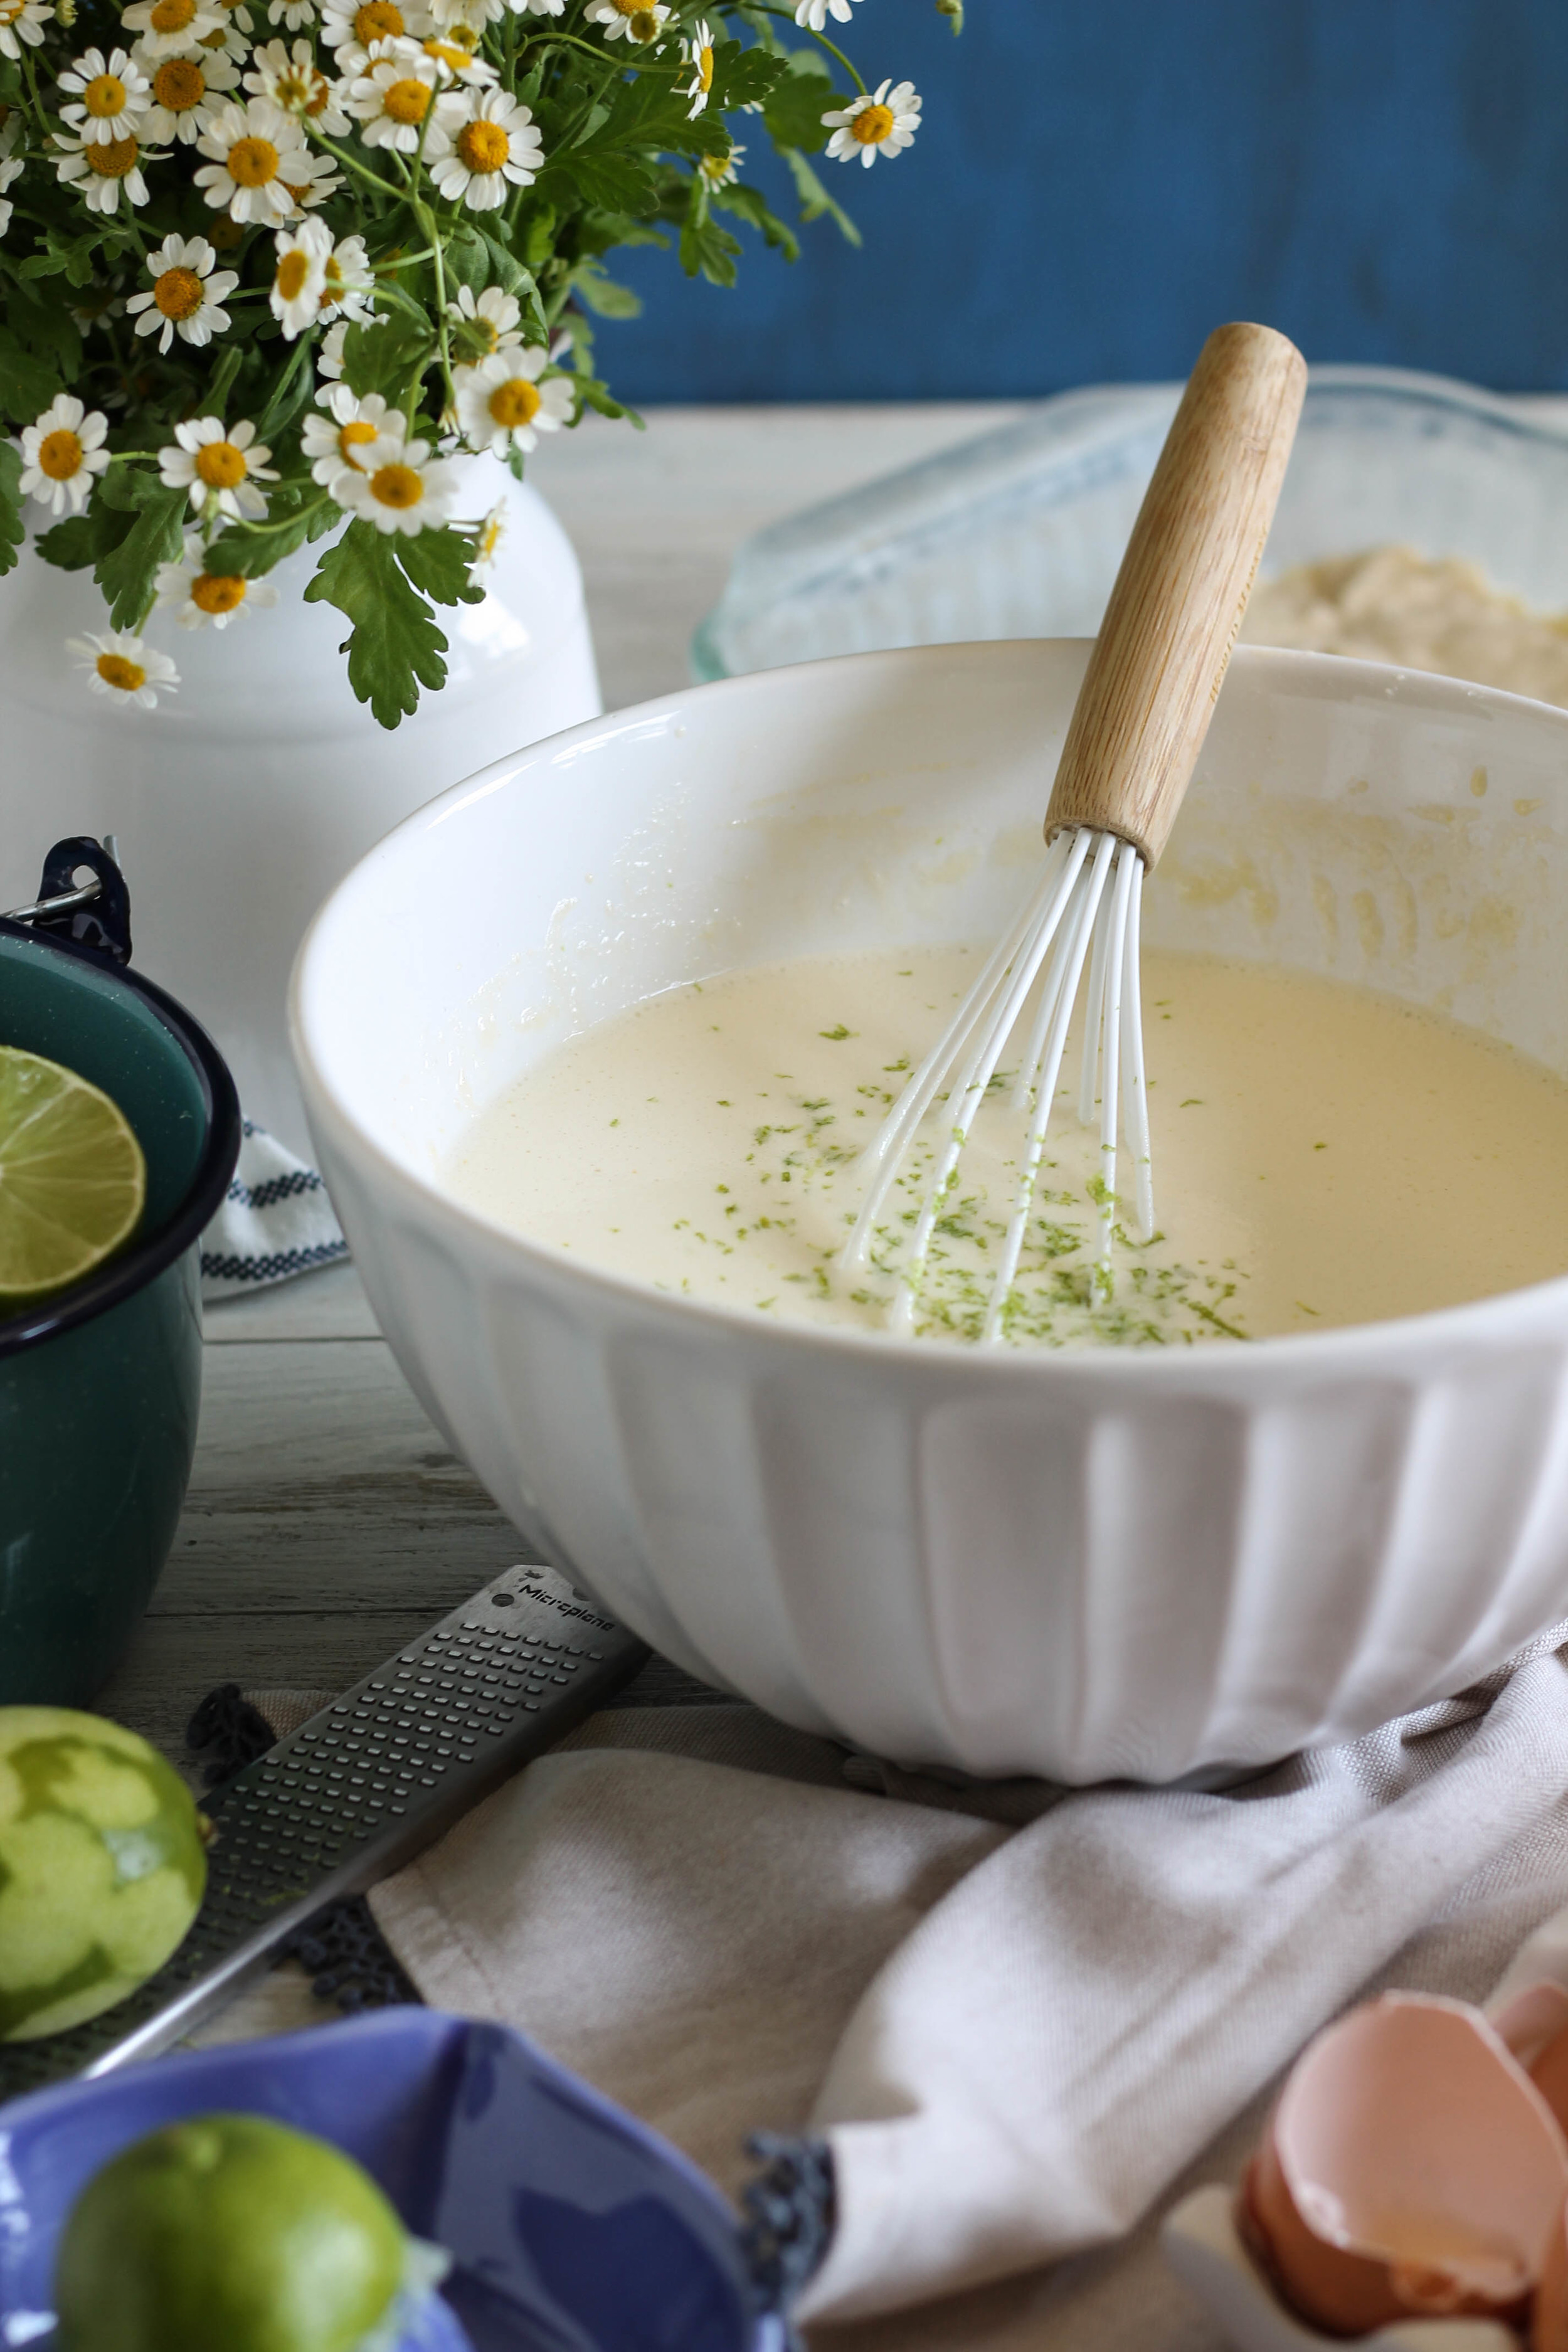
I spun up a bit of pie crust in my food processor - it's the only way to go - and popped it into the fridge before darting out the door, list in hand, on my 'goat cheese and lemons' mission.
For me, goat cheese has a very small window in which it can truly shine. Often I find it unpleasantly overpowering, but when it is good, it is very good indeed. Determined to fit within that safe spot of triumph, I mellowed out my chèvre a bit with some cream cheese for added richness.
So often in a kitchen-dweller's life, the answer is just a little extra fat.
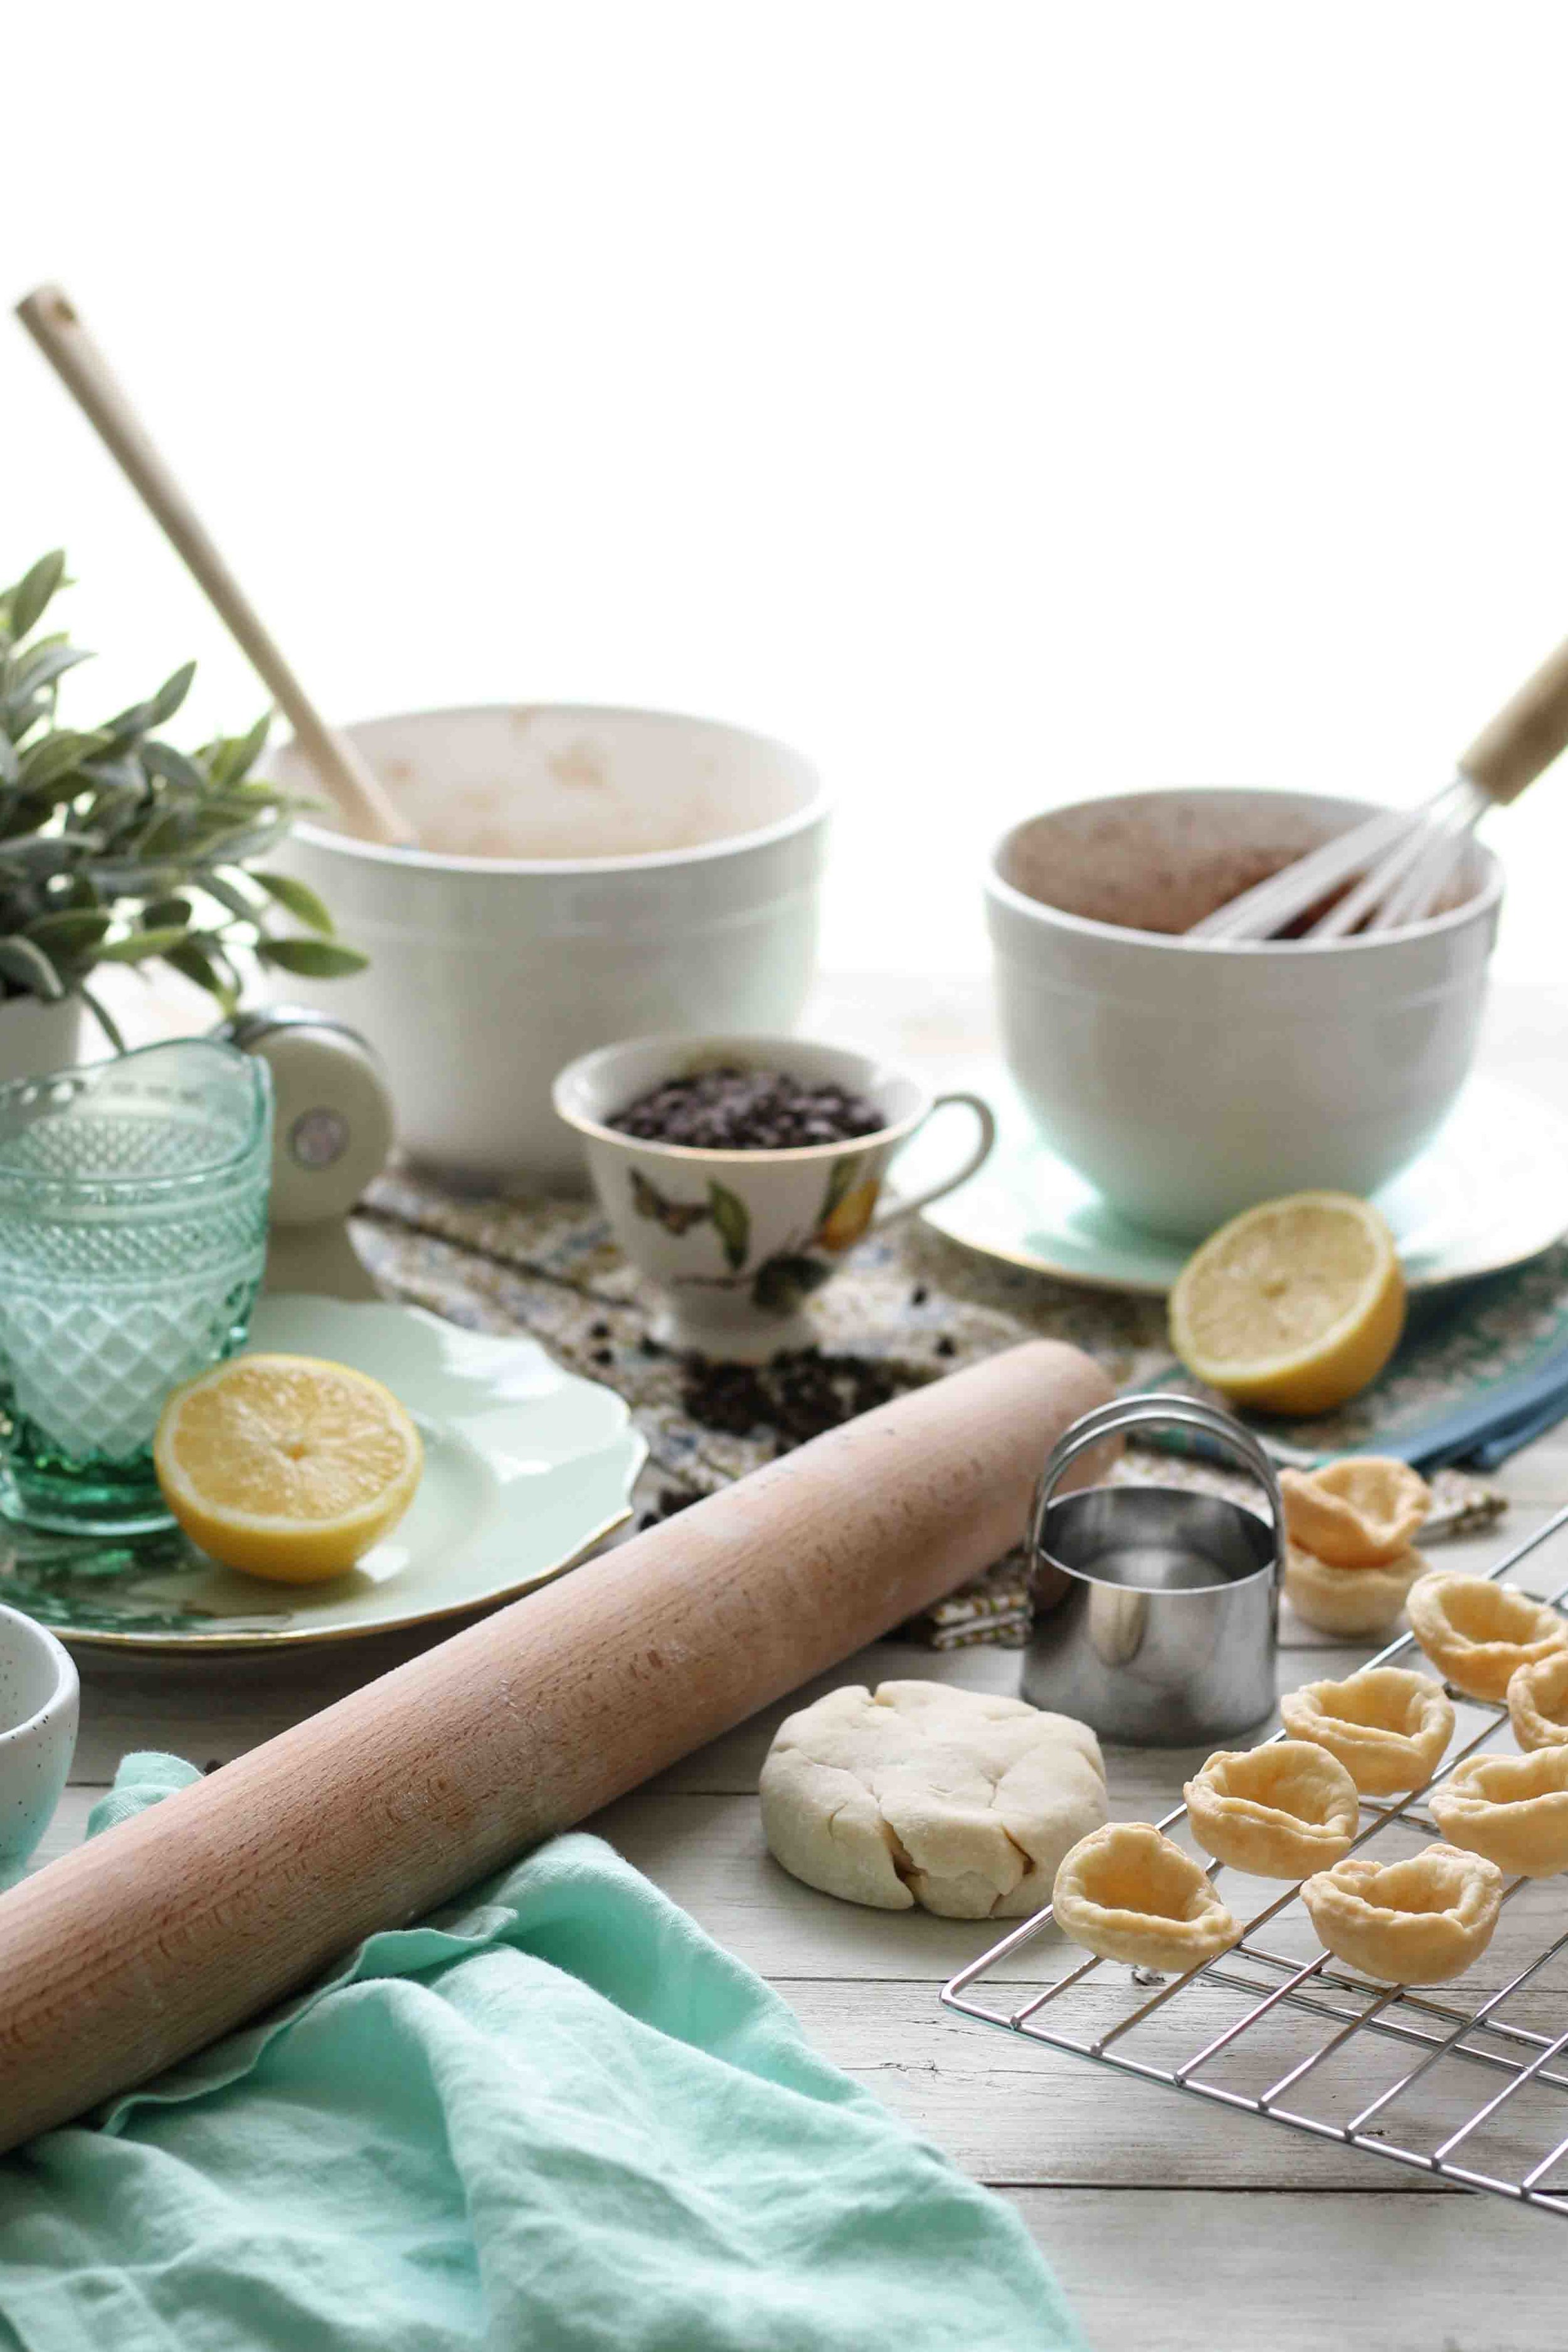
The savory filling was piped into the center of each miniature pastry crust and then acted as a sort of cushion in which I tucked my cherries.
Now would be the moment to mention that adding a cherry pitter to your kitchen toolbox is a very good idea.
P.S. They work for olives too. No uni-taskers around here.

For so many years, I made shoddy pies with drooping, under-baked crusts. Thankfully, through extensive practice, and with the help of my pie-baking Bible, I learned that most mistakes can be remedied with patience. Popping these little galettes into the freezer after they have been filled and shaped gives the crust the extra sturdiness it needs to keep its shape once the heat is on.

While the galettes cooled down to an edible temperature, I prepared a salad.

My affection for arugula has increased tenfold this year. Perhaps my palate has at last grown up enough to appreciate its grassy bite. I like to dress it very simply. With such a tender, fiddly green, heavy dressings just destroy the texture. I am a lemon juice, olive oil, salt & peppa lady myself.

Do you like this trend of topping carbs with salad as much as I do?

After the greens were piled, I finished my salad with drizzle of reduced balsamic vinegar for a little extra something.

I think this would make such a lovely lunch or brunch for you and your favorite ladies.

Having it all looks pretty good.
Sincerely,
Pedantic Foodie
Cherry & Chèvre Galettes with Arugula and Balsamic
makes four // crust recipe adapted from The Four & Twenty Blackbirds Pie Book
pie crust
1/4 cup cold water
1 tablespoon apple cider vinegar
handful of ice cubes
1 1/4 cups all-purpose flour
1/2 teaspoon kosher salt
1 1/2 teaspoons granulated sugar
1/2 cup unsalted butter, very cold and cut into 1/2-inch cubes
In a small measuring cup, combine water, vinegar and ice; set aside.
Combine flour, salt, and sugar in the work bowl of your food processor and pulse to combine. Drop in the cold butter cubes and pulse several times, until the mixture is crumbly and the butter is in pea-sized pieces. Slowly drizzle in a small amount of the vinegar mixture and pulse until the dough just holds together when squeezed gently. You may need to add more of the vinegar mixture but start small and increase as needed - if the dough becomes too wet it is hard to turn back.
Turn the dough out onto a floured surface and shape into a small disc. Wrap the disc in plastic wrap and refrigerate for 1 hour. While the crust is chilling, prepare the fillings and preheat oven to 375 degrees.
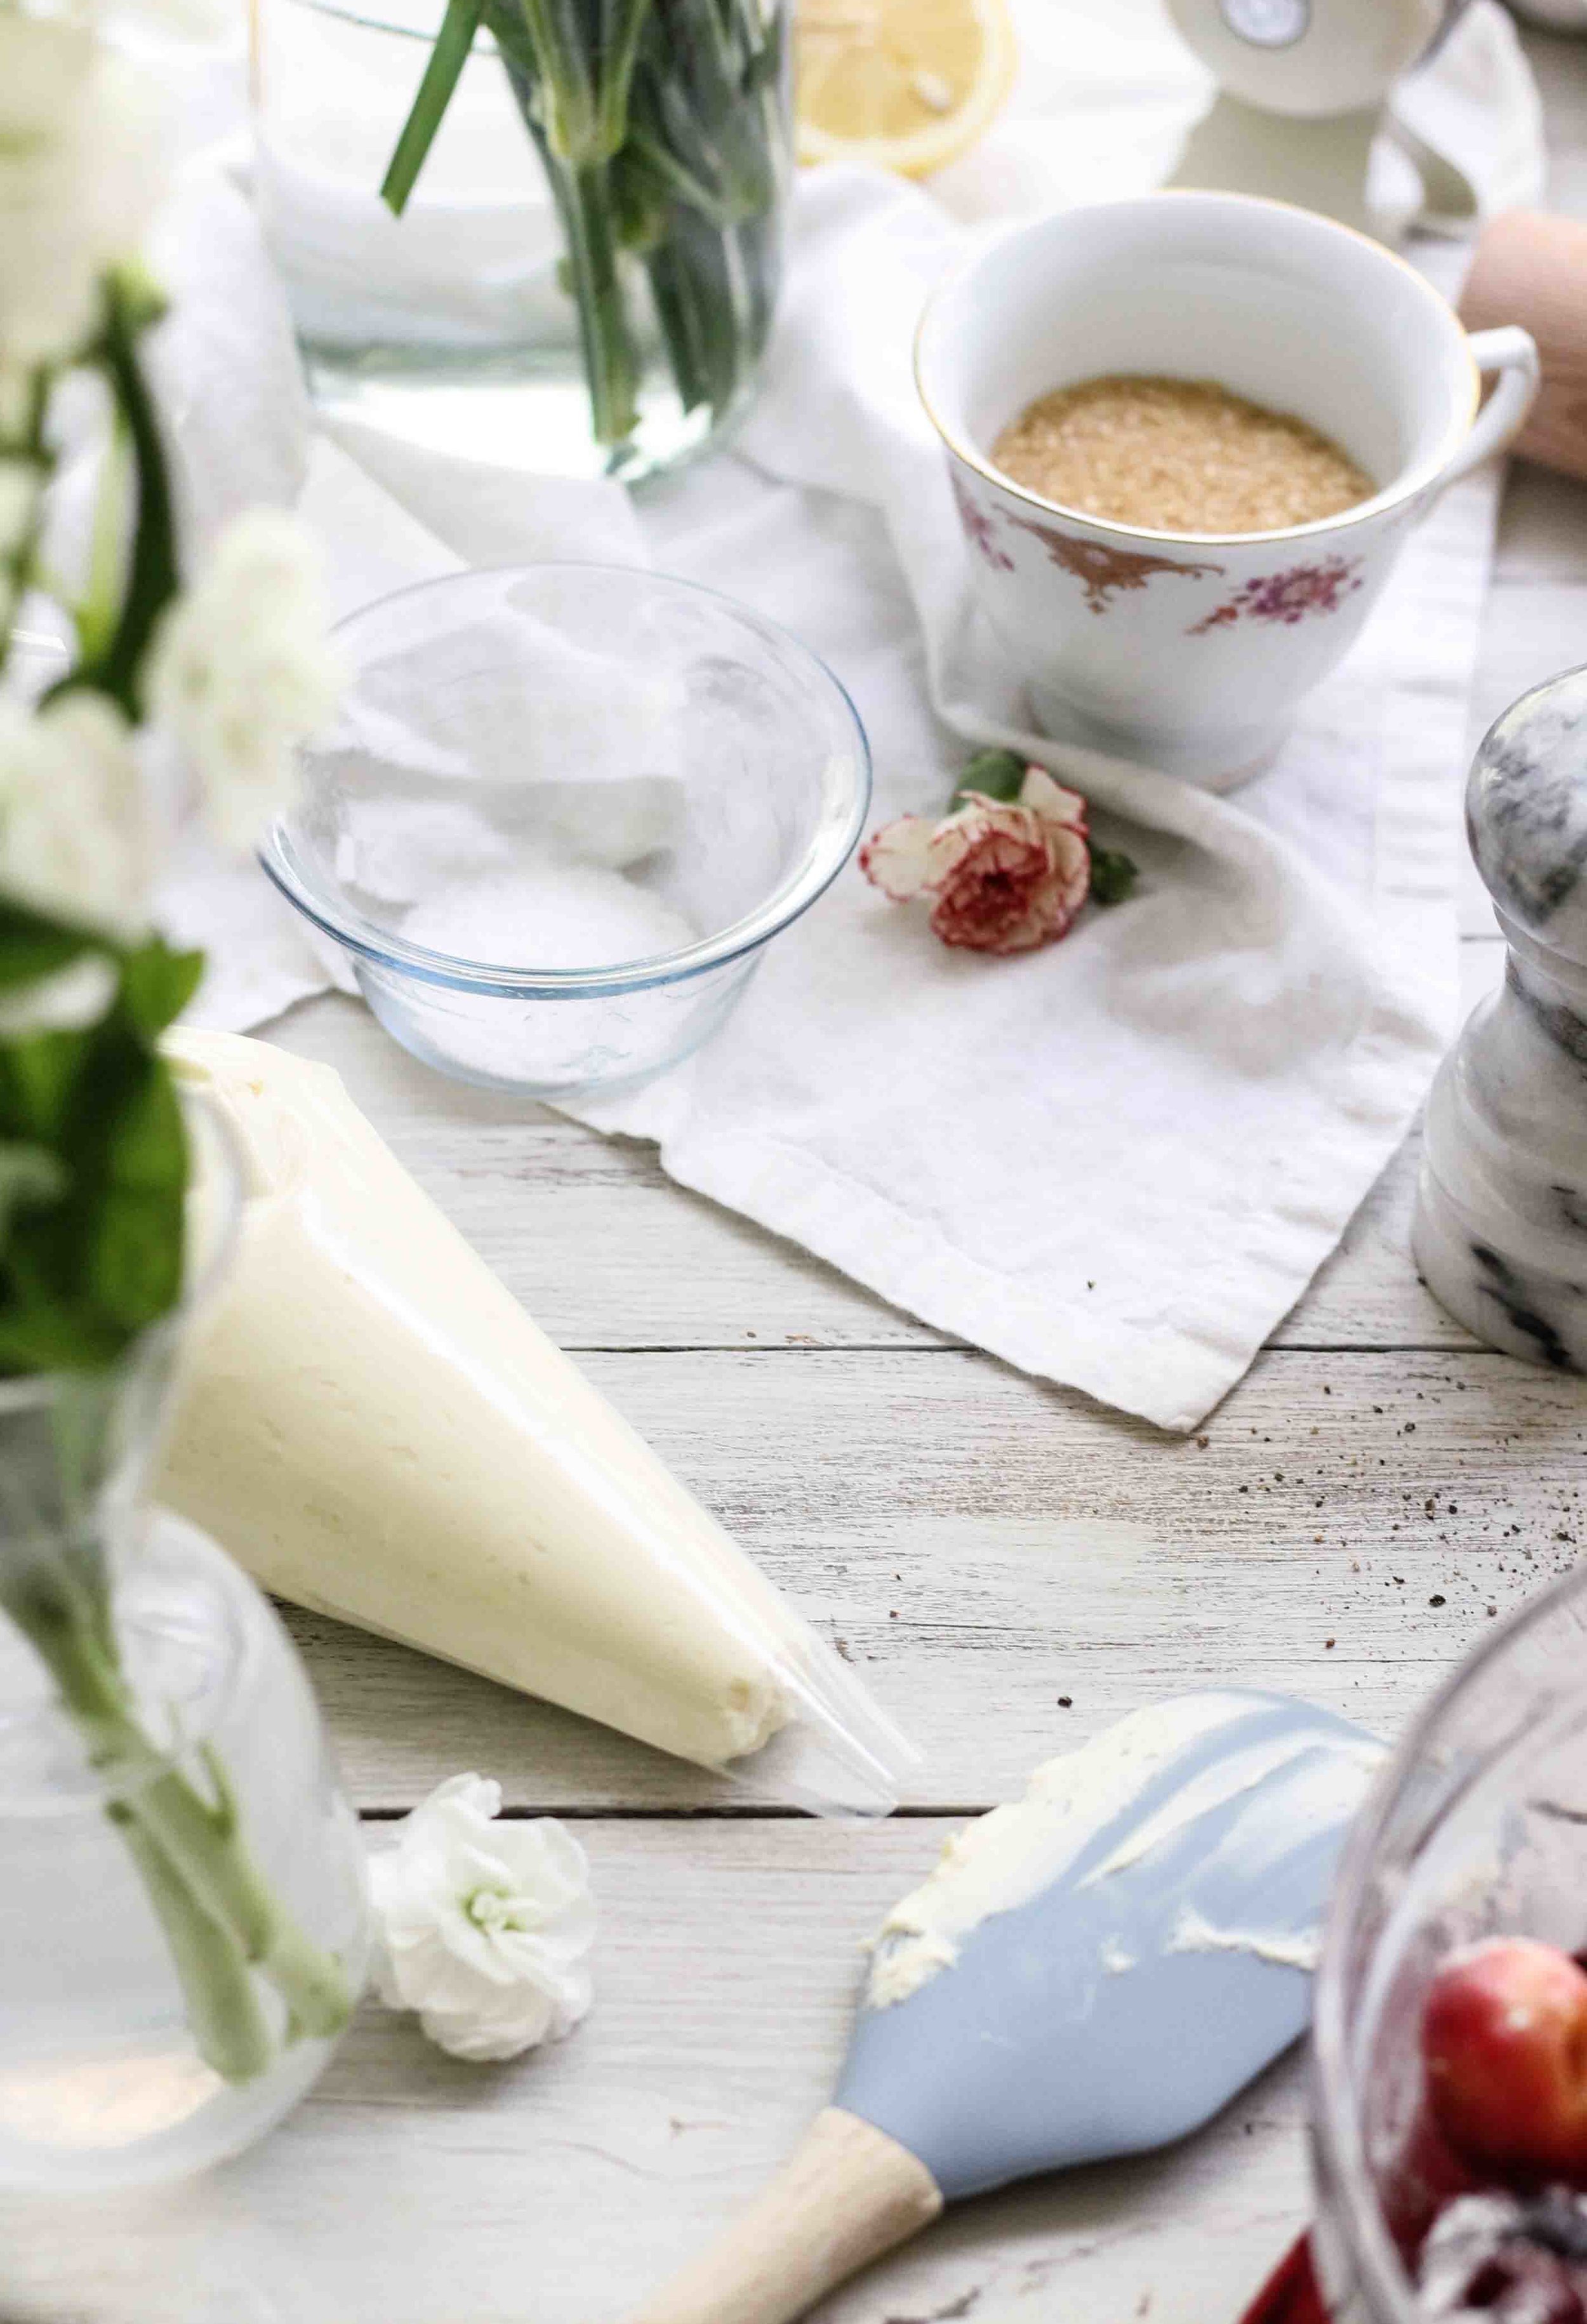
chèvre filling
- 4 ounces cream cheese, softened
- 4 ounces chèvre
- 1/2 teaspoon salt
- 1 1/2 teaspoons granulated sugar
- 2 egg yolks
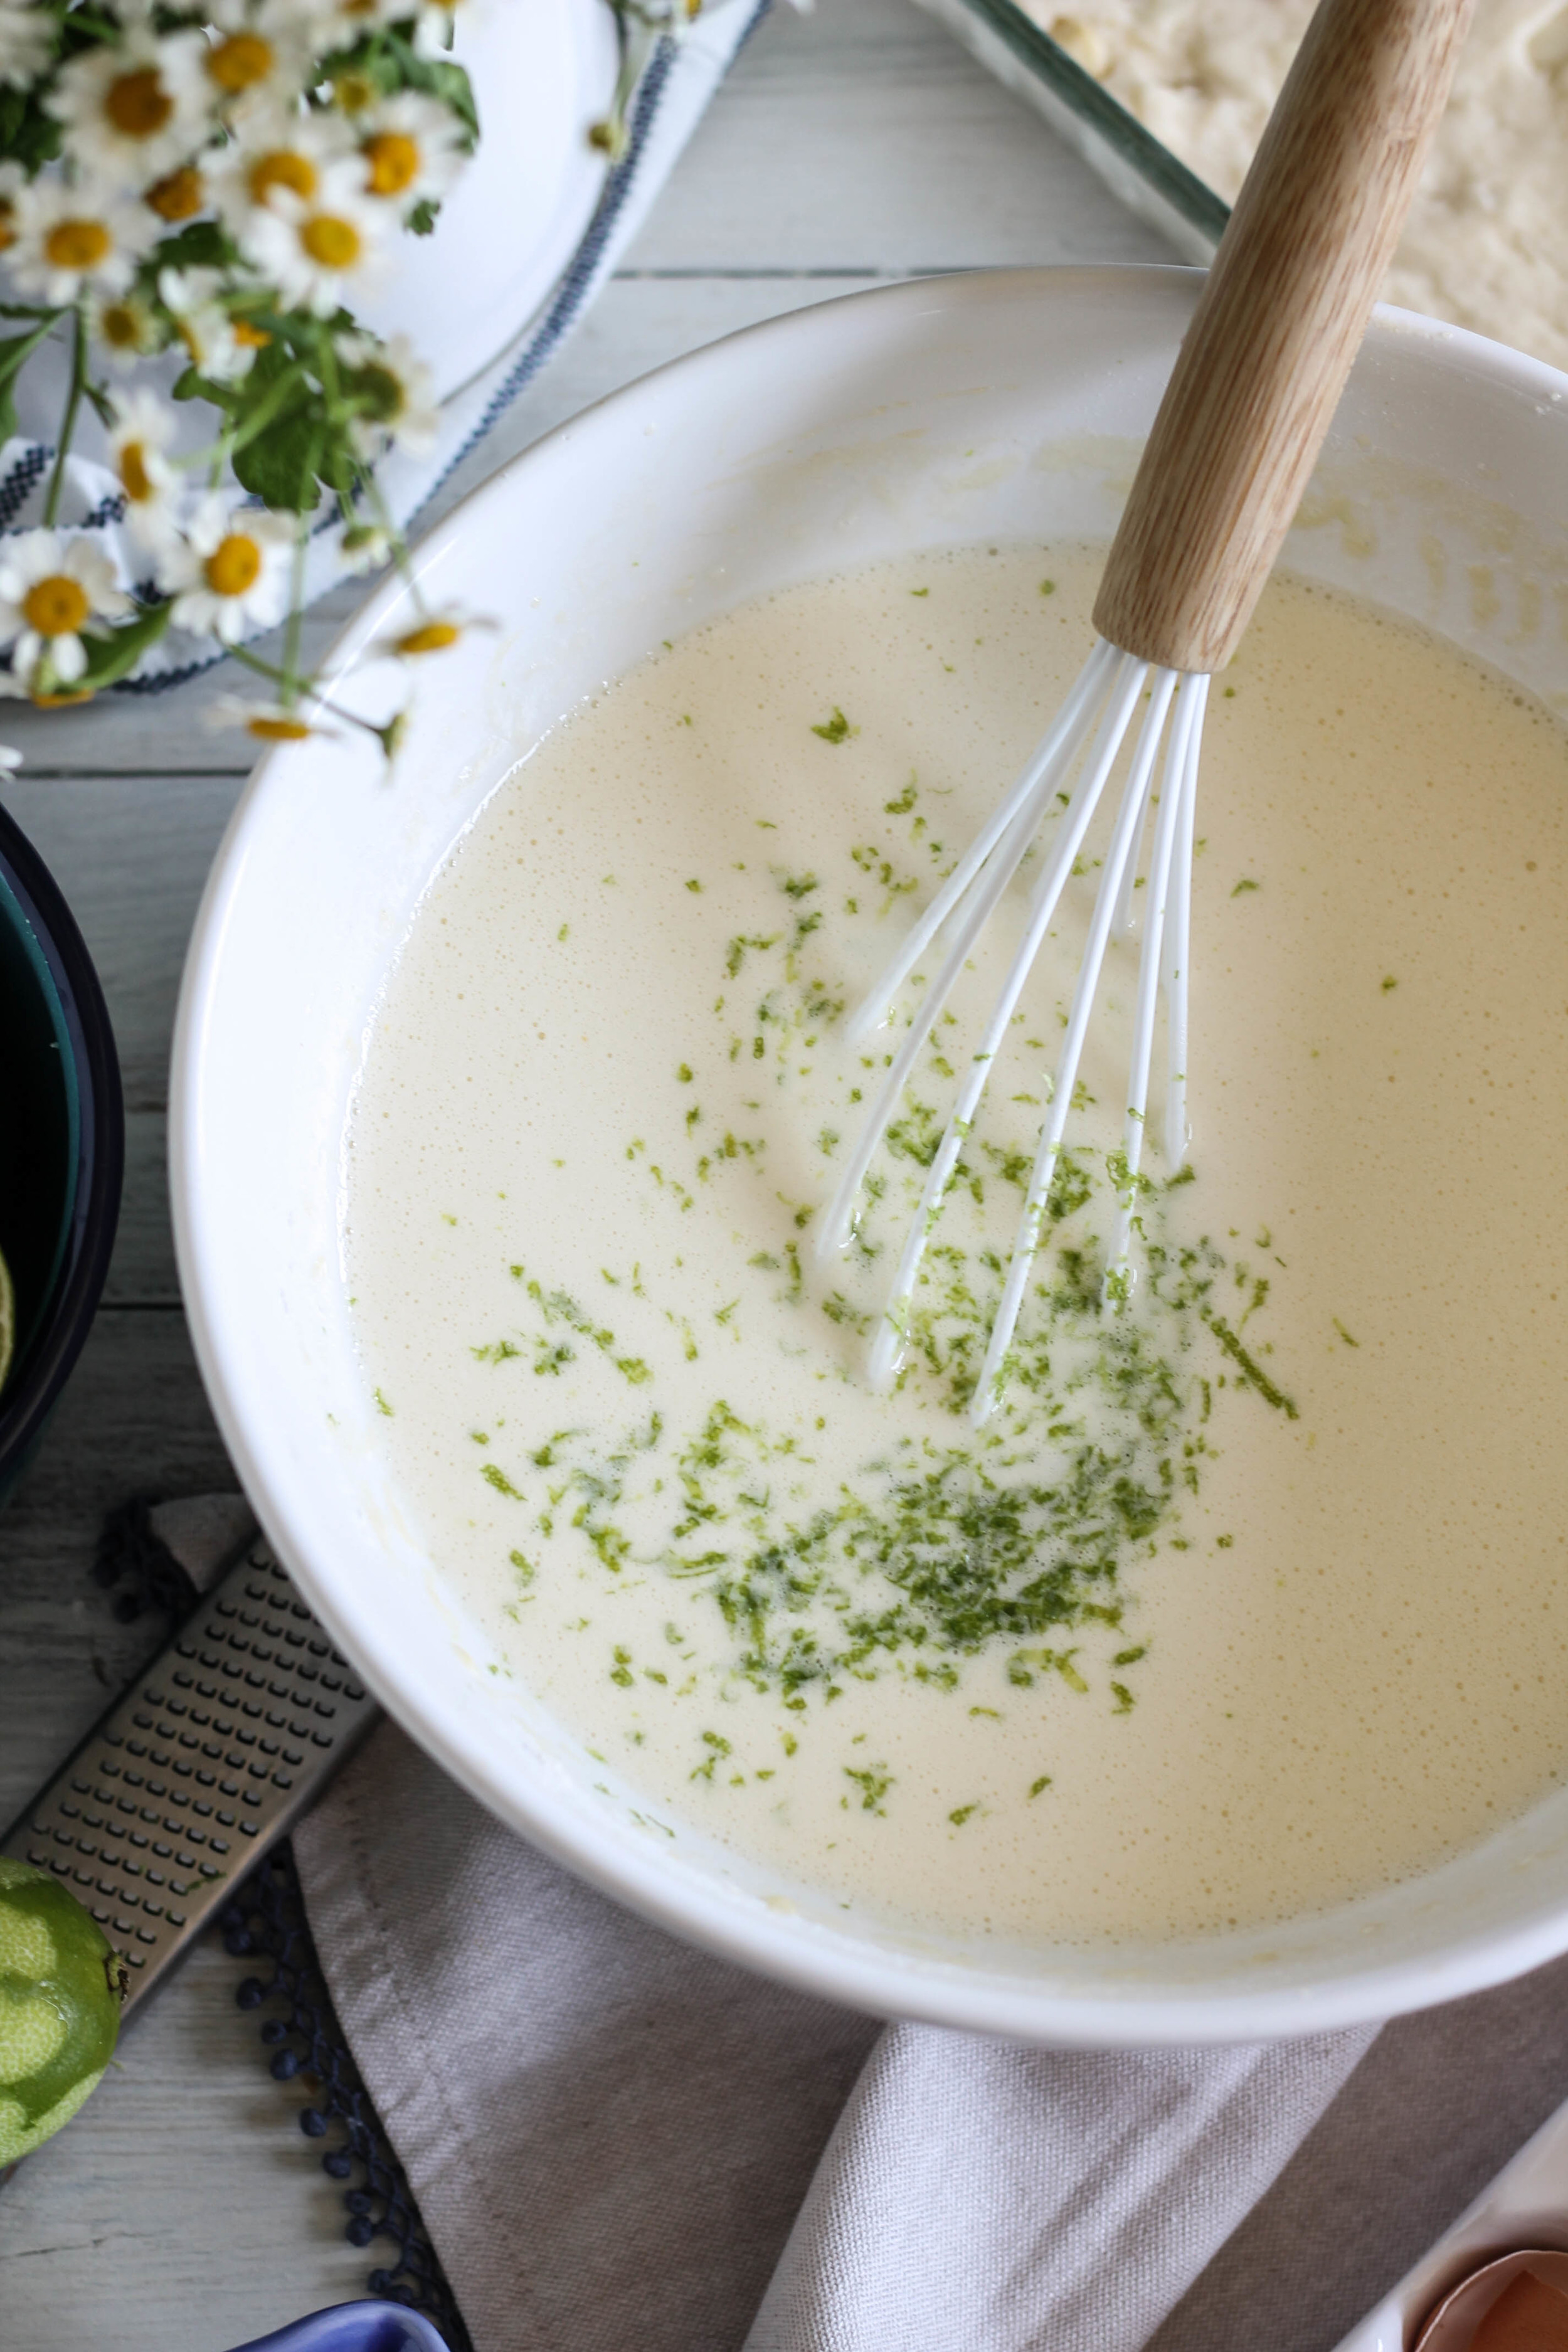
In a medium mixing bowl, beat cream cheese with an electric mixer until fluffy. Beat in goat cheese, salt, sugar, and eggs; mix until smooth.
Transfer the filling to a piping bag and refrigerate until ready to use.
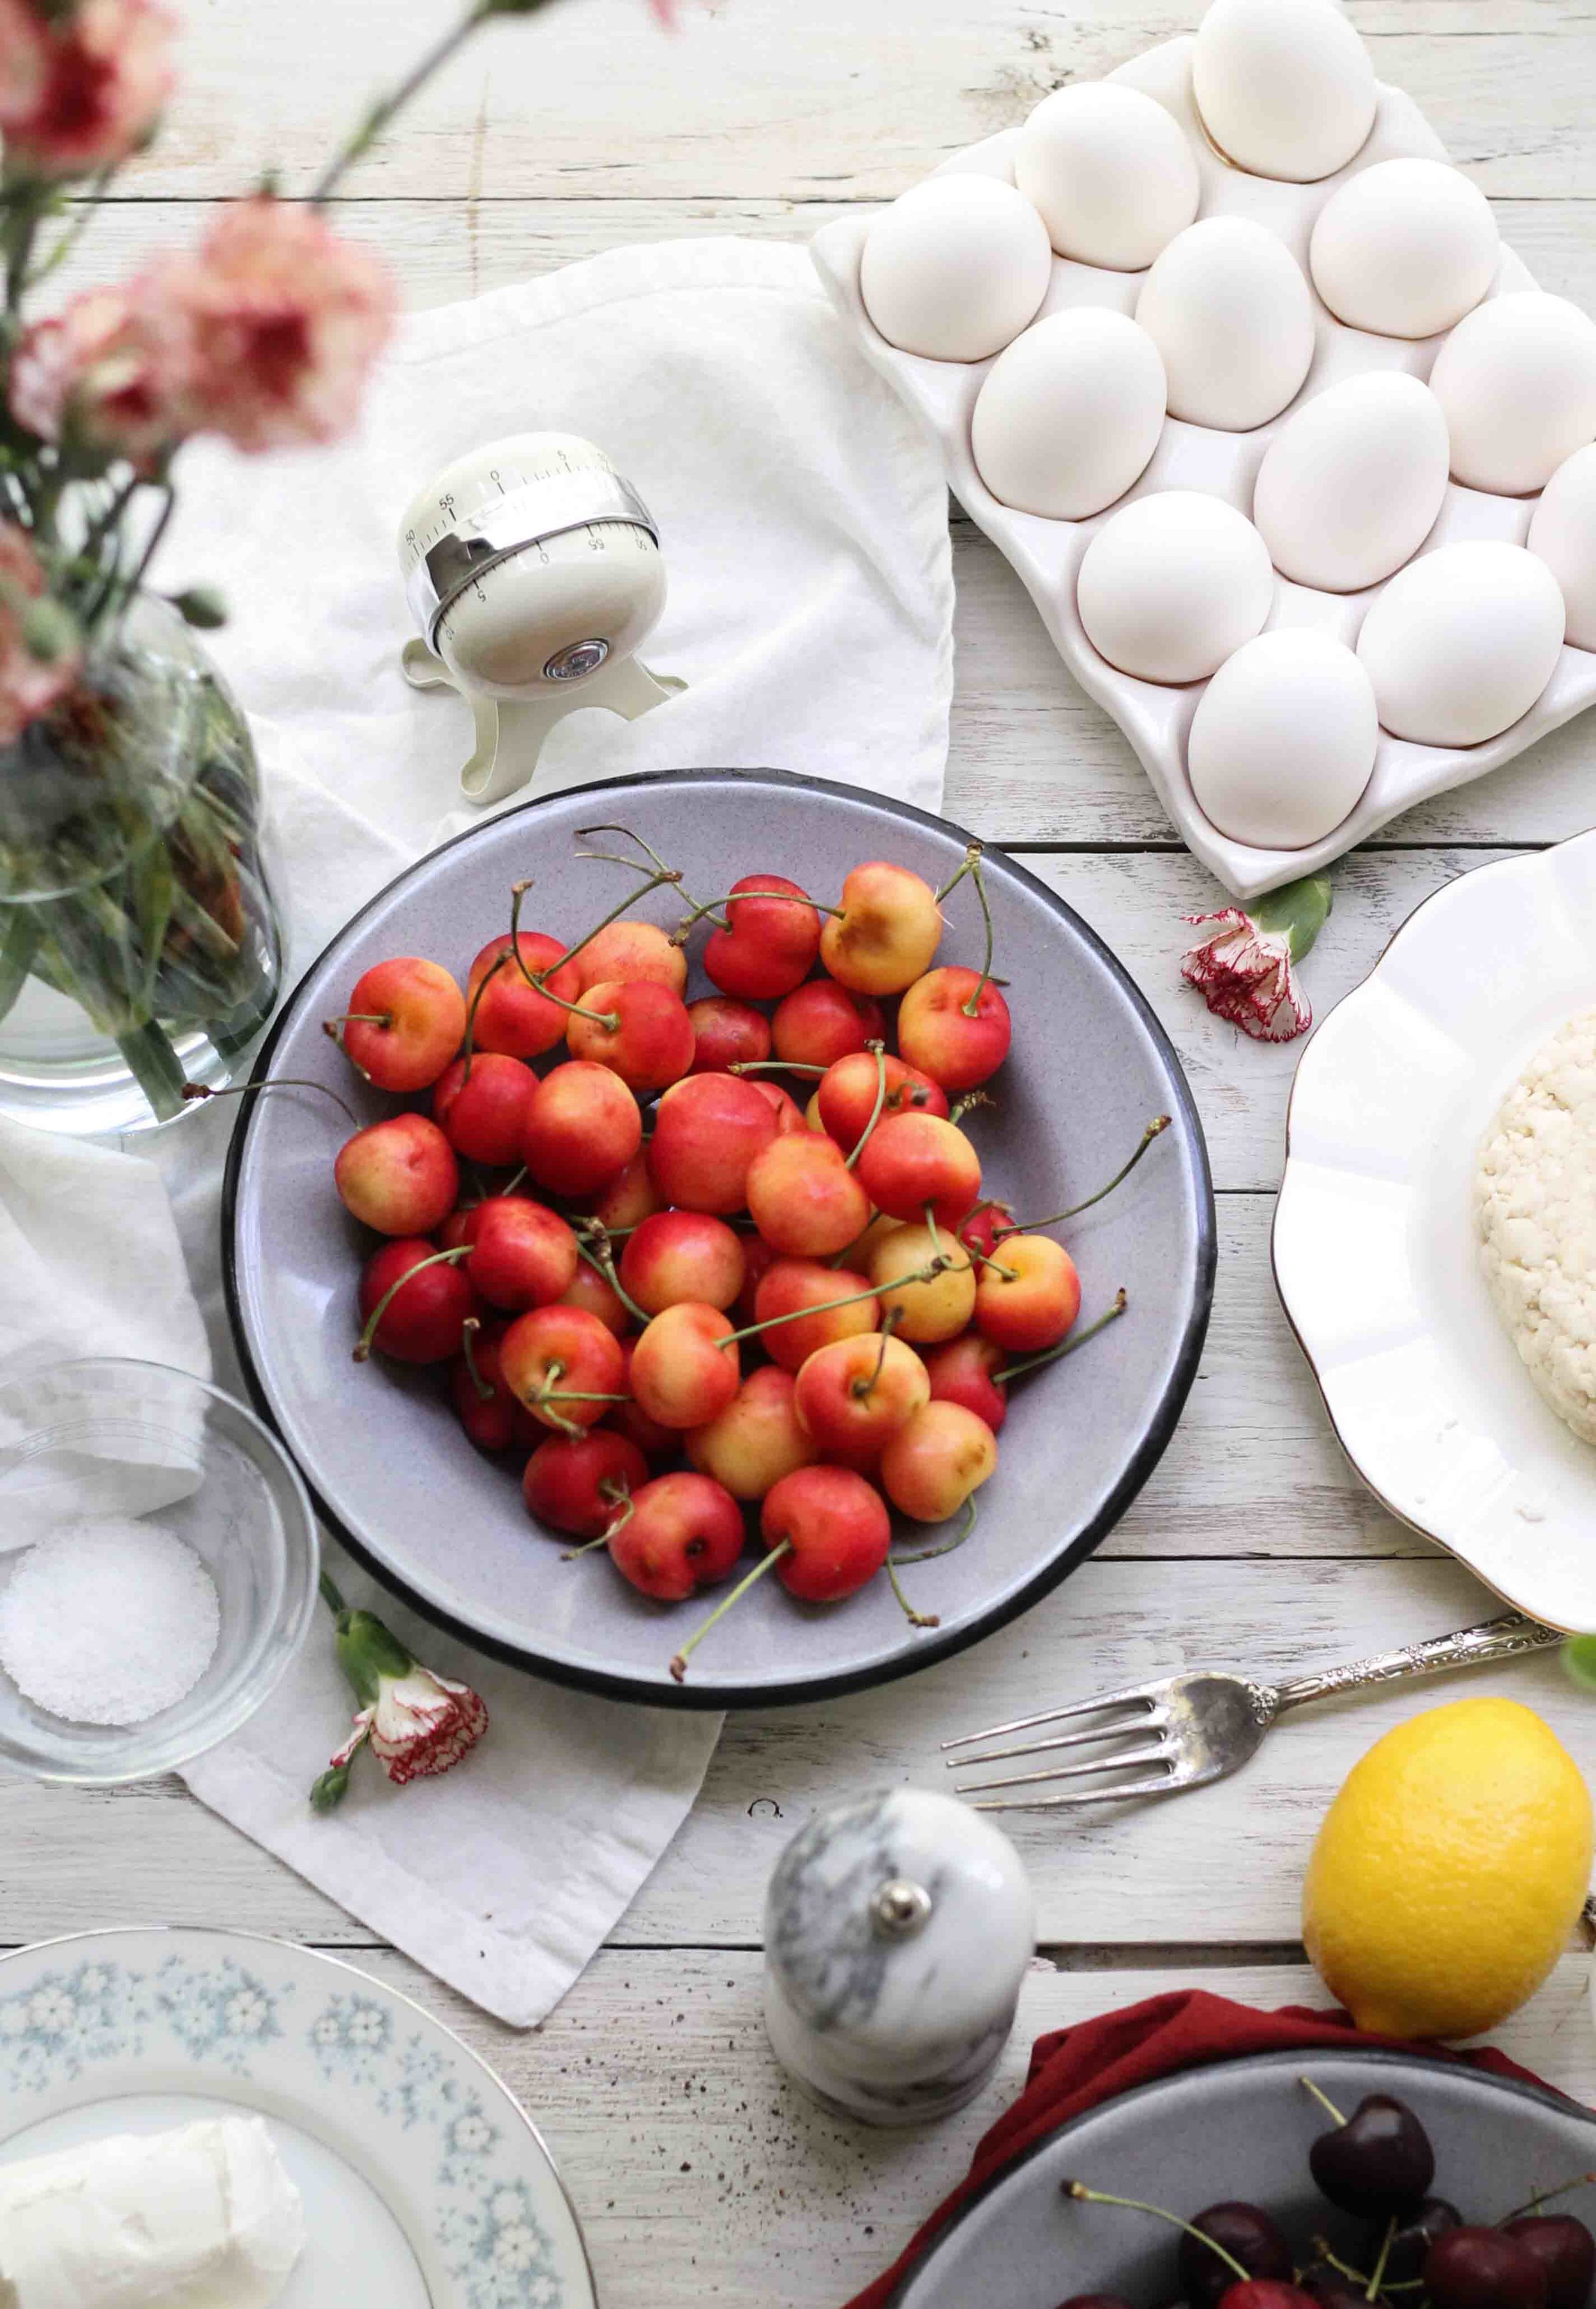
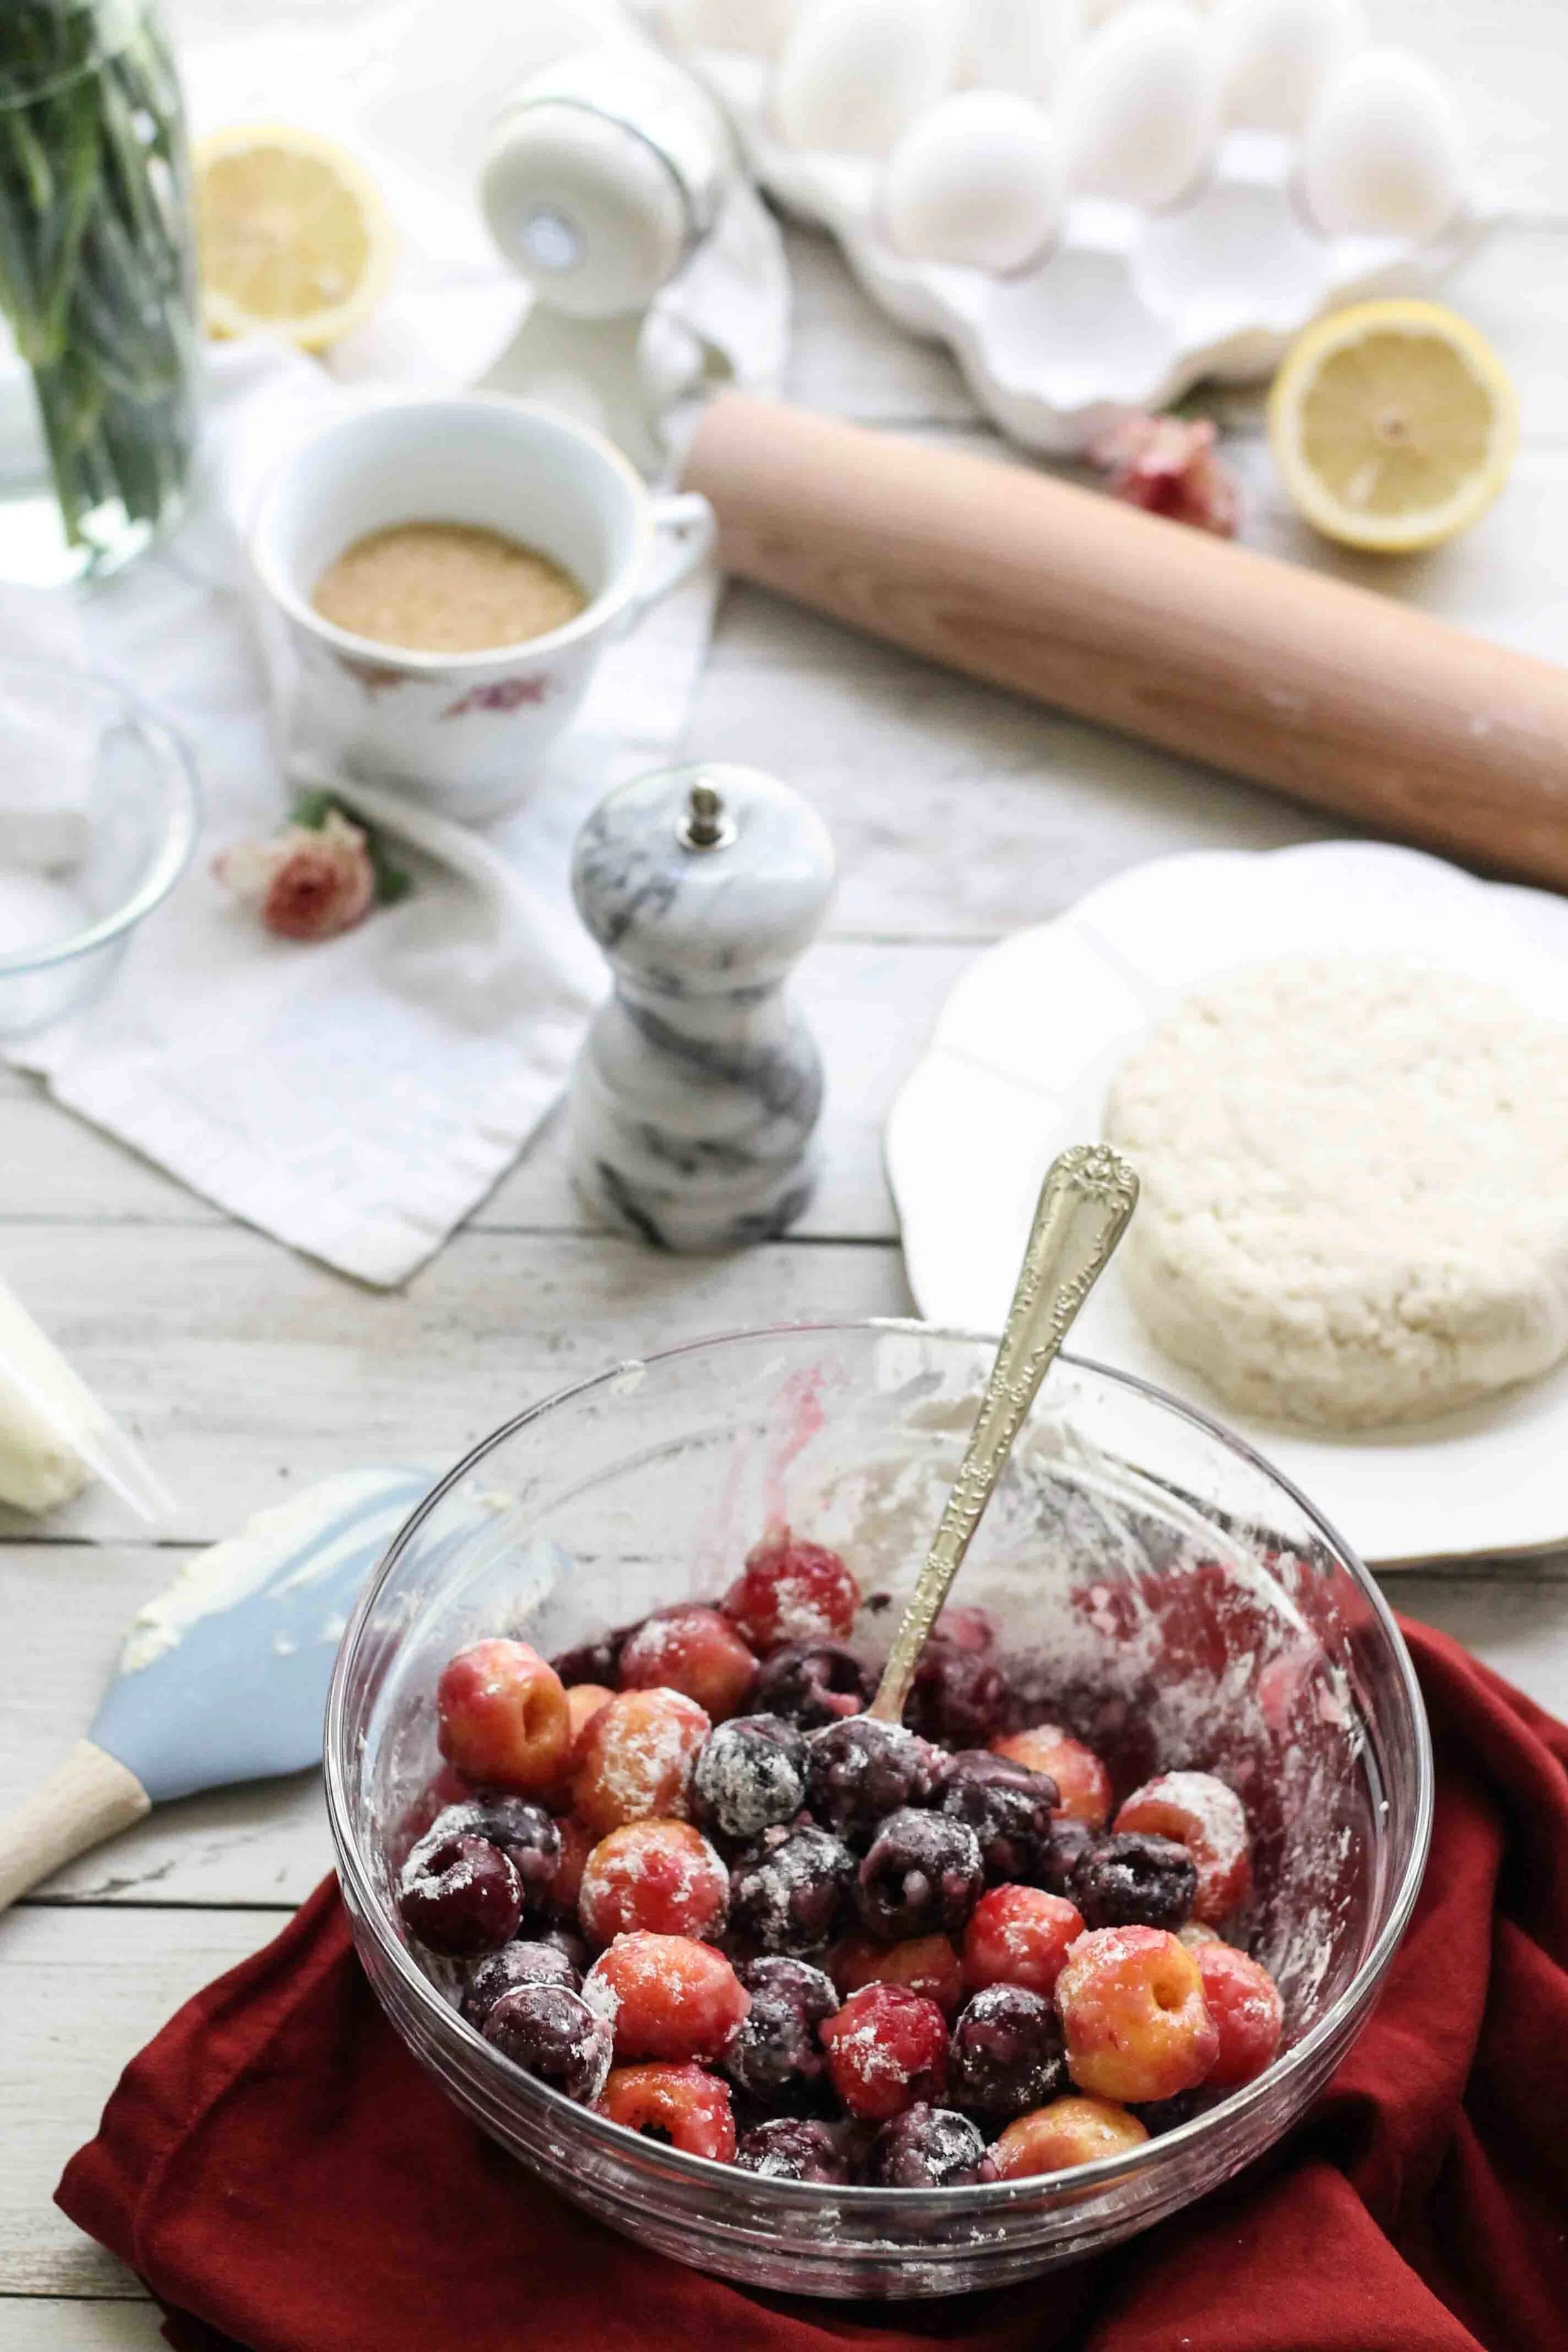
cherry filling
- 1 cup rainier cherries, pitted
- 1 cup dark sweet cherries, pitted
- 1/3 cup granulated sugar
- 2 tablespoons cornstarch
- 1 teaspoon fresh lemon juice
In a medium bowl combine cherries, sugar, cornstarch and lemon juice. Toss until all the fruit is evenly coated.
assembly and arugula
- 1 egg
- 1 teaspoon water
- 1/4 cup turbinado sugar
- 1/2 cup balsamic vinegar
- 4 heaping cups fresh arugula
- 1 1/2 tablespoons fresh lemon juice
- olive oil
- sea salt
- freshly ground black pepper
Line a large baking sheet with parchment paper. In a small bowl, whisk together egg and water.
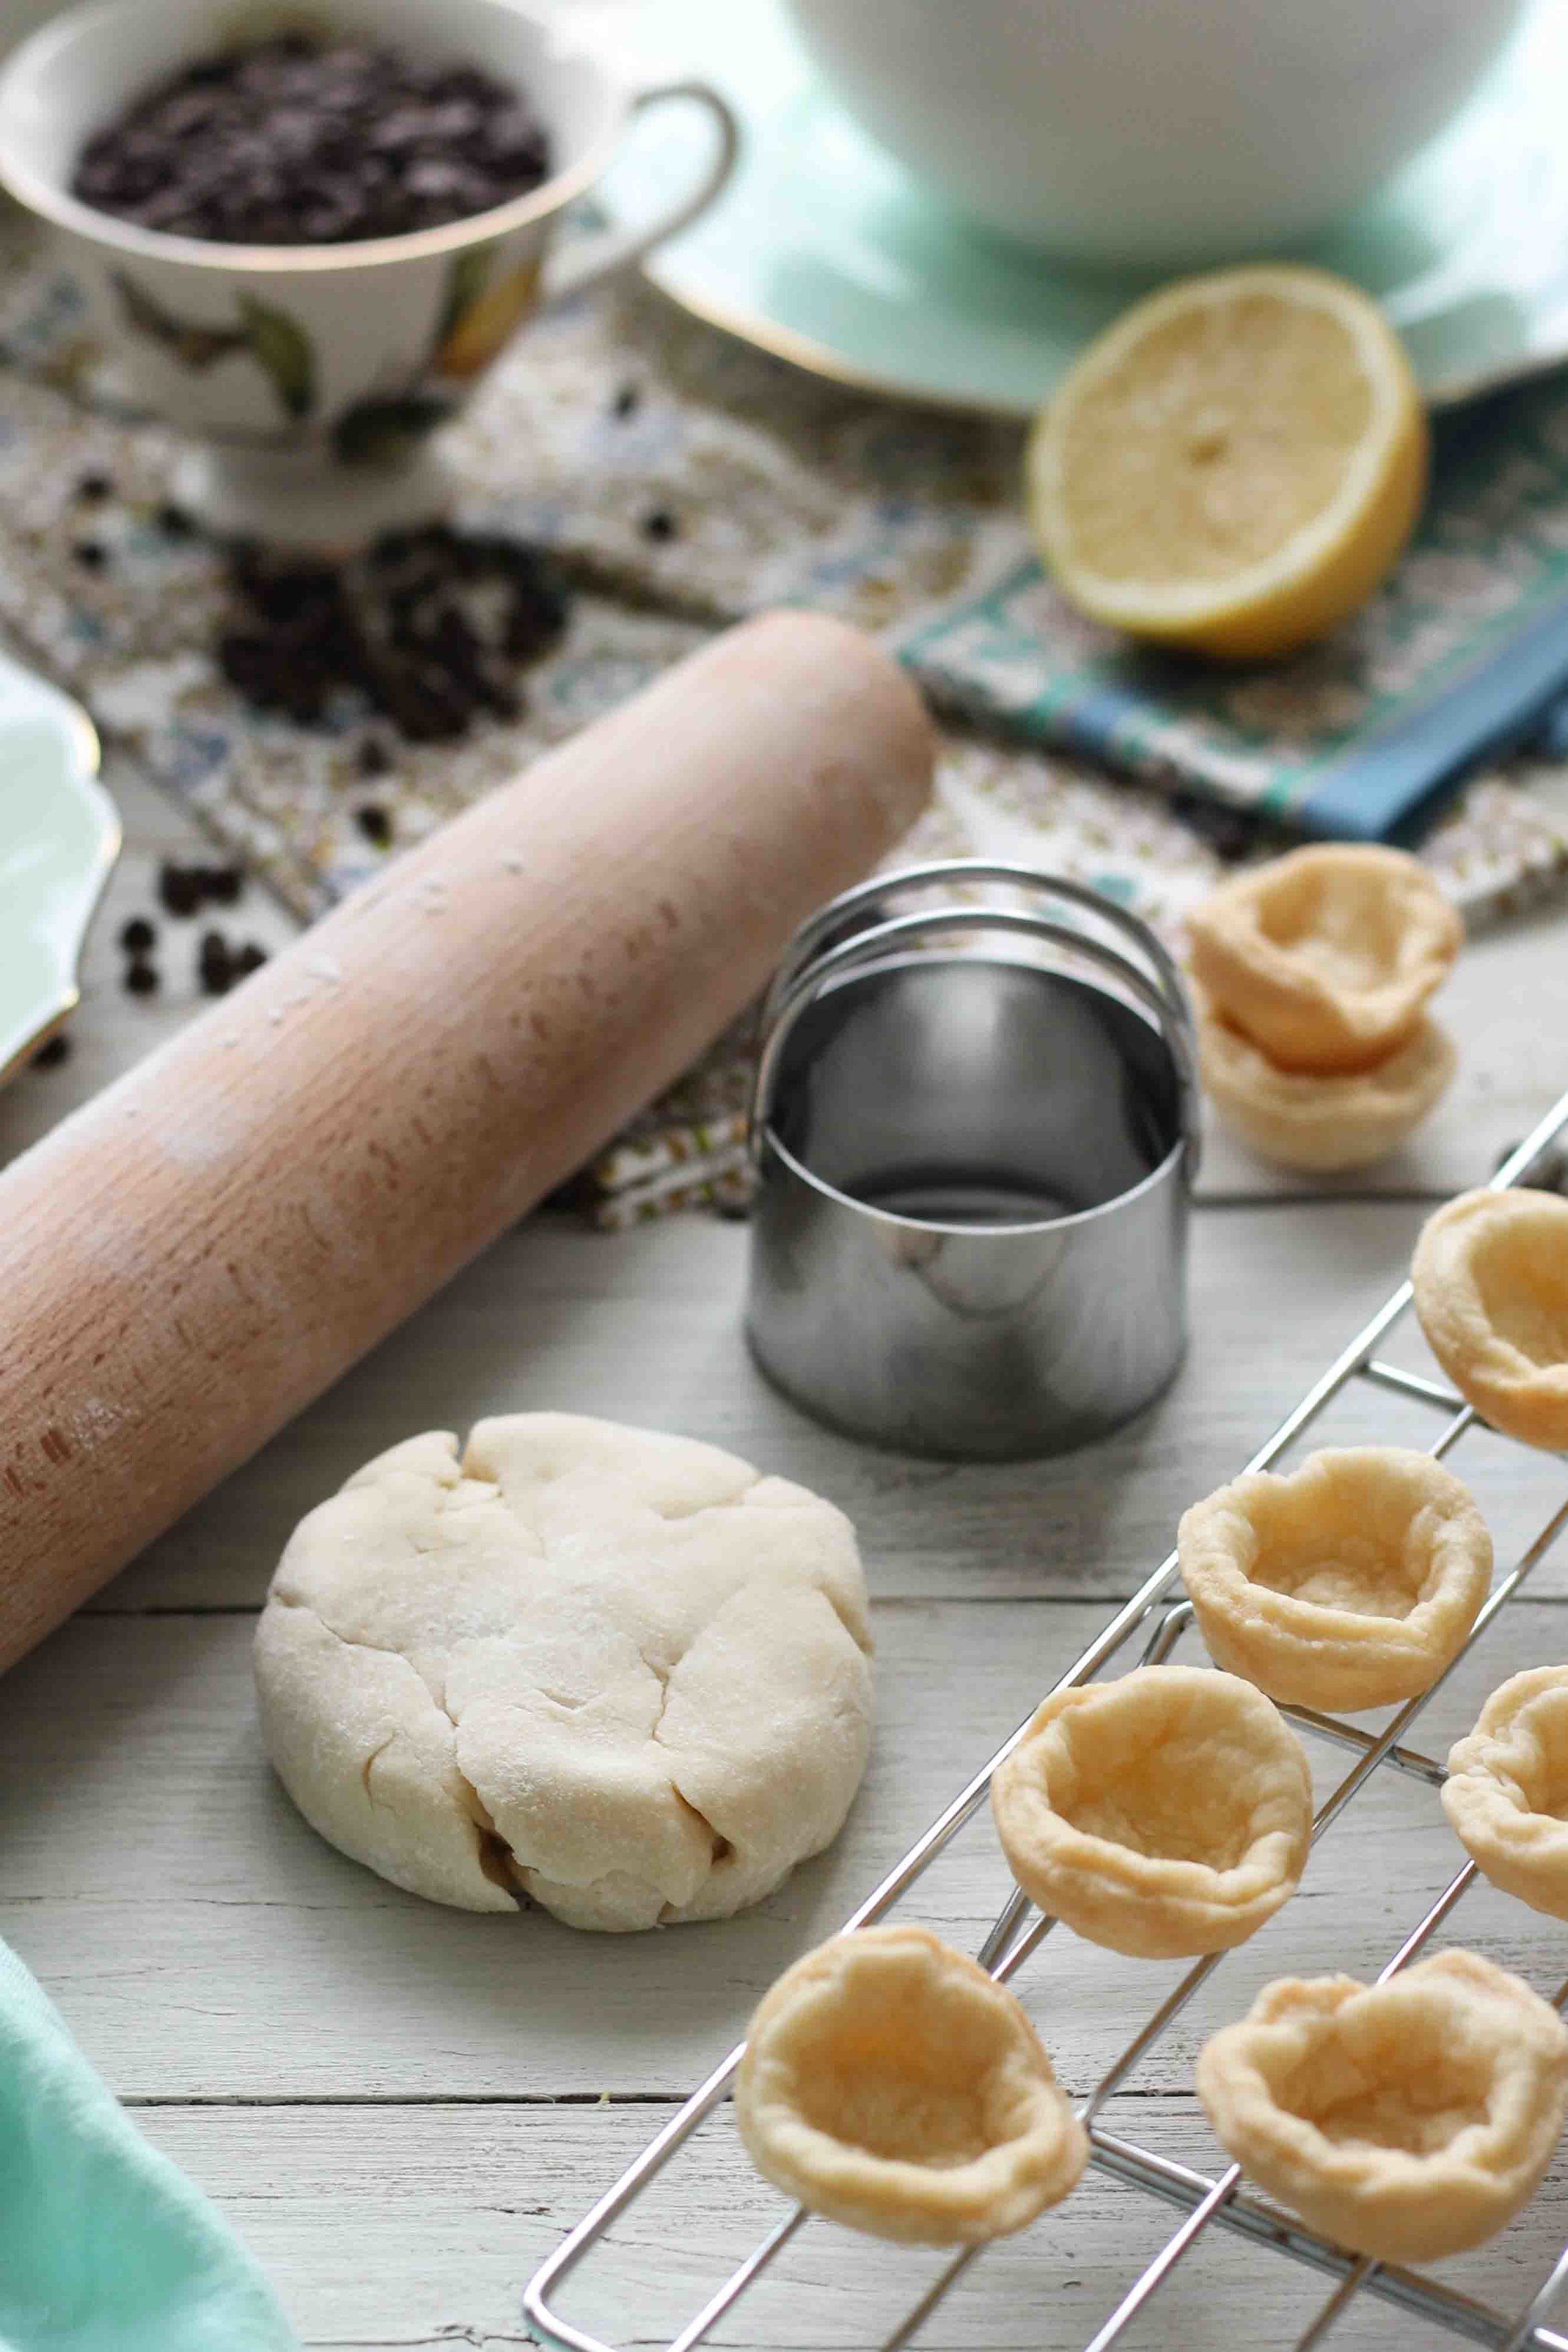
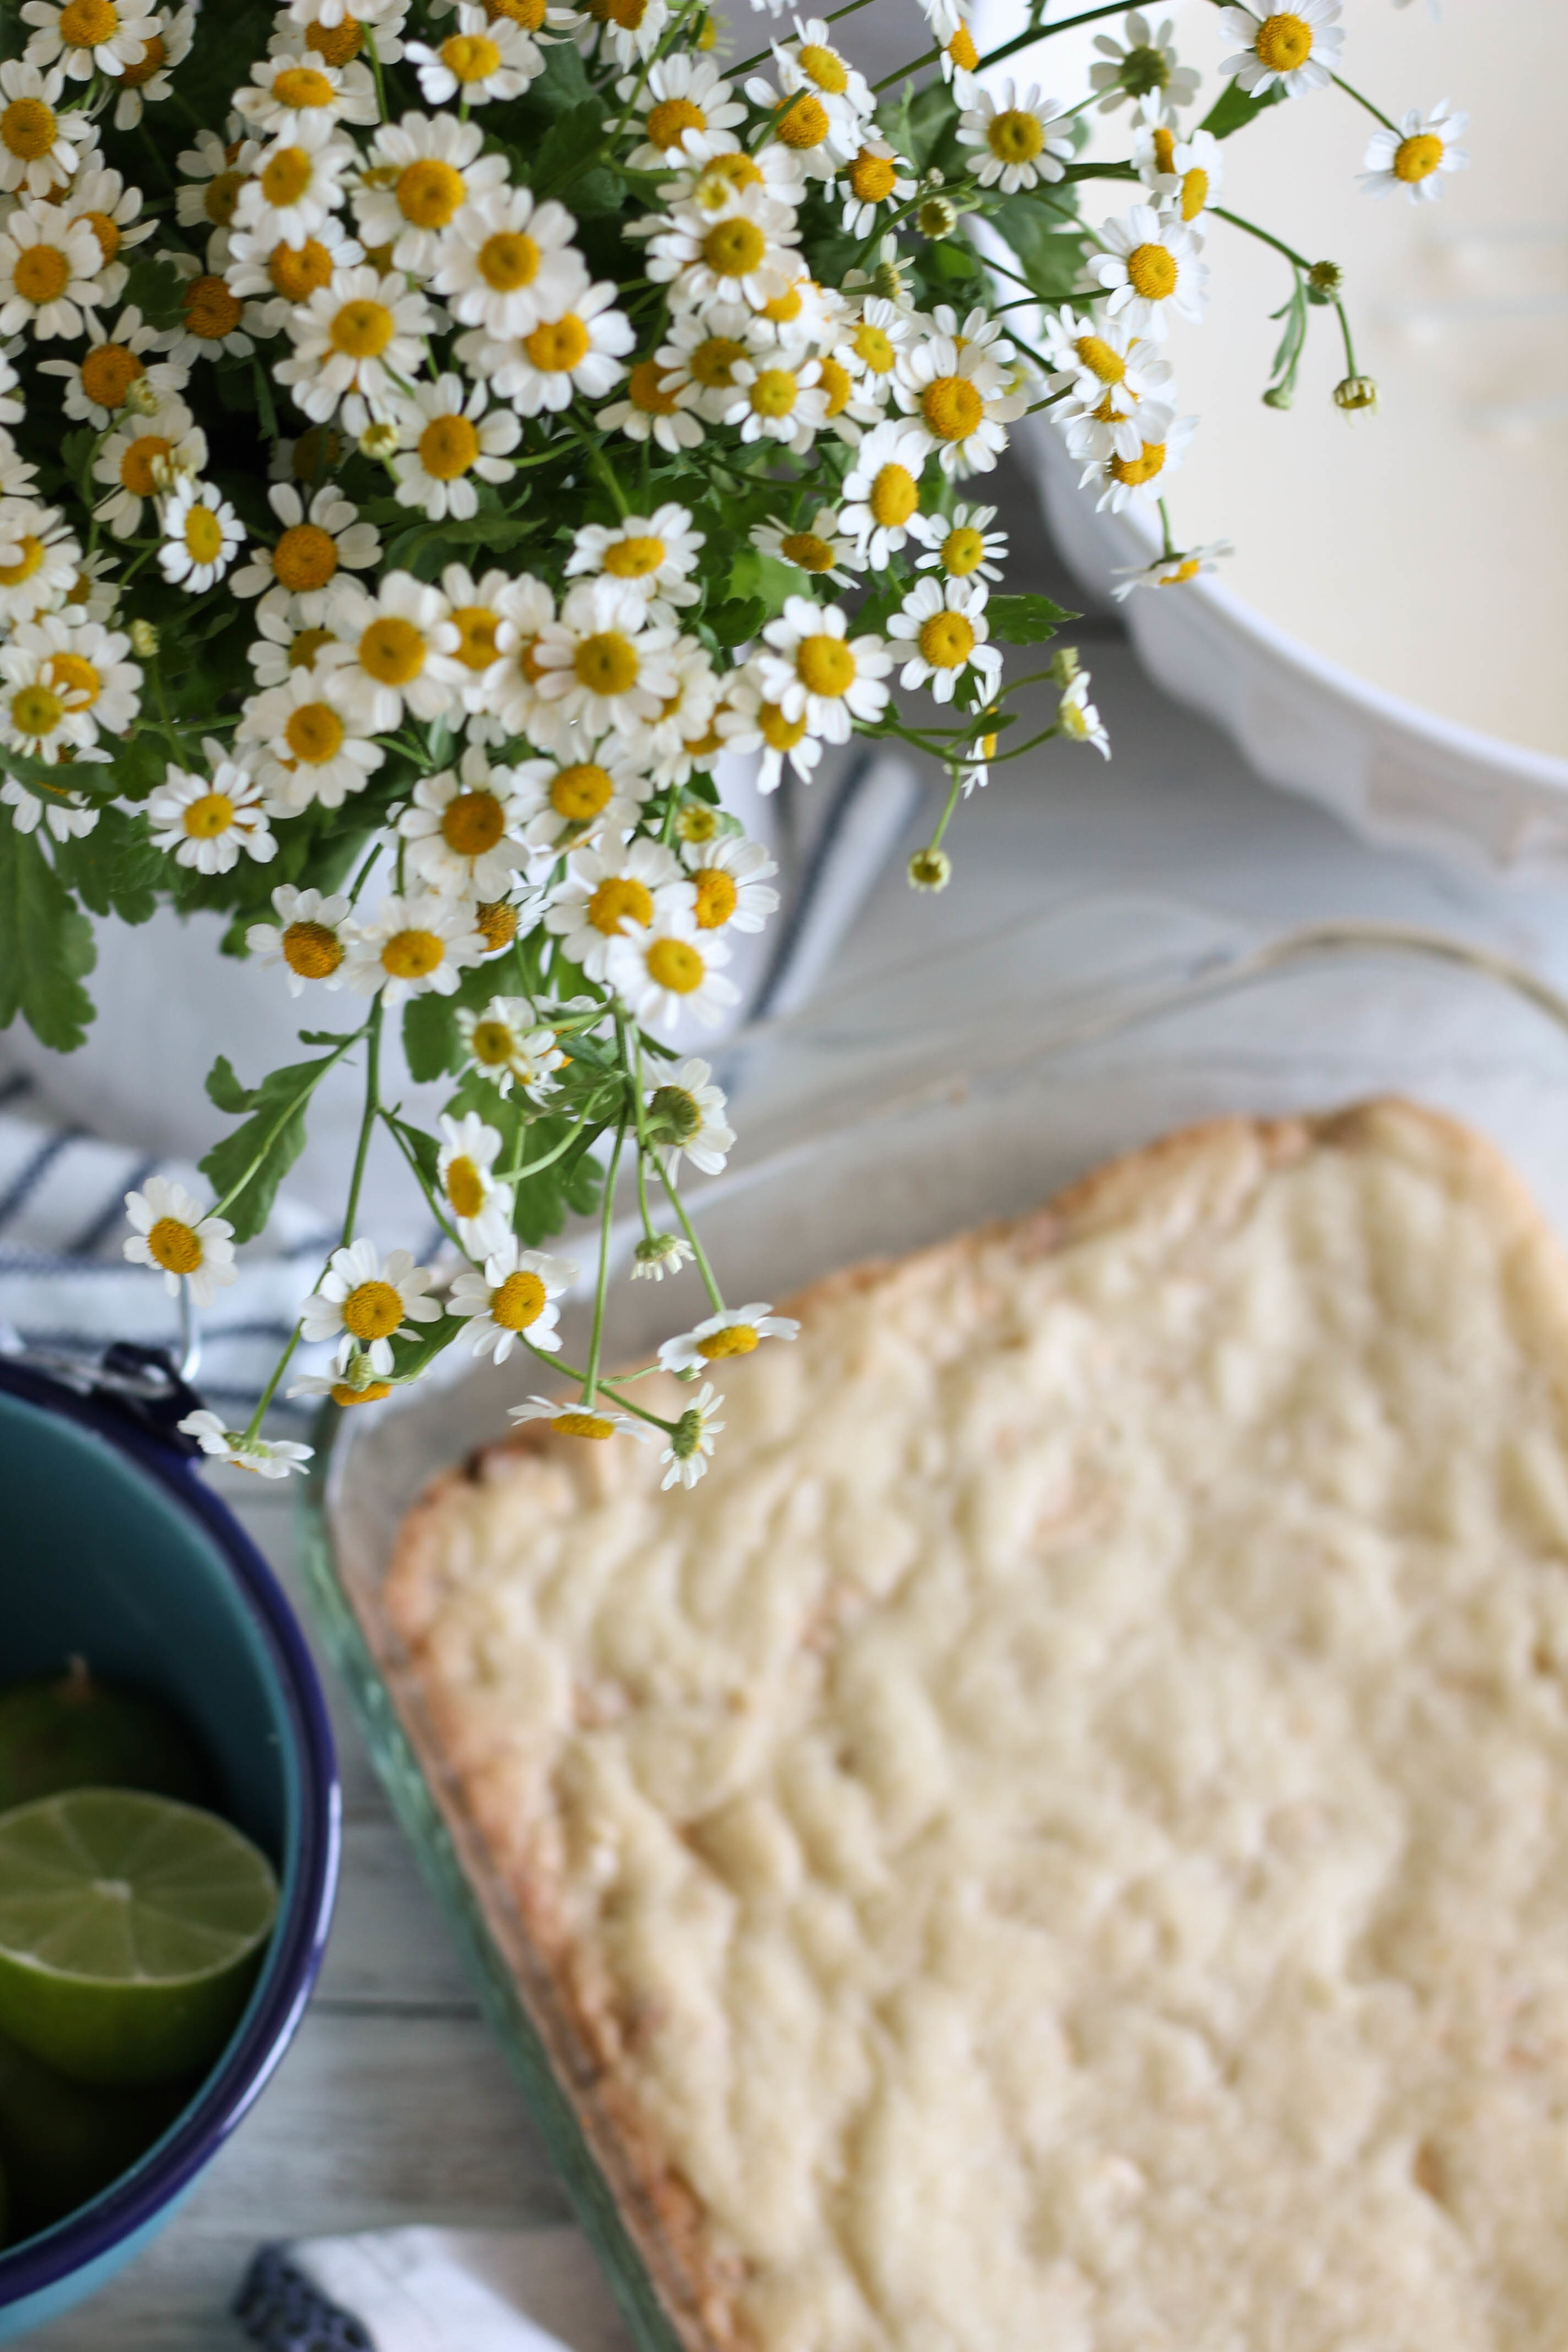
Turn your chilled pie crust out onto a well-floured surface and roll to about 1/4-inch thickness. Using a small bowl or round of paper as a guide, cut 5 1/2-inch circles out of the dough. Place the rounds on the prepared baking sheet.
Pipe a 2 3/4-inch circle of the chèvre filling into the center of each piece of dough. Stud the cream filling with the prepared cherries. Then, form small galettes by pulling the edges of dough up and around the edges of the fillings, overlapping the dough and pinching to seal. Place the galettes in the freezer for 20 minutes.
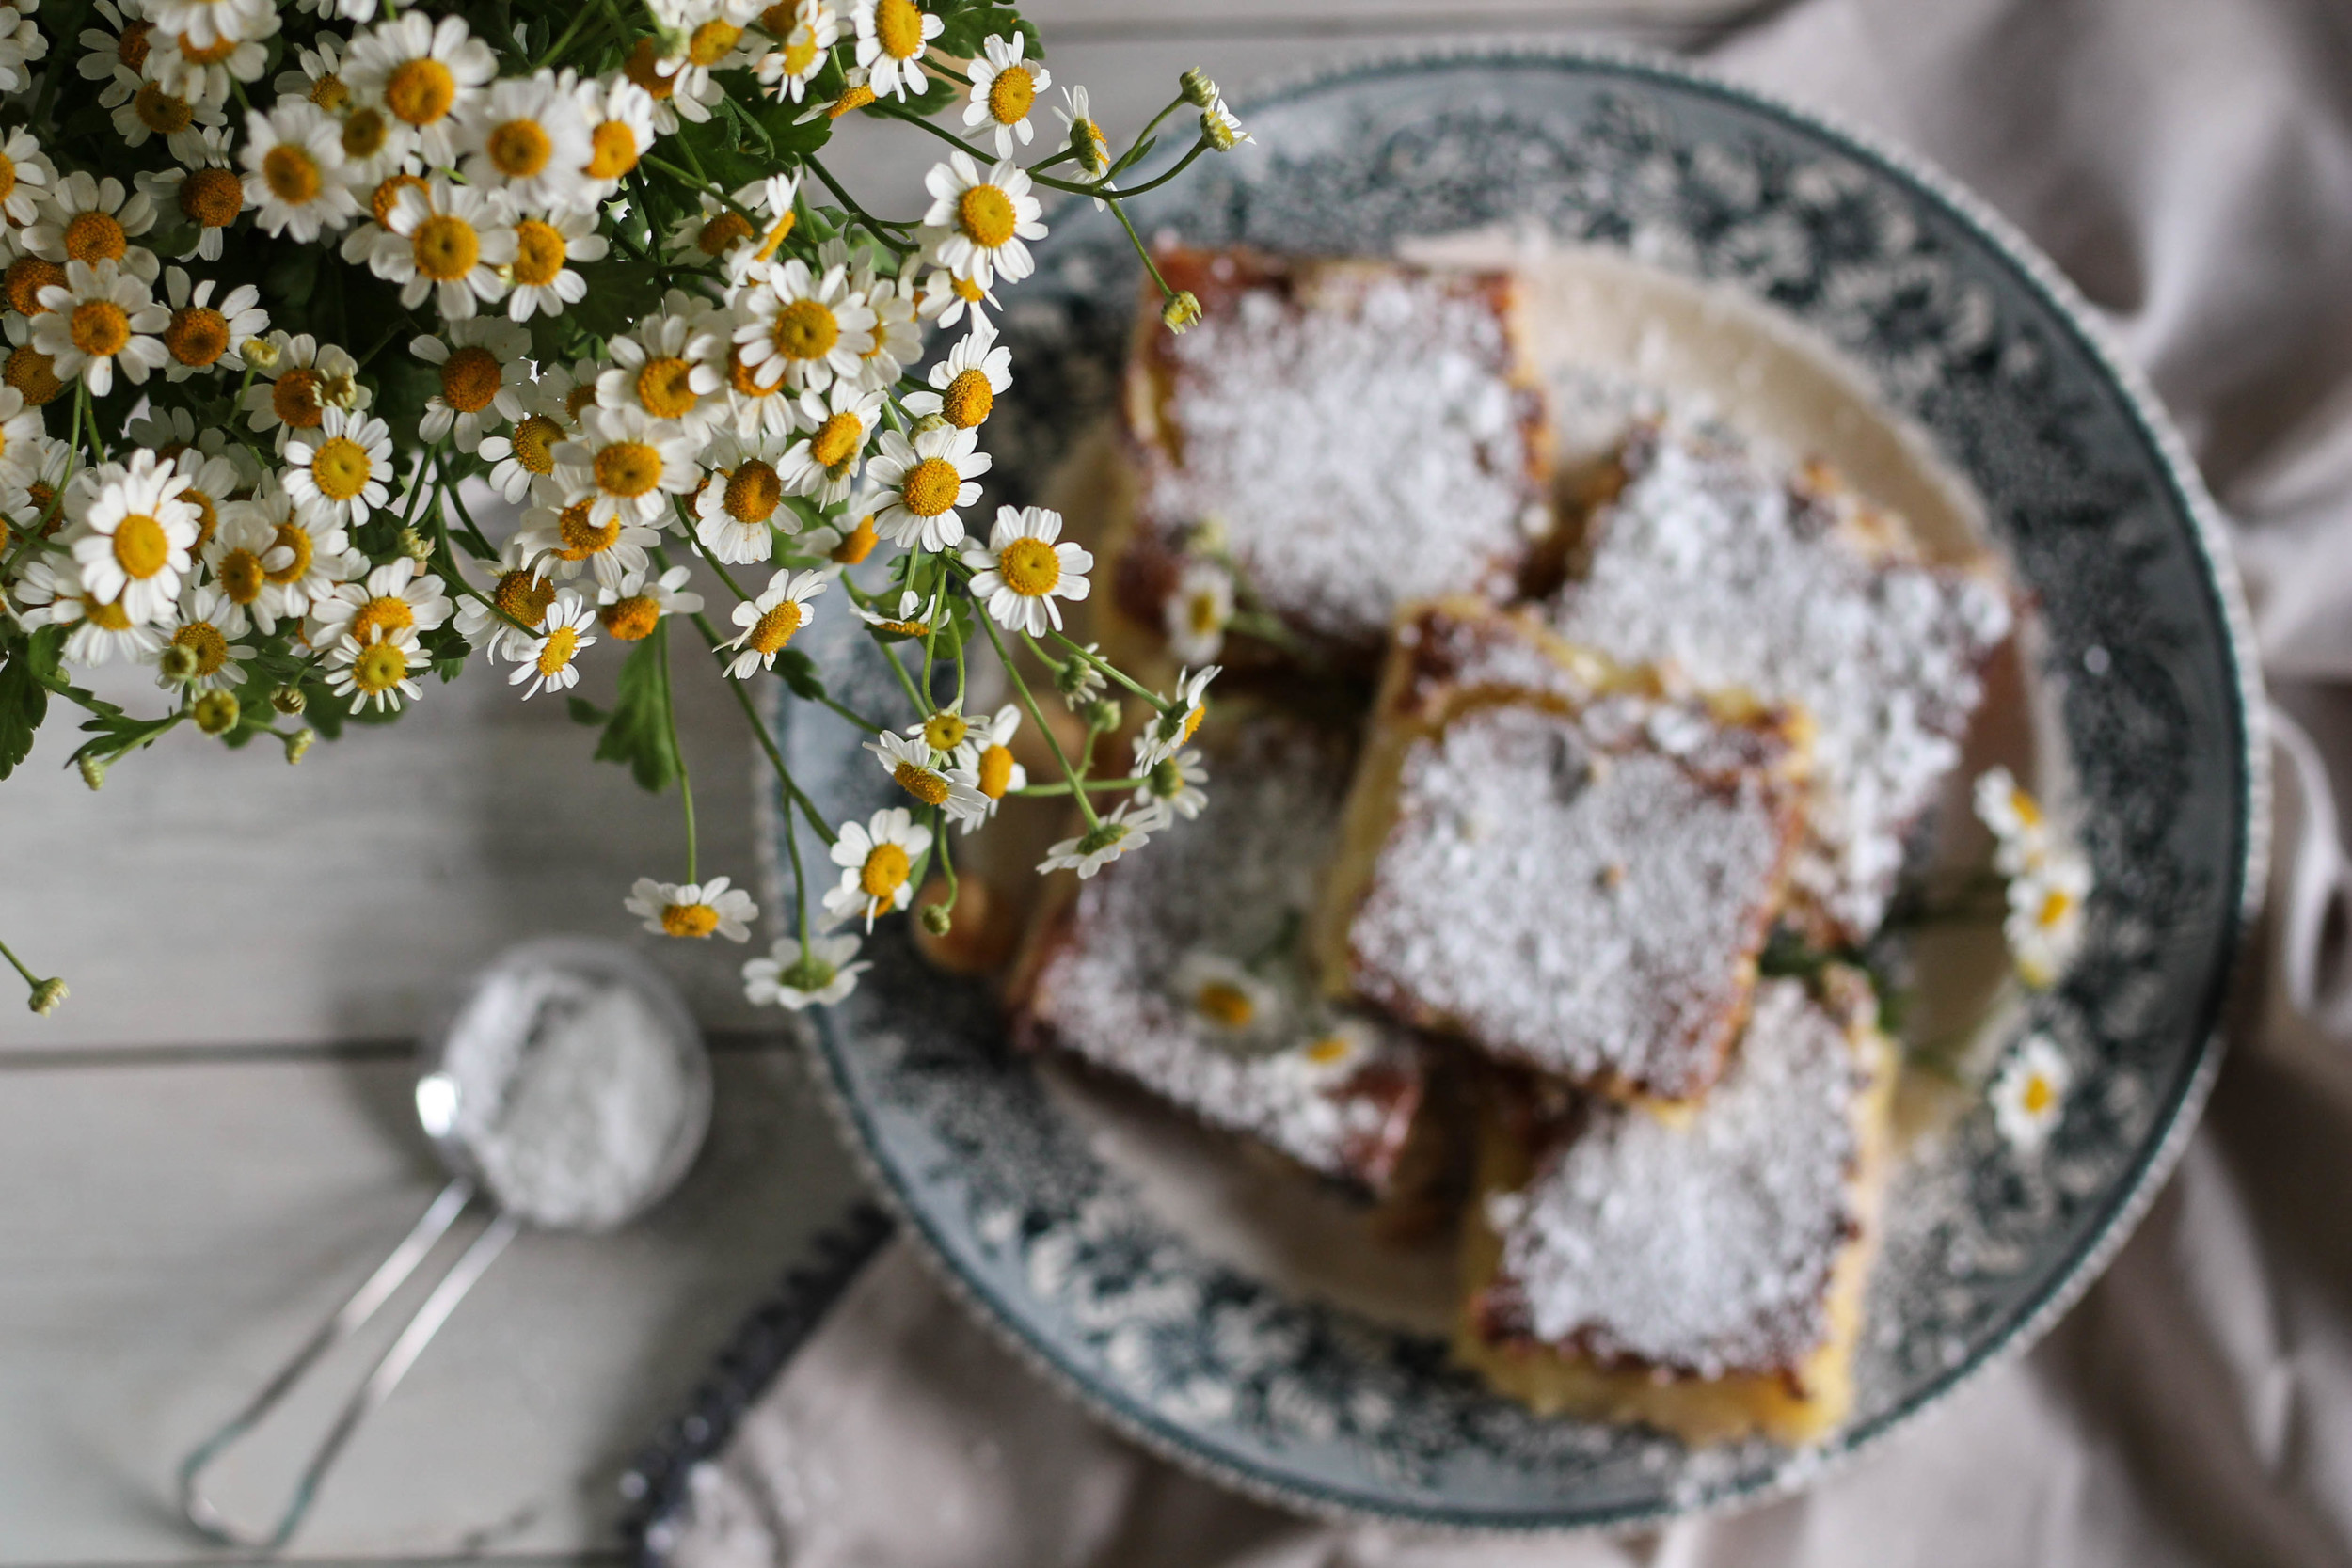
After the galettes have chilled, brush the outer crusts with the prepared egg wash and sprinkle with turbinado sugar. Bake for 35-40 minutes; until the crusts are deep golden and shiny.
While the galettes are baking, place balsamic in a small saucepan and reduce by half by simmering over medium high heat until thick and syrupy. Set aside to cool.
Transfer the baked galettes to a cooling rack and cool until warm while you prepare the salad.
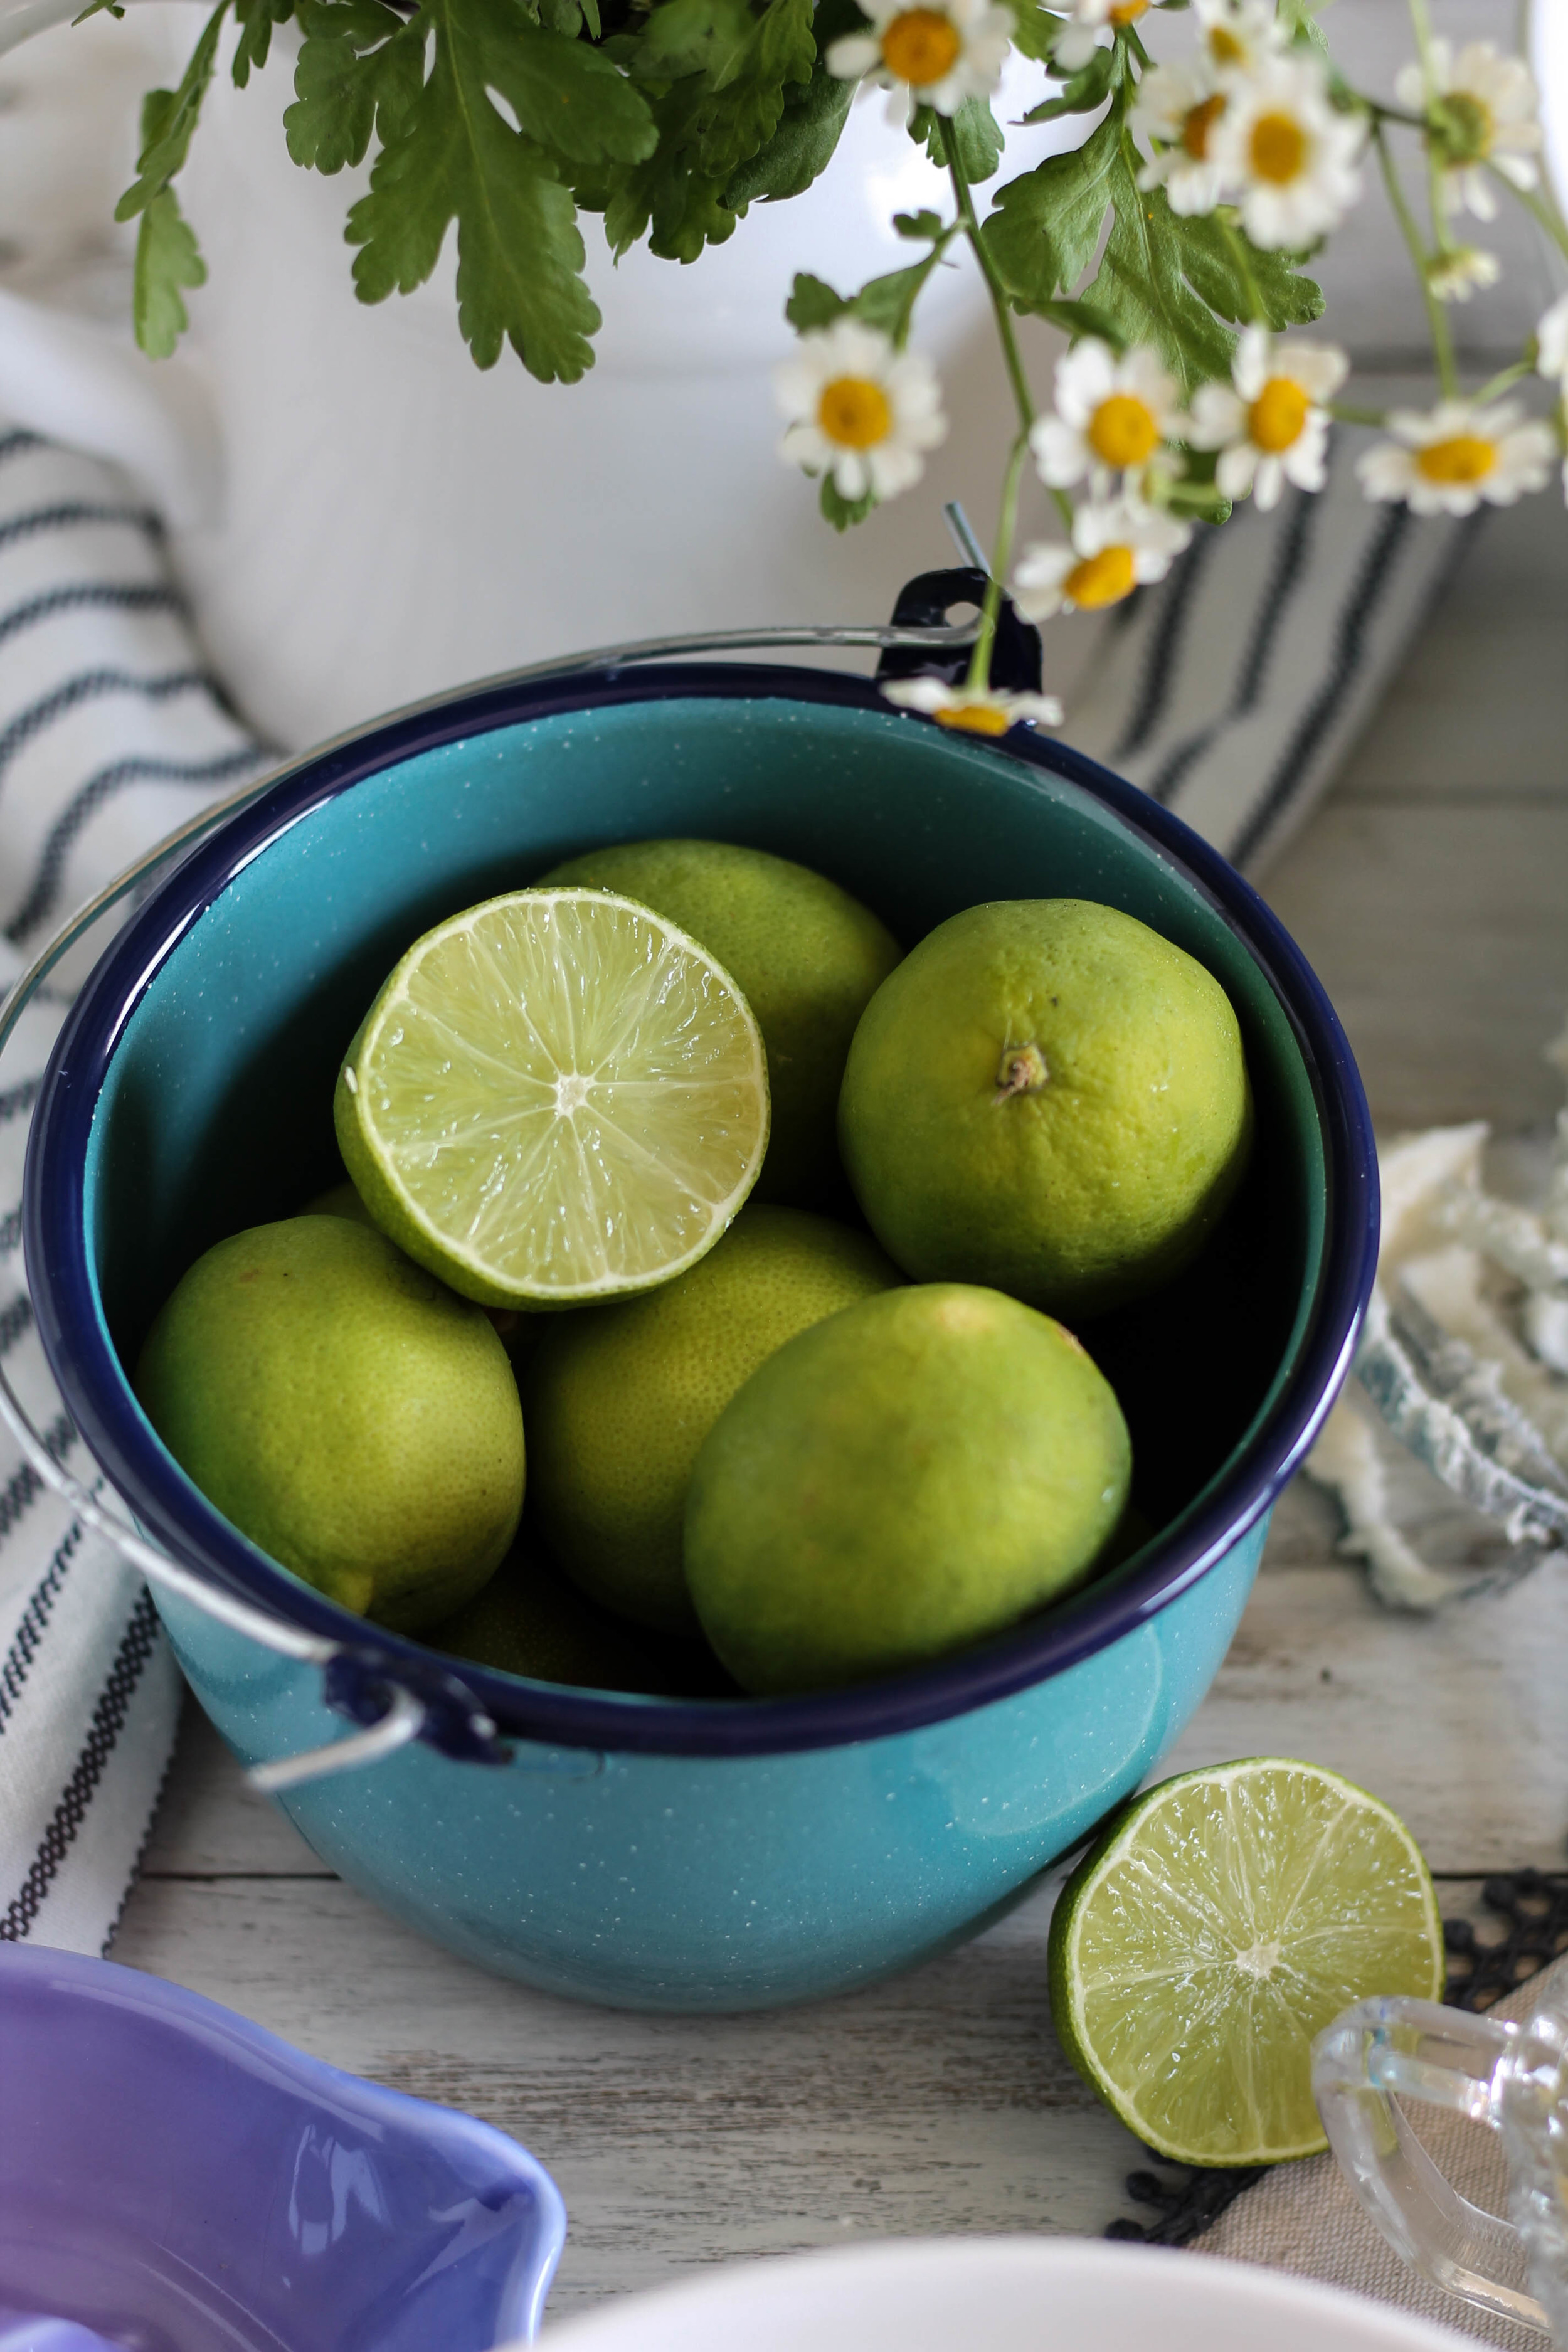
Prepare the arugula by dressing with a heavy drizzle of olive oil, salt, pepper, and lemon juice. Toss and set aside.
Cook's Note: I prefer to let the greens rest for 5-10 minutes after dressing. This gives them a chance to soften a bit.
To serve: Top each galette with a heaping cup of the greens and serve immediately with a drizzle of the balsamic reduction. Enjoy!


![These Spiced Pumpkin Madeleines with Brown Butter Glaze are the perfect accompaniment to your PSL!! [ www.pedanticfoodie.com ]](https://images.squarespace-cdn.com/content/v1/5150ff2ae4b07a397217c428/1536443936167-1N4LRLM898ID16R3EYAA/These+Spiced+Pumpkin+Madeleines+with+Brown+Butter+Glaze+are+the+perfect+accompaniment+to+your+PSL%21%21+%5B+www.pedanticfoodie.com+%5D)