It's real. For the first time, it feels like this great, fast-approaching event, that has been nearly a year in the making, might be more than just a dream with a Pinterest board. Yesterday, as I bid my last goodbyes to summer, we hit the one month mark.

Over the weekend, my dear aunt helped us assemble the first of our major decorations and my heart took a deep sigh of relief when it really did look beautiful. Up until now, we have had flowers, sequins, and candlesticks scattered about and I have held my breath and hoped that it would all come together in a seamless, cohesive design.
Now, I sit at my computer flipping through tab after tab of wedding programs. Literally hundreds of them. Yet somehow, I still have not found exactly what I had envisioned. Whyyyyy? I think I'm a little picky.
This week, I shot my last pre-wedding recipe with my mother. It's a very special recipe, with very special memories and I cannot wait to share it with you. The coming six-week hiatus of testing, baking, and photographing has been months in the making, but now it's done. Mind you, I still have so many pictures to edit, posts to write, and recipes to type up, but the most daunting portion of the task is done. And I already miss it.
My fiancé might finally have his outfit figured out. Who knew it would take eleven months to find a dusty-blue bow tie?
I do not know what's happening. Some mornings I wake up and gaze across the room to my little wedding countdown and it feels real. I know and believe that so much of the reality that I have known for the past twenty-one years will be turned upside-down, and yet so much will stay the same. Other mornings I wake thinking that I have not woken at all, but am still heavily immersed in the most wonderful of impossible dreams. It's all very bizarre in the happiest of ways.
I want to soak up these last four weeks, but at the same time I cannot wait for the day to finally arrive. I'm filled with excitement as my fingers bounce about this keyboard like timid feet across hot coals. One month. ONE MONTH!
I'm a very lucky lady.
Sincerely,
Pedantic Foodie


![[ BABY GIRL SWAN NURSERY ] A sweet, swan-themed haven for our baby girl! www.pedanticfoodie.com](https://images.squarespace-cdn.com/content/v1/5150ff2ae4b07a397217c428/1587566499633-N0CMF4397EFX6OKC8FQE/%5B+BABY+GIRL+SWAN+NURSERY+%5D+A+sweet%2C+swan-themed+haven+for+our+baby+girl%21+www.pedanticfoodie.com)


![Lemon+Coconut+Muffins+with+Coconut+Streusel+[www.pedanticfoodie.com].jpeg](https://images.squarespace-cdn.com/content/v1/5150ff2ae4b07a397217c428/1578498374877-G6AYLOEP3UCFFOIXEJI0/Lemon%2BCoconut%2BMuffins%2Bwith%2BCoconut%2BStreusel%2B%5Bwww.pedanticfoodie.com%5D.jpeg)


![My twist on Summer Spaghetti features all of my favorite summer flavors! Fresh tomatoes, roasted sweet corn, fresh basil, and spicy Old Bay seasoning make this dish a bowl of heaven! [ WWW.PEDANTICFOODIE.COM ]](https://images.squarespace-cdn.com/content/v1/5150ff2ae4b07a397217c428/1556032811325-FLJC6SU5OA7FT0JN3FVY/My+twist+on+Summer+Spaghetti+features+all+of+my+favorite+summer+flavors%21++Fresh+tomatoes%2C+roasted+sweet+corn%2C+fresh+basil%2C+and+spicy+Old+Bay+seasoning+make+this+dish+a+bowl+of+heaven%21++%5B+WWW.PEDANTICFOODIE.COM+%5D)
![Need fresh ideas for weeknight meals this summer? This Sun-Dried Tomato Butter Paninis with Prosciutto, Basil & Gruyere is the answer!! [ WWW.PEDANTICFOODIE.COM ]](https://images.squarespace-cdn.com/content/v1/5150ff2ae4b07a397217c428/1556039586679-MK6ALWLWBH66S3XRNNYW/Need+fresh+ideas+for+weeknight+meals+this+summer%3F++This+Sun-Dried+Tomato+Butter+Paninis+with+Prosciutto%2C+Basil+%26+Gruyere+is+the+answer%21%21++%5B+WWW.PEDANTICFOODIE.COM+%5D)


![Set aside the quiches and kick-off your weekend with this easy and delicious breakfast pizza!! Lemon-infused olive oil, pancetta, and rich ricotta form a savory, flavorful trio of toppings! [ www.pedanticfoodie.com]](https://images.squarespace-cdn.com/content/v1/5150ff2ae4b07a397217c428/1550588985179-NS37WOSLWTOYTWLBE7FG/Set+aside+the+quiches+and+kick-off+your+weekend+with+this+easy+and+delicious+breakfast+pizza%21%21++Lemon-infused+olive+oil%2C+pancetta%2C+and+rich+ricotta+form+a+savory%2C+flavorful+trio+of+toppings%21++%5B+www.pedanticfoodie.com%5D)


![This super simple roasted cauliflower and artichoke dip is the perfect choice for your New Year's Eve party!! [ www.pedanticfoodie.com ]](https://images.squarespace-cdn.com/content/v1/5150ff2ae4b07a397217c428/1545917152903-EINEZ61RKOXQ8R0AUT01/This+super+simple+roasted+cauliflower+and+artichoke+dip+is+the+perfect+choice+for+your+New+Year%27s+Eve+party%21%21++%5B+www.pedanticfoodie.com+%5D)
![Creamy Baked Brussel Spouts and Asparagus makes the perfect holiday side dish! [ www.pedanticfoodie.com ]](https://images.squarespace-cdn.com/content/v1/5150ff2ae4b07a397217c428/1545048345800-LHX8KXFV3MK39N9D712G/Creamy+Baked+Brussel+Spouts+and+Asparagus+makes+the+perfect+holiday+side+dish%21+%5B+www.pedanticfoodie.com+%5D)
![Honey Butter Carrots make the perfect holiday side dish! [ www.pedanticfoodie.com ]](https://images.squarespace-cdn.com/content/v1/5150ff2ae4b07a397217c428/1542320122326-HKG4U8QKEOUY4TD2TJ07/Honey+Butter+Carrots+make+the+perfect+holiday+side+dish%21+%5B+www.pedanticfoodie.com+%5D)
![Roasted Sweet Potatoes with Maple Ginger Glaze and Bacon [ www.pedanticfoodie.com ]](https://images.squarespace-cdn.com/content/v1/5150ff2ae4b07a397217c428/1539880299021-AJIFPI4OHP0KPREO9TTN/Roasted+Sweet+Potatoes+with+Maple+Ginger+Glaze+and+Bacon+%5B+www.pedanticfoodie.com+%5D)
![Brown Butter Tomato Bisque makes the perfect weeknight meal! [ www.pedanticfoodie.com ]](https://images.squarespace-cdn.com/content/v1/5150ff2ae4b07a397217c428/1539715437743-MZ13EGSGCRJP6B7NSOSD/Brown+Butter+Tomato+Bisque+makes+the+perfect+weeknight+meal%21+%5B+www.pedanticfoodie.com+%5D)
![This ultra simple Slow Cooker Pork & Ale Poutine makes the perfect game day meal!! [ www.pedanticfoodie.com ]](https://images.squarespace-cdn.com/content/v1/5150ff2ae4b07a397217c428/1538572834180-GFPRX89HYP0W9EXMM3S1/This+ultra+simple+Slow+Cooker+Pork+%26+Ale+Poutine+makes+the+perfect+game+day+meal%21%21+%5B+www.pedanticfoodie.com+%5D)
![Crispy Garlic Chicken Thighs with Pan Gravy are the perfect weeknight meal for these cool, autumn nights. [ www.pedanticfoodie.com ]](https://images.squarespace-cdn.com/content/v1/5150ff2ae4b07a397217c428/1536955927429-O6FEEJI29HE9FBBLIEB9/Crispy+Garlic+Chicken+Thighs+with+Pan+Gravy+are+the+perfect+weeknight+meal+for+these+cool%2C+autumn+nights.++%5B+www.pedanticfoodie.com+%5D)
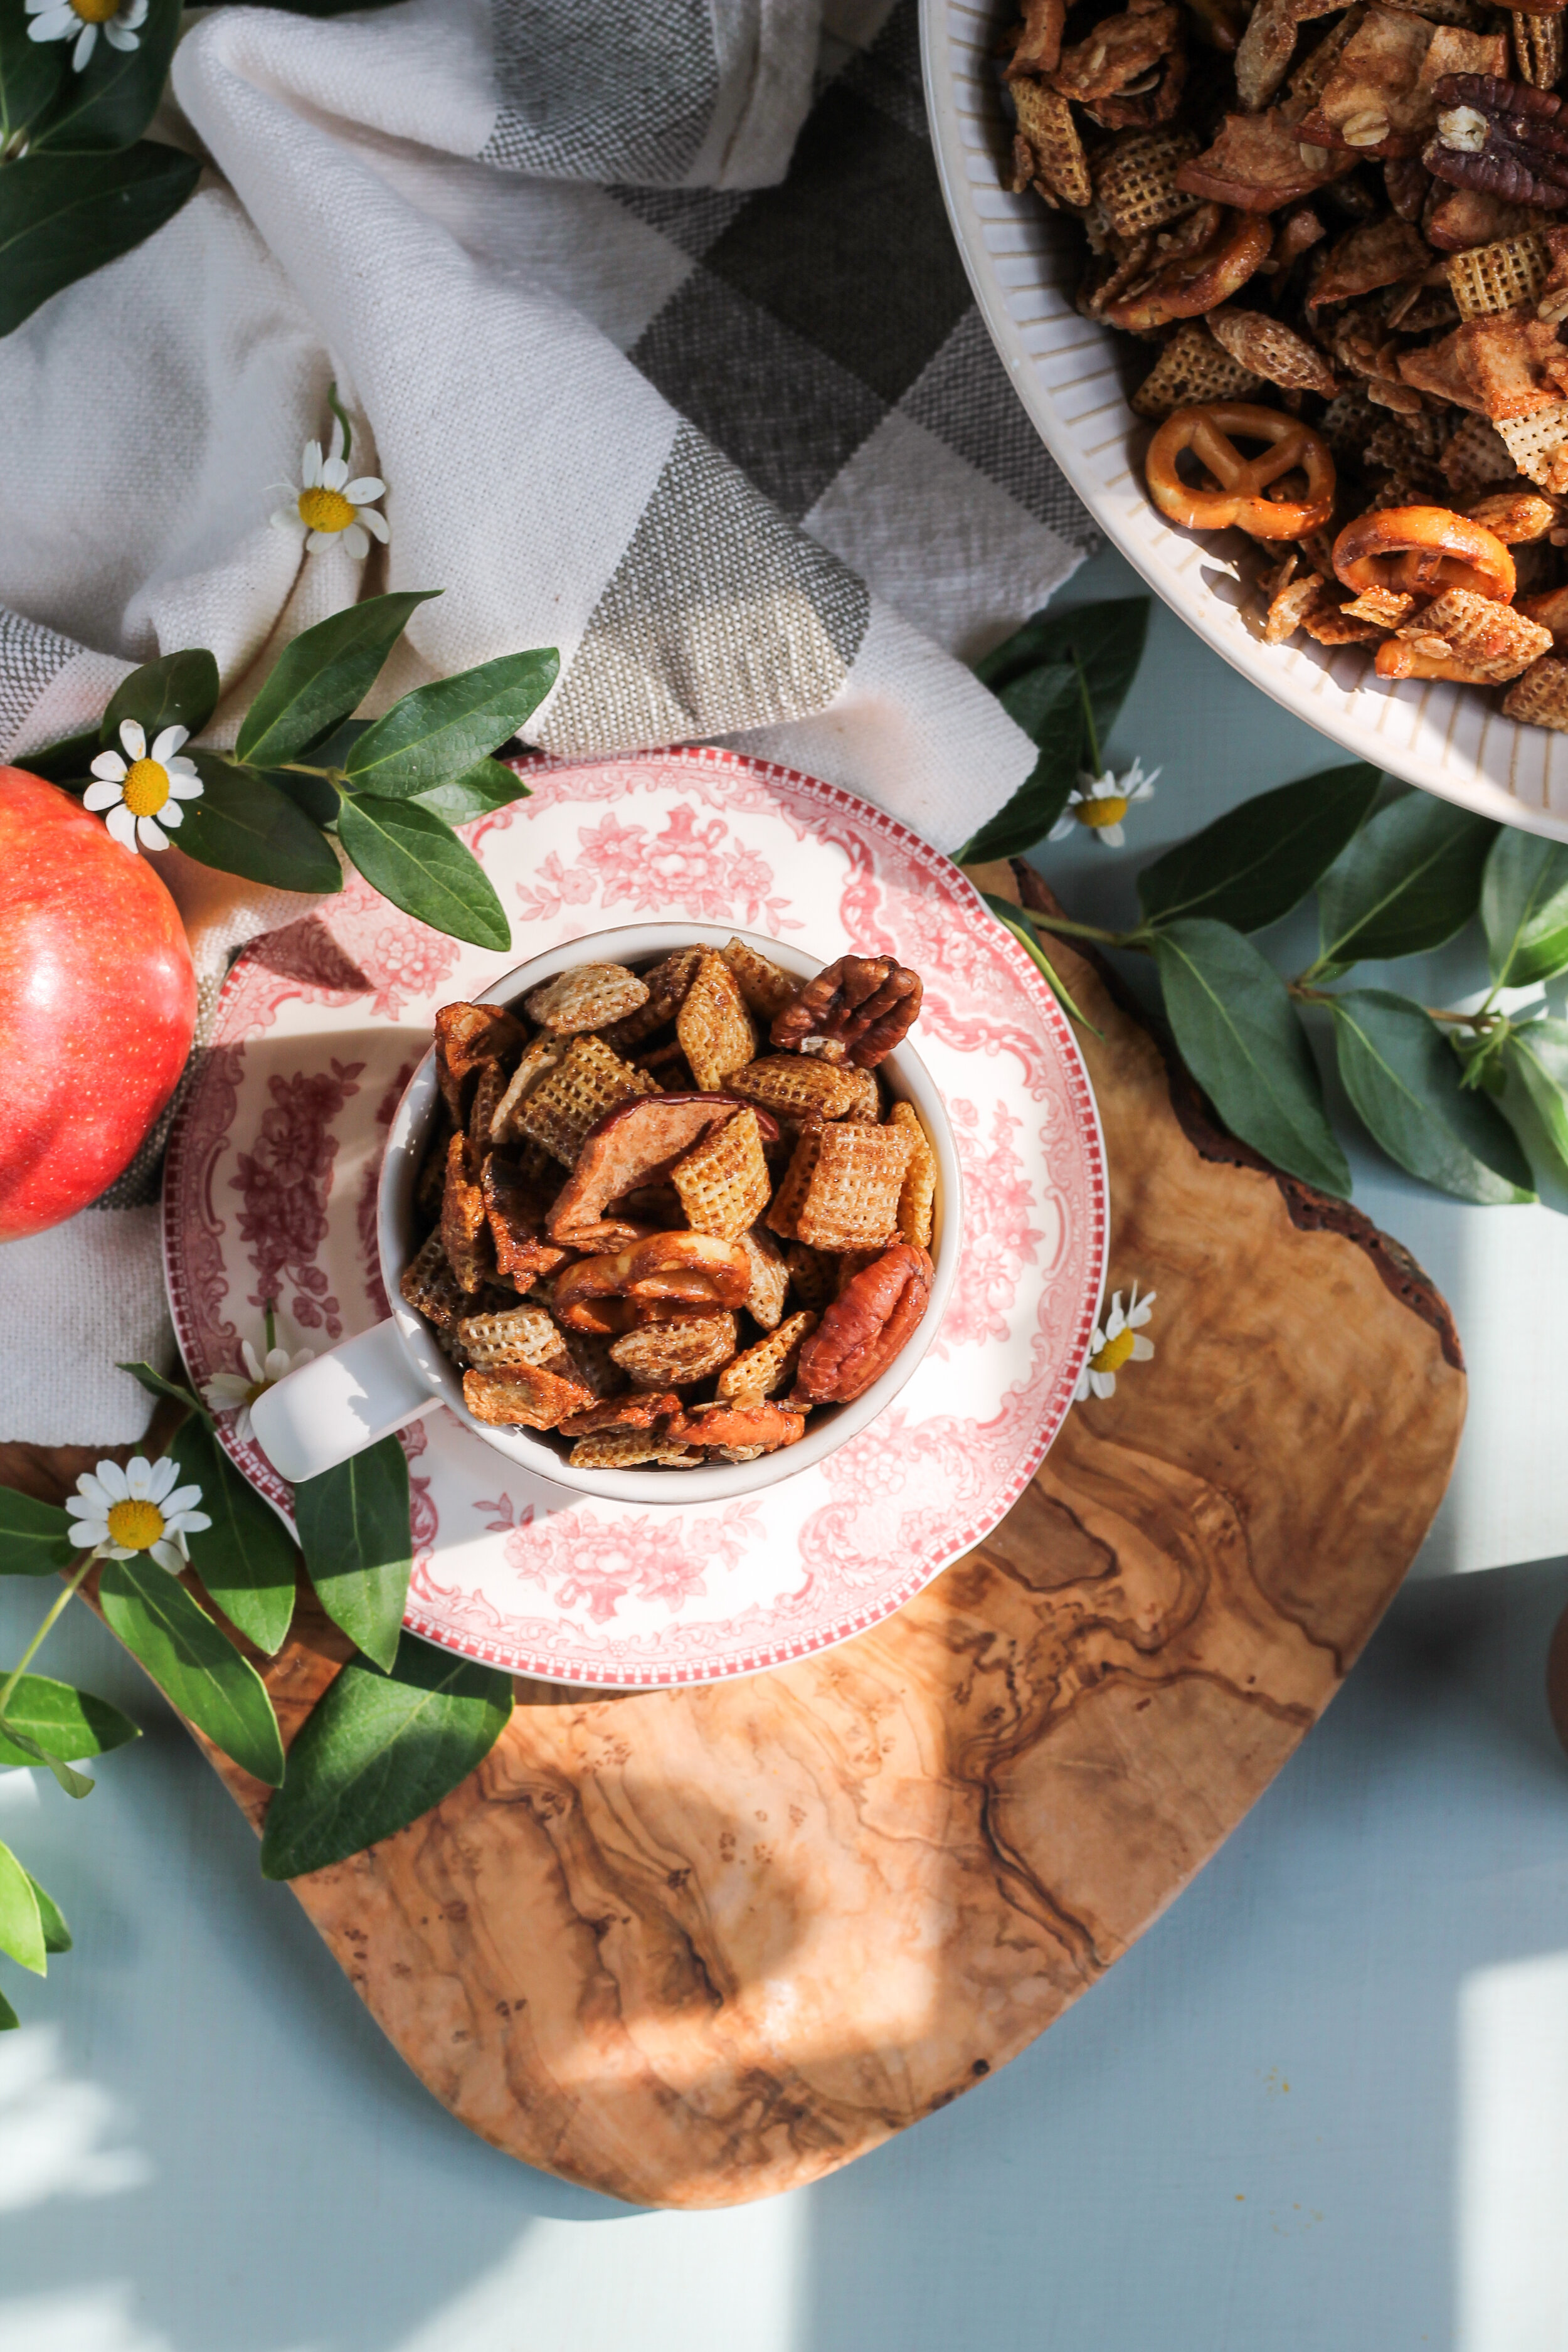
I love that my generation has taken a hold of snacks and made them into not only a socially-acceptable mode of daily nutrition but a hallowed one. If you're not entirely sure of the current snack pseudonyms, see; charcuterie, tapas, tastings, flights…